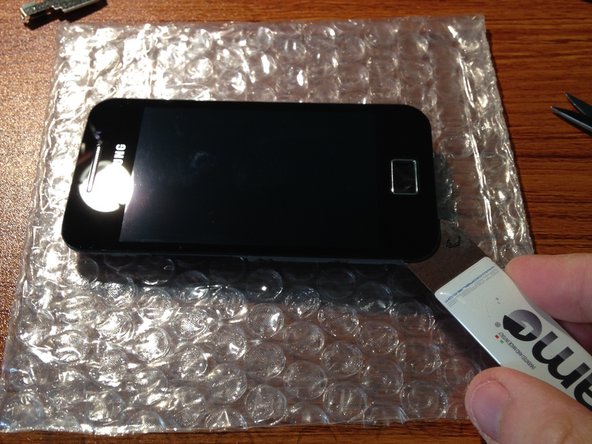
주요 콘텐츠로 건너뛰기

필요한 것

해당 분해도는 수리 안내서가 아닙니다. Samsung Galaxy Ace 수리는 저희 서비스 설명서를 사용하십시오.

  1. Samsung Galaxy Ace Teardown, Samsung Galaxy Ace Teardown: 1 단계, 이미지 1/3 Samsung Galaxy Ace Teardown, Samsung Galaxy Ace Teardown: 1 단계, 이미지 2/3 Samsung Galaxy Ace Teardown, Samsung Galaxy Ace Teardown: 1 단계, 이미지 3/3
    • Rotate your Phone.

    • Remove the plastic battery door.

    • Remove battery.

    • Unscrew all 7 screws so that the cover can be removed.
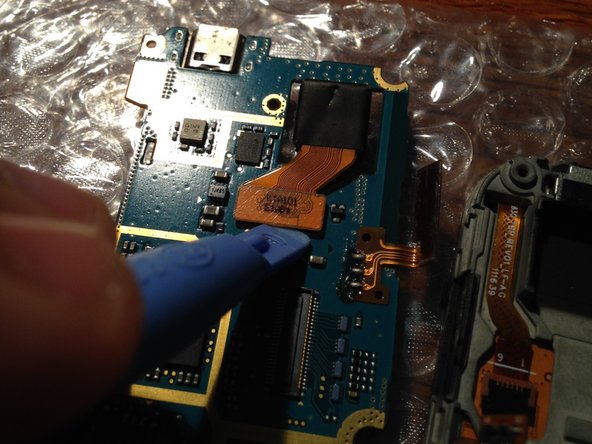
  2. Samsung Galaxy Ace Teardown: 2 단계, 이미지 1/3 Samsung Galaxy Ace Teardown: 2 단계, 이미지 2/3 Samsung Galaxy Ace Teardown: 2 단계, 이미지 3/3
    • With a plastic tool separate the frame from the aluminum plate. (either from the inside or outside)

    • Make sure your Micro SD card is removed from the device Micro SD card slot.

    • Disconnect the microphone using your fingers, be careful not to do too much pressure.

  3. Samsung Galaxy Ace Teardown: 3 단계, 이미지 1/3 Samsung Galaxy Ace Teardown: 3 단계, 이미지 2/3 Samsung Galaxy Ace Teardown: 3 단계, 이미지 3/3
    • Disconnect the light sensor and ear piece speaker.To remove this use a plastic tool.

    • Disconnect the volume rocker, be very careful! They are very thin and glued with double-sided tape. If possible, use isesamo or something really thin!

  4. Samsung Galaxy Ace Teardown: 4 단계, 이미지 1/3 Samsung Galaxy Ace Teardown: 4 단계, 이미지 2/3 Samsung Galaxy Ace Teardown: 4 단계, 이미지 3/3
    • Lift the logic board from the right side, be careful not cause any damage to gently rotate the LCD connector.

    • Now with a plastic tool you can disconnect the LCD connector.

  5. Samsung Galaxy Ace Teardown: 5 단계, 이미지 1/3 Samsung Galaxy Ace Teardown: 5 단계, 이미지 2/3 Samsung Galaxy Ace Teardown: 5 단계, 이미지 3/3
    • Remove logic board

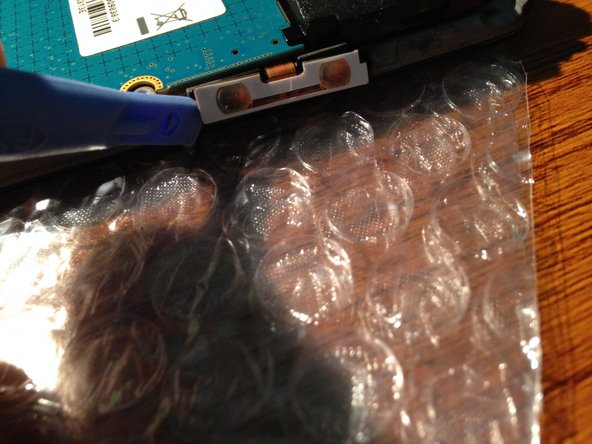
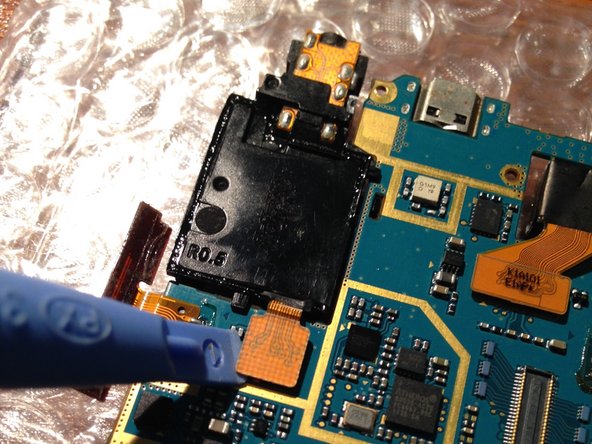
    • Disconnect speaker and camera with a plastic tool.

    thx for this step

    Kyle at work - 답글

  6. Samsung Galaxy Ace Teardown: 6 단계, 이미지 1/3 Samsung Galaxy Ace Teardown: 6 단계, 이미지 2/3 Samsung Galaxy Ace Teardown: 6 단계, 이미지 3/3
    • Use a plastic tool or something sharp to lift the aluminum protection that serves to fix earpiece speaker and light sensor and remove it.

    • After lifting the connector of the touch screen (black tab), lift the cable carefully!

  7. Samsung Galaxy Ace Teardown: 7 단계, 이미지 1/3 Samsung Galaxy Ace Teardown: 7 단계, 이미지 2/3 Samsung Galaxy Ace Teardown: 7 단계, 이미지 3/3
    • Press the home button to remove it. (This is not fixed,no material).

    • Heat the glass lens with a hot air gun, a tool insert after "isesamo" and slowly raise it.

    • Remove it.

  8. Samsung Galaxy Ace Teardown: 8 단계, 이미지 1/1
    • Disassembly is finished! To assemble, follow the guide from the end point to the initial.

AndreaBaglione

회원 가입일: 11/06/09

3,912 평판

안내서 3개 작성하였습니다

댓글 3개

Very helpful, I had to open it all up as shown in photo to get my stuck SIM cards out. Thanks.

Yash J - 답글

My ace s5830 cant sharging i change ic charge and battary and also can t charging why !

Jaafar Fakih - 답글

Maybe motherboard or cable is dead?

Paul Richard -

댓글 쓰기

조회 통계:

24 시간 전: 1

7일 전: 19

30일 전: 34

전체 시간: 16,064