주요 콘텐츠로 건너뛰기

필요한 것

해당 분해도는 수리 안내서가 아닙니다. Samsung Galaxy Centura 수리는 저희 서비스 설명서를 사용하십시오.

  1. Samsung Galaxy Centura Teardown, Samsung Galaxy Centura Teardown: 1 단계, 이미지 1/2 Samsung Galaxy Centura Teardown, Samsung Galaxy Centura Teardown: 1 단계, 이미지 2/2
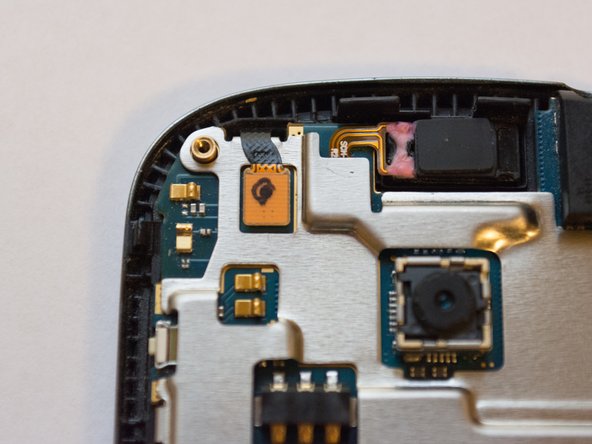
    • This is the Samsung Galaxy Centura, a low-end smartphone made for the Tracfone/Straight Talk networks.

  2. Samsung Galaxy Centura Teardown: 2 단계, 이미지 1/2 Samsung Galaxy Centura Teardown: 2 단계, 이미지 2/2
    • Remove the battery, and then remove the 7 Phillips screws surrounding the outer casing.

  3. Samsung Galaxy Centura Teardown: 3 단계, 이미지 1/3 Samsung Galaxy Centura Teardown: 3 단계, 이미지 2/3 Samsung Galaxy Centura Teardown: 3 단계, 이미지 3/3
    • Pop the 4 clips on both the left and right side of the phone. The outer casing should come right off by pulling.

    • This antenna can be removed with a spudger or screwdriver.

    • This is the speaker assembly (with more antennas!)

  4. Samsung Galaxy Centura Teardown: 4 단계, 이미지 1/3 Samsung Galaxy Centura Teardown: 4 단계, 이미지 2/3 Samsung Galaxy Centura Teardown: 4 단계, 이미지 3/3
    • Disconnect the two flex cables with a spudger or plastic opening tool.

  5. Samsung Galaxy Centura Teardown: 5 단계, 이미지 1/1
    • Now the display assembly is free.

  6. Samsung Galaxy Centura Teardown: 6 단계, 이미지 1/1
    • Remove the 3 Phillips screws on the back of the motherboard to remove the EMI shielding.

  7. Samsung Galaxy Centura Teardown: 7 단계, 이미지 1/1
    • Congrats! You've torn down the Samsung Galaxy Centura.

Brooks Robinson

회원 가입일: 07/16/15

127 평판

안내서 1개 작성함

댓글 0개

댓글 쓰기

조회 통계:

24 시간 전: 1

7일 전: 2

30일 전: 13

전체 시간: 2,418