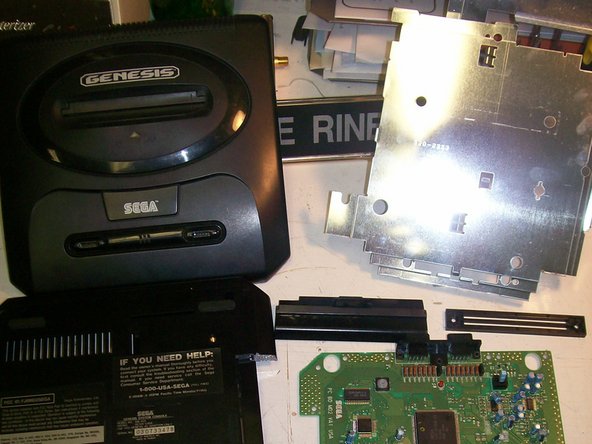
주요 콘텐츠로 건너뛰기

필요한 것

해당 분해도는 수리 안내서가 아닙니다. Sega Genesis II 수리는 저희 서비스 설명서를 사용하십시오.

  1. Sega Genesis II Teardown, Sega Genesis II Teardown: 1 단계, 이미지 1/2 Sega Genesis II Teardown, Sega Genesis II Teardown: 1 단계, 이미지 2/2
    • Let's start by taking the small door found on the bottom right side of your console

  2. Sega Genesis II Teardown: 2 단계, 이미지 1/2 Sega Genesis II Teardown: 2 단계, 이미지 2/2
    • Next, remove the four, black 11mm screws from the bottom of your console.

  3. Sega Genesis II Teardown: 3 단계, 이미지 1/1
    • Carefully lift the top off of the console.

    • It should come off relatively easy

    • If it doesn't, ensure that all four screws are removed

  4. Sega Genesis II Teardown: 4 단계, 이미지 1/2 Sega Genesis II Teardown: 4 단계, 이미지 2/2
    • Remove the six, gold, 8mm screws and the three, black, 8mm screws holding down the EM shield

    • After removing the screws, the shield will come off very easily.

  5. Sega Genesis II Teardown: 5 단계, 이미지 1/3 Sega Genesis II Teardown: 5 단계, 이미지 2/3 Sega Genesis II Teardown: 5 단계, 이미지 3/3
    • Remove the two 17mm black screws on the left and right side of the PIN to release the circuit board from the bottom EM shield.

    • After the screws are releases, the circuit board can easily be removed from the console.

  6. Sega Genesis II Teardown: 6 단계, 이미지 1/2 Sega Genesis II Teardown: 6 단계, 이미지 2/2
    • Well, there you have it!

    • One disassembled Sega Genesis. I hope this guide was helpful and informative. Good luck and Happy Gaming!

    • This guide brought to you by: Frankie's Video Game Console Repair and iFixit.

Frankie

회원 가입일: 09/02/11

367 평판

안내서 1개 작성함

댓글 0개

댓글 쓰기

조회 통계:

24 시간 전: 0

7일 전: 4

30일 전: 43

전체 시간: 14,833