주요 콘텐츠로 건너뛰기

필요한 것

해당 분해도는 수리 안내서가 아닙니다. Gas and Smoke Detector 수리는 저희 서비스 설명서를 사용하십시오.

  1. Smoke Detector Teardown, Smoke Detector Teardown: 1 단계, 이미지 1/2 Smoke Detector Teardown, Smoke Detector Teardown: 1 단계, 이미지 2/2
    • Use a screwdriver to pry open the plastic enclosure. It might be easier to push the buzzer through the hole, if you need extra leverage.

  2. Smoke Detector Teardown: 2 단계, 이미지 1/1
    • The buzzer is unhooked from the PCB board, by hands.

  3. Smoke Detector Teardown: 3 단계, 이미지 1/2 Smoke Detector Teardown: 3 단계, 이미지 2/2
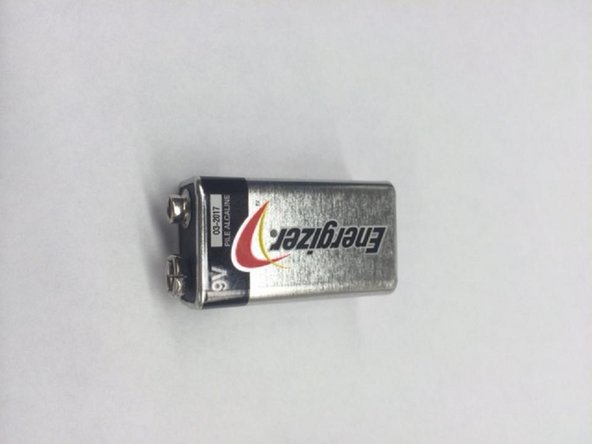
    • This is the circuit for the smoke detector. It is powered by a 9V battery. The 3 metal leafs are contacts for the buzzer and the bigger leaf is for the test button.

  4. Smoke Detector Teardown: 4 단계, 이미지 1/1
    • The metal cap is removed to reveal a, MC145017, driver chip and americium sensor. Do not remove americium from the sensor!

Ari Dubinsky

회원 가입일: 03/04/14

253 평판

안내서 1개 작성함

댓글 한 개

댓글 쓰기

조회 통계:

24 시간 전: 2

7일 전: 12

30일 전: 50

전체 시간: 8,122