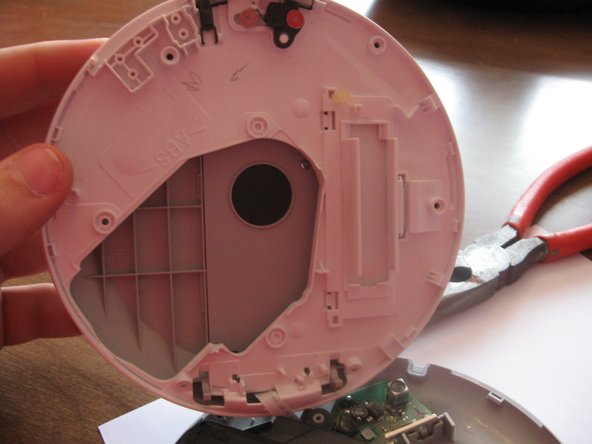
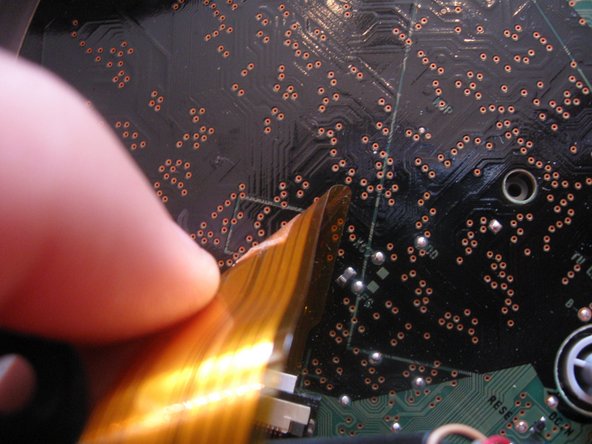
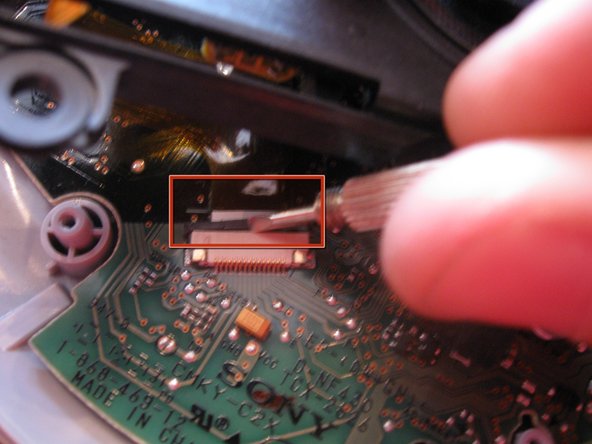
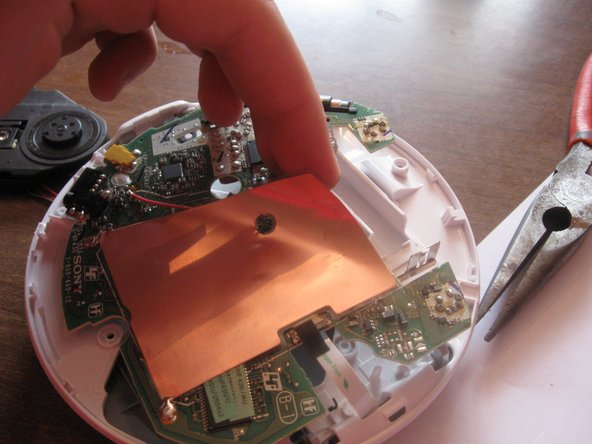
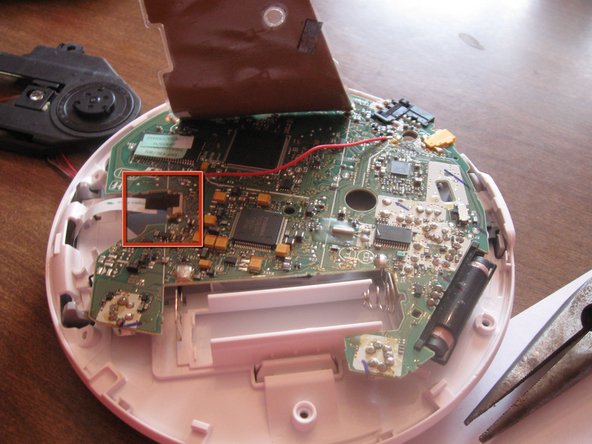
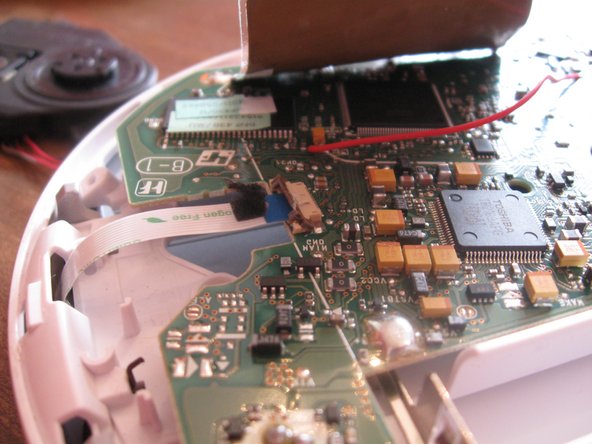
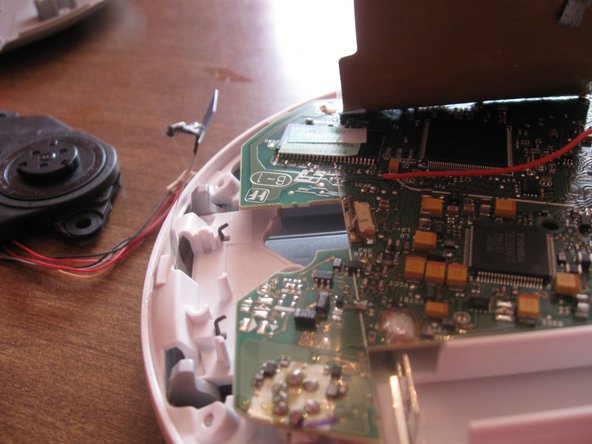
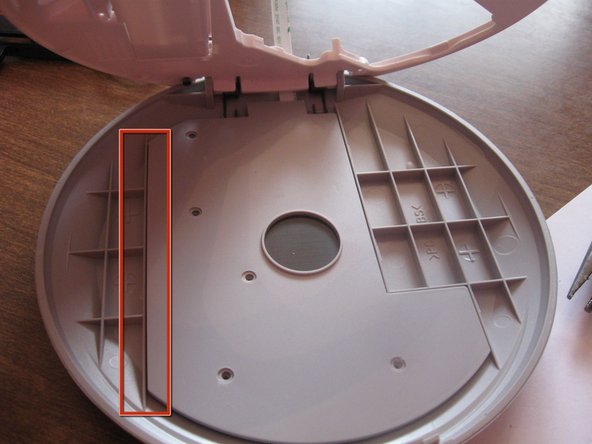
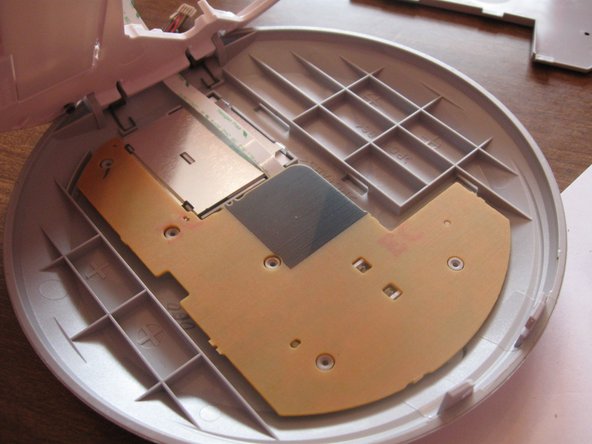
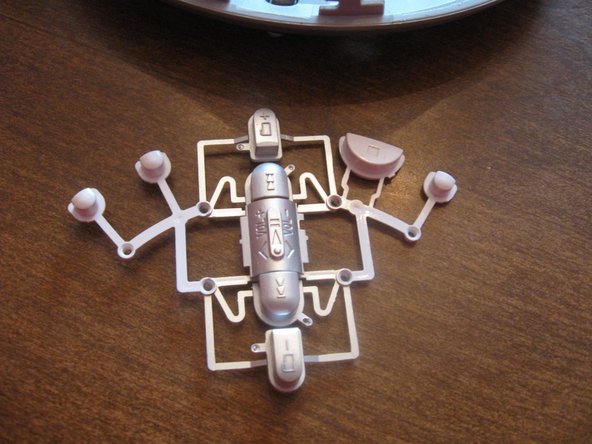
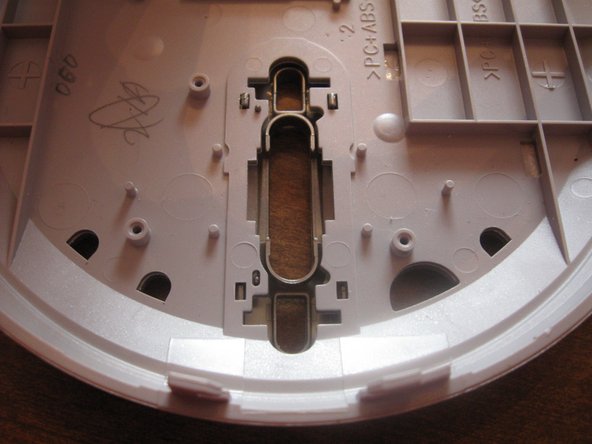
주요 콘텐츠로 건너뛰기

필요한 것

해당 분해도는 수리 안내서가 아닙니다. Sony CD Walkman D-NF430 수리는 저희 서비스 설명서를 사용하십시오.

  1. Sony CD Walkman D-NF430 Teardown, Sony CD Walkman D-NF430 Teardown: 1 단계, 이미지 1/2 Sony CD Walkman D-NF430 Teardown, Sony CD Walkman D-NF430 Teardown: 1 단계, 이미지 2/2
    • Start by looking at the fine detail of the exterior.

  2. Sony CD Walkman D-NF430 Teardown: 2 단계, 이미지 1/3 Sony CD Walkman D-NF430 Teardown: 2 단계, 이미지 2/3 Sony CD Walkman D-NF430 Teardown: 2 단계, 이미지 3/3
    • Open it, remove any CDs and put away. Open the battery cover and remove the battery.

  3. Sony CD Walkman D-NF430 Teardown: 3 단계, 이미지 1/3 Sony CD Walkman D-NF430 Teardown: 3 단계, 이미지 2/3 Sony CD Walkman D-NF430 Teardown: 3 단계, 이미지 3/3
    • Close the battery cover and locate your screwdriver.

  4. Sony CD Walkman D-NF430 Teardown: 4 단계, 이미지 1/2 Sony CD Walkman D-NF430 Teardown: 4 단계, 이미지 2/2
    • Unscrew the six screws and place them on the magnet so you'll be able to find them later. Sony was nice enough to put the screws next to the lid at an angle so you can fit a screwdriver in there.

  5. Sony CD Walkman D-NF430 Teardown: 5 단계, 이미지 1/2 Sony CD Walkman D-NF430 Teardown: 5 단계, 이미지 2/2
    • Insert the tip of a screwdriver between the white upper layer and the gray lower layer. Carefully pry apart. There are small clips that help hold the two layers together and you don't want to snap them.

  6. Sony CD Walkman D-NF430 Teardown: 6 단계, 이미지 1/2 Sony CD Walkman D-NF430 Teardown: 6 단계, 이미지 2/2
    • Here's the inside of the bottom layer.

  7. Sony CD Walkman D-NF430 Teardown: 7 단계, 이미지 1/3 Sony CD Walkman D-NF430 Teardown: 7 단계, 이미지 2/3 Sony CD Walkman D-NF430 Teardown: 7 단계, 이미지 3/3
    • Now to remove the laser reading assembly. Carefully peel the orange data ribbon off the circuit board to the plug. Using the flat screwdriver, pry the black clip away from the tan part.

  8. Sony CD Walkman D-NF430 Teardown: 8 단계, 이미지 1/2 Sony CD Walkman D-NF430 Teardown: 8 단계, 이미지 2/2
    • Now for the power wires. Pry up on the side opposite of the wires.

  9. Sony CD Walkman D-NF430 Teardown: 9 단계, 이미지 1/3 Sony CD Walkman D-NF430 Teardown: 9 단계, 이미지 2/3 Sony CD Walkman D-NF430 Teardown: 9 단계, 이미지 3/3
    • Now for the other side. Carefully peel up the antenna plate so you can get at the other data ribbon.

  10. Sony CD Walkman D-NF430 Teardown: 10 단계, 이미지 1/3 Sony CD Walkman D-NF430 Teardown: 10 단계, 이미지 2/3 Sony CD Walkman D-NF430 Teardown: 10 단계, 이미지 3/3
    • Peel the black tape off the plug. Pry up with a screwdriver on the brown clip and remove the data ribbon.

  11. Sony CD Walkman D-NF430 Teardown: 11 단계, 이미지 1/3 Sony CD Walkman D-NF430 Teardown: 11 단계, 이미지 2/3 Sony CD Walkman D-NF430 Teardown: 11 단계, 이미지 3/3
    • Now for the top layer. unscrew the five screws and place them on the magnet. Pry up on the side indicated to remove the cover.

  12. Sony CD Walkman D-NF430 Teardown: 12 단계, 이미지 1/2 Sony CD Walkman D-NF430 Teardown: 12 단계, 이미지 2/2
    • Pull out the circuit board and LCD screen assembly. Pry up on the brown clip to remove the LCD screen.

  13. Sony CD Walkman D-NF430 Teardown: 13 단계, 이미지 1/2 Sony CD Walkman D-NF430 Teardown: 13 단계, 이미지 2/2
    • Now you can remove the data ribbon by prying up on the brown clip.

  14. Sony CD Walkman D-NF430 Teardown: 14 단계, 이미지 1/3 Sony CD Walkman D-NF430 Teardown: 14 단계, 이미지 2/3 Sony CD Walkman D-NF430 Teardown: 14 단계, 이미지 3/3
    • To remove the buttons, carefully pry up around the little pins and pull up.

  15. Sony CD Walkman D-NF430 Teardown: 15 단계, 이미지 1/1
    • You're done! You have taken this CD player apart and broken it down into its individual components. Now to put it back together.

reuse2009

회원 가입일: 10/22/09

100 평판

안내서 1개 작성함

댓글 0개

댓글 쓰기

조회 통계:

24 시간 전: 2

7일 전: 12

30일 전: 61

전체 시간: 15,674