주요 콘텐츠로 건너뛰기

해당 분해도는 작업 중 입니다 – 최신 변경 사항을 보려면 주기적으로 다시 로드 하십시오!

필요한 것

  1. Sony Xperia U Teardown, Sony Xperia U Teardown: 1 단계, 이미지 1/1
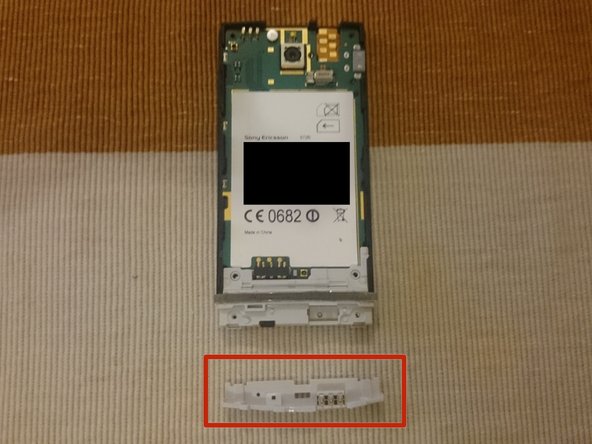
    • Remove the back cover and the bottom clip. And also remove the sim card and battery.

  2. Sony Xperia U Teardown: 2 단계, 이미지 1/1
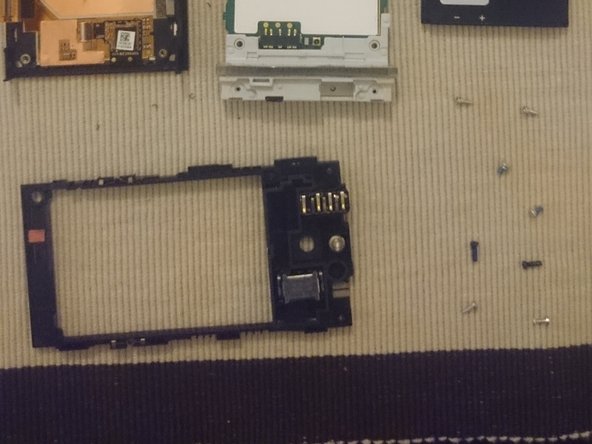
    • Remove the 6 T5 screws

  3. Sony Xperia U Teardown: 3 단계, 이미지 1/1
    • Remove the back piece, reveiling the headphone jack, speaker and the Liquid contact indicator.

    • Camera and flash

    • Vibrating motor

    • Headphone jack

    • Speaker

    • Liquid contact indicator

  4. Sony Xperia U Teardown: 4 단계, 이미지 1/2 Sony Xperia U Teardown: 4 단계, 이미지 2/2
    • Remove the 2 T5 screws.

    • Remove the lower antenna.

  5. Sony Xperia U Teardown: 5 단계, 이미지 1/2 Sony Xperia U Teardown: 5 단계, 이미지 2/2
    • Carefully remove the motherboard being aware on the lower left edge, there is the display connector.

    • Be aware of the display connector on the lower left.

  6. Sony Xperia U Teardown: 6 단계, 이미지 1/3 Sony Xperia U Teardown: 6 단계, 이미지 2/3 Sony Xperia U Teardown: 6 단계, 이미지 3/3
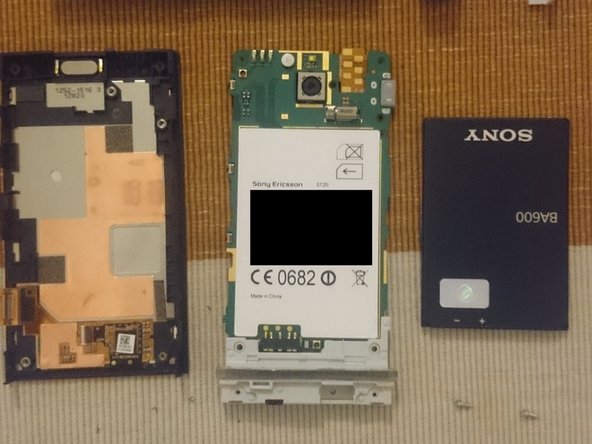
    • Removal back and bottom cap

    • Screen + main case, motherboard + antenna, battery

    • Back casing holding the headphone jack, speaker and liquid contact indicator.

Anthony

회원 가입일: 07/29/14

201 평판

안내서 1개 작성함

댓글 0개

댓글 쓰기

조회 통계:

24 시간 전: 0

7일 전: 0

30일 전: 4

전체 시간: 3,086