주요 콘텐츠로 건너뛰기

해당 분해도는 수리 안내서가 아닙니다. WD blue Hard Drive 수리는 저희 서비스 설명서를 사용하십시오.

  1. WD Blue Hard Drive Teardown, Exterior of Hard drive: 1 단계, 이미지 1/3 WD Blue Hard Drive Teardown, Exterior of Hard drive: 1 단계, 이미지 2/3 WD Blue Hard Drive Teardown, Exterior of Hard drive: 1 단계, 이미지 3/3
    • Pre-disassembly

  2. WD Blue Hard Drive Teardown, Remove circuit board: 2 단계, 이미지 1/2 WD Blue Hard Drive Teardown, Remove circuit board: 2 단계, 이미지 2/2
    • Remove four screws and circuit board lifts out

  3. WD Blue Hard Drive Teardown, Circuit board interfaces: 3 단계, 이미지 1/1
    • Motor contacts

    • Head contacts

  4. WD Blue Hard Drive Teardown, Removing top cover: 4 단계, 이미지 1/3 WD Blue Hard Drive Teardown, Removing top cover: 4 단계, 이미지 2/3 WD Blue Hard Drive Teardown, Removing top cover: 4 단계, 이미지 3/3
    • Remove 6 perimeter screws

    • Remove screw from under sticker

    • Lift cover off

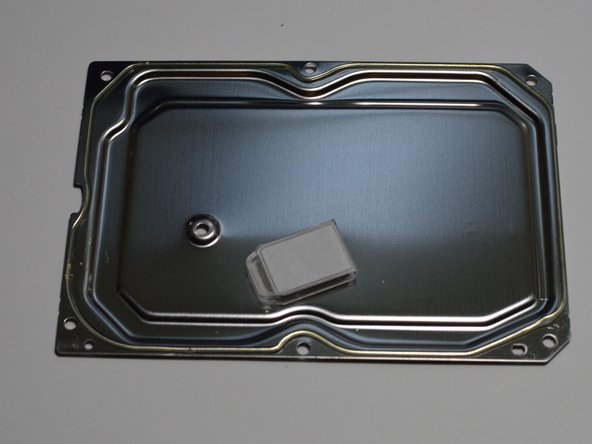
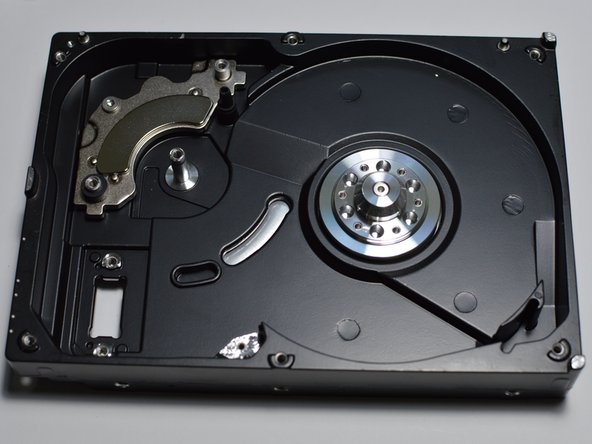
  5. WD Blue Hard Drive Teardown, Inside details: 5 단계, 이미지 1/3 WD Blue Hard Drive Teardown, Inside details: 5 단계, 이미지 2/3 WD Blue Hard Drive Teardown, Inside details: 5 단계, 이미지 3/3
    • Inside of hard drive

    • Desiccant packet removed from lower right corner

    • Inside of cover

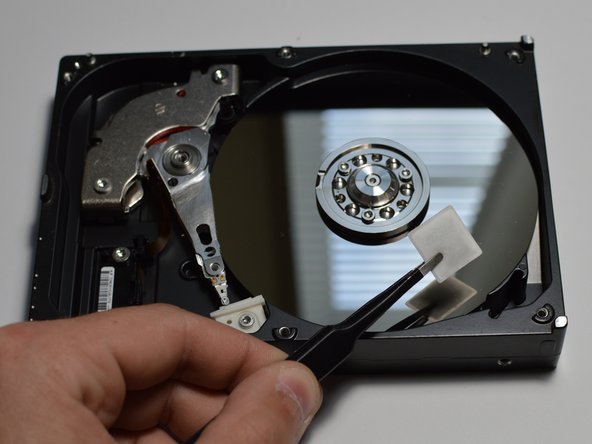
  6. WD Blue Hard Drive Teardown, Head details and dock removal: 6 단계, 이미지 1/3 WD Blue Hard Drive Teardown, Head details and dock removal: 6 단계, 이미지 2/3 WD Blue Hard Drive Teardown, Head details and dock removal: 6 단계, 이미지 3/3
    • Head in dock

    • Head on disk

    • Dock removed

  7. WD Blue Hard Drive Teardown, Head removal p1: 7 단계, 이미지 1/3 WD Blue Hard Drive Teardown, Head removal p1: 7 단계, 이미지 2/3 WD Blue Hard Drive Teardown, Head removal p1: 7 단계, 이미지 3/3
    • Head before bridge removed

    • Remove two screws

    • Lift bridge away

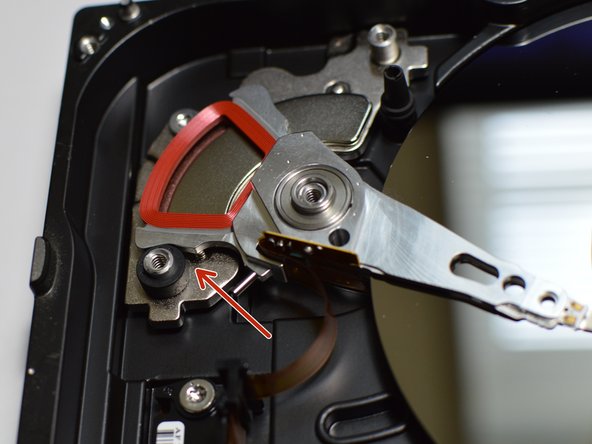
  8. WD Blue Hard Drive Teardown, Head travel limits: 8 단계, 이미지 1/2 WD Blue Hard Drive Teardown, Head travel limits: 8 단계, 이미지 2/2
    • Stops to limit head travel

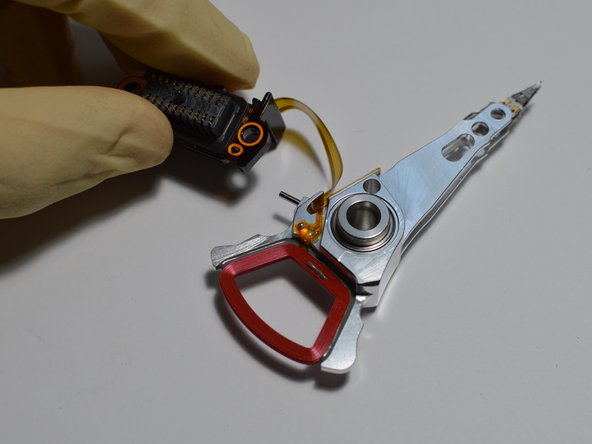
    • Red coil over magnet cause the head to rotate

  9. WD Blue Hard Drive Teardown, Head contact removal: 9 단계, 이미지 1/2 WD Blue Hard Drive Teardown, Head contact removal: 9 단계, 이미지 2/2
    • Contact block installed

    • Remove two screws, contact block is now loose but connected to head by a ribbon cable

  10. WD Blue Hard Drive Teardown, Disk removal p1: 10 단계, 이미지 1/3 WD Blue Hard Drive Teardown, Disk removal p1: 10 단계, 이미지 2/3 WD Blue Hard Drive Teardown, Disk removal p1: 10 단계, 이미지 3/3
    • Disk installed

    • Remove 3 screws holding down collar

    • Remove collar

  11. WD Blue Hard Drive Teardown, Disk removal p2: 11 단계, 이미지 1/2 WD Blue Hard Drive Teardown, Disk removal p2: 11 단계, 이미지 2/2
    • Lift disk out of case

    • Collar after removal

  12. WD Blue Hard Drive Teardown, Head removal p2: 12 단계, 이미지 1/3 WD Blue Hard Drive Teardown, Head removal p2: 12 단계, 이미지 2/3 WD Blue Hard Drive Teardown, Head removal p2: 12 단계, 이미지 3/3
    • Head installed, simply lift head out of case

    • Remove head

    • Case without head

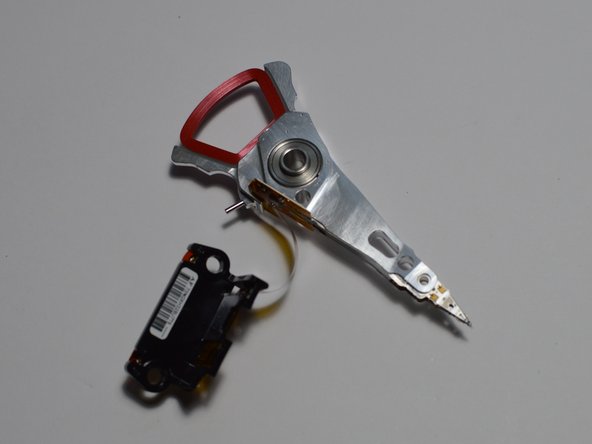
  13. WD Blue Hard Drive Teardown, Head details: 13 단계, 이미지 1/3 WD Blue Hard Drive Teardown, Head details: 13 단계, 이미지 2/3 WD Blue Hard Drive Teardown, Head details: 13 단계, 이미지 3/3
    • Removed head

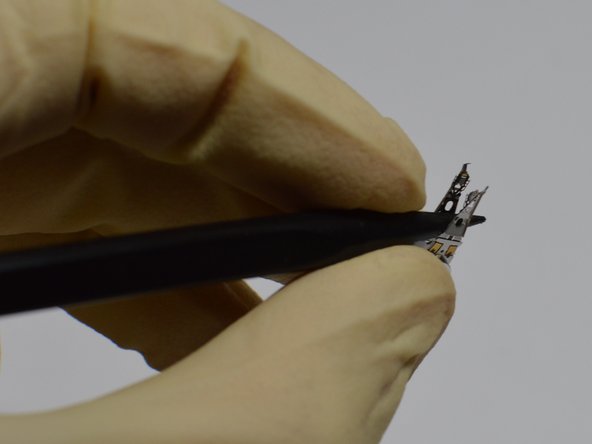
    • Contacts for data and head control

    • Head interface to disk

  14. WD Blue Hard Drive Teardown, Empty case: 14 단계, 이미지 1/2 WD Blue Hard Drive Teardown, Empty case: 14 단계, 이미지 2/2
    • Remove magnet

    • Remove stop for head on disk

    • Remove head docked stop

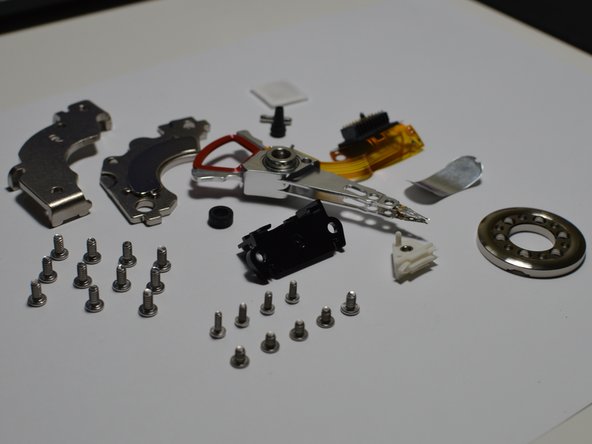
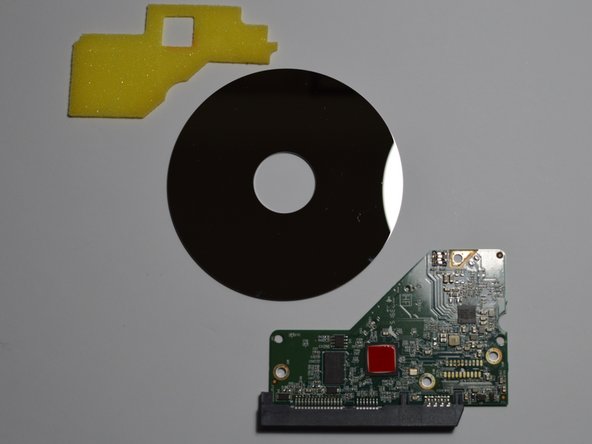
  15. WD Blue Hard Drive Teardown, Components laid out: 15 단계, 이미지 1/3 WD Blue Hard Drive Teardown, Components laid out: 15 단계, 이미지 2/3 WD Blue Hard Drive Teardown, Components laid out: 15 단계, 이미지 3/3
    • All components arranged

Wieli

회원 가입일: 01/08/23

1,707 평판

안내서 10개 작성하였습니다

댓글 한 개

Well done Wieli! Your photographs are very clear and well lighted. Should you decide to edit the guide may I suggest (1) you add what screwdriver tips you used to remove screws and (2) at step 10, highlight the three screws. The screw tips blend in with the collar.

Jim Fogle - 답글

댓글 쓰기

조회 통계:

24 시간 전: 7

7일 전: 33

30일 전: 184

전체 시간: 3,567