주요 콘텐츠로 건너뛰기

해당 분해도는 수리 안내서가 아닙니다. BMANI-VEAT00L 수리는 저희 서비스 설명서를 사용하십시오.

  1. Wireless Earbuds BMANI-VEAT00L Teardown, Introduction: 1 단계, 이미지 1/3 Wireless Earbuds BMANI-VEAT00L Teardown, Introduction: 1 단계, 이미지 2/3 Wireless Earbuds BMANI-VEAT00L Teardown, Introduction: 1 단계, 이미지 3/3
    • Carrying case and two earbuds

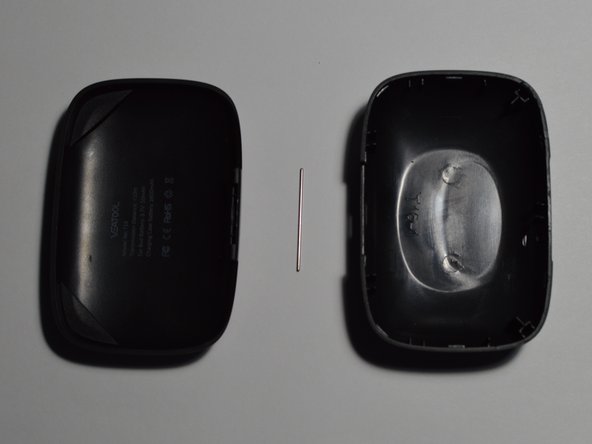
  2. Wireless Earbuds BMANI-VEAT00L Teardown, Case Disassembly: 2 단계, 이미지 1/3 Wireless Earbuds BMANI-VEAT00L Teardown, Case Disassembly: 2 단계, 이미지 2/3 Wireless Earbuds BMANI-VEAT00L Teardown, Case Disassembly: 2 단계, 이미지 3/3
    • Case shell is mounted to earbud holder with plastic clips

    • 4 plastic clips need to be released

  3. Wireless Earbuds BMANI-VEAT00L Teardown, Hinge mechanism: 3 단계, 이미지 1/2 Wireless Earbuds BMANI-VEAT00L Teardown, Hinge mechanism: 3 단계, 이미지 2/2
    • A pin through the lid attaches the top to the bottom of the case. It is held in place by the interior when it is latched in place.

  4. Wireless Earbuds BMANI-VEAT00L Teardown, Case Electronics Removal: 4 단계, 이미지 1/3 Wireless Earbuds BMANI-VEAT00L Teardown, Case Electronics Removal: 4 단계, 이미지 2/3 Wireless Earbuds BMANI-VEAT00L Teardown, Case Electronics Removal: 4 단계, 이미지 3/3
    • Battery is secured with double sided tape.

    • 3 #0 Phillips screws hold PCB to ear bud holder.

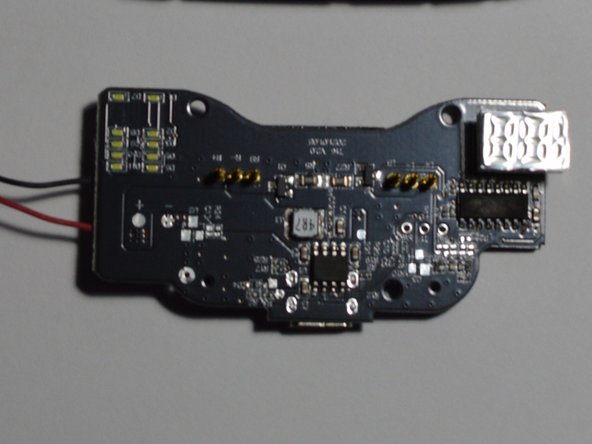
  5. Wireless Earbuds BMANI-VEAT00L Teardown, Case Dissembled: 5 단계, 이미지 1/2 Wireless Earbuds BMANI-VEAT00L Teardown, Case Dissembled: 5 단계, 이미지 2/2
    • All parts of case disassembled and detailed view of PCB.

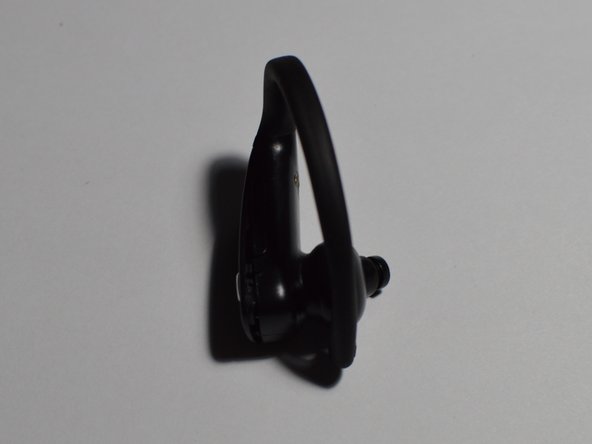
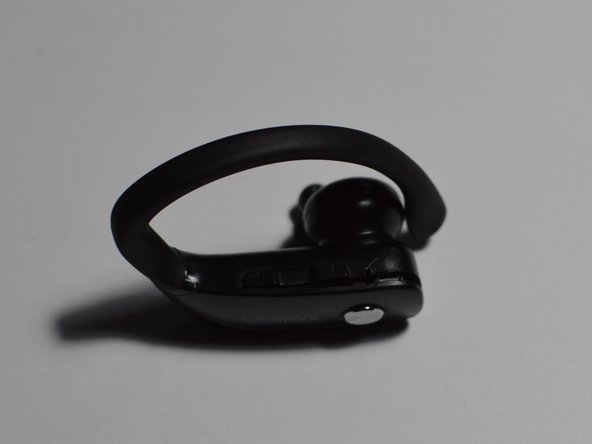
  6. Wireless Earbuds BMANI-VEAT00L Teardown, Earbud Overview: 6 단계, 이미지 1/3 Wireless Earbuds BMANI-VEAT00L Teardown, Earbud Overview: 6 단계, 이미지 2/3 Wireless Earbuds BMANI-VEAT00L Teardown, Earbud Overview: 6 단계, 이미지 3/3
    • Assembled ear bud

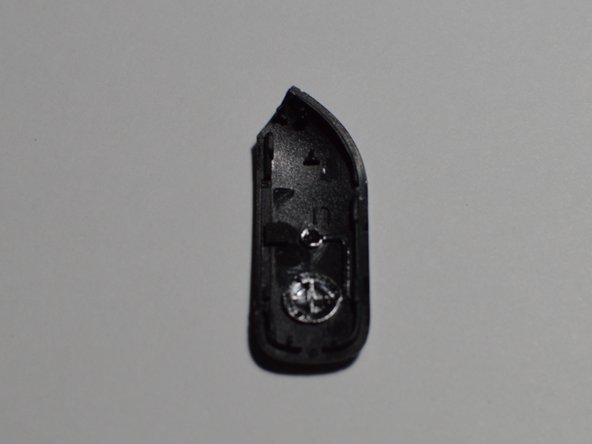
  7. Wireless Earbuds BMANI-VEAT00L Teardown: 7 단계, 이미지 1/2 Wireless Earbuds BMANI-VEAT00L Teardown: 7 단계, 이미지 2/2
    • Told lid is held in place with plastic clips.

    • Top has one button welded to it, two buttons for volume are on the side and can be removed, these have a pin in the middle to form a rotation point.

  8. Wireless Earbuds BMANI-VEAT00L Teardown, Electronics of Earbud: 8 단계, 이미지 1/1
    • PCB can be lifted out of earbud. The speaker section is sealed in the end of the earbud.

  9. Wireless Earbuds BMANI-VEAT00L Teardown, Ear Bud Disassembled: 9 단계, 이미지 1/1
    • All parts removed.

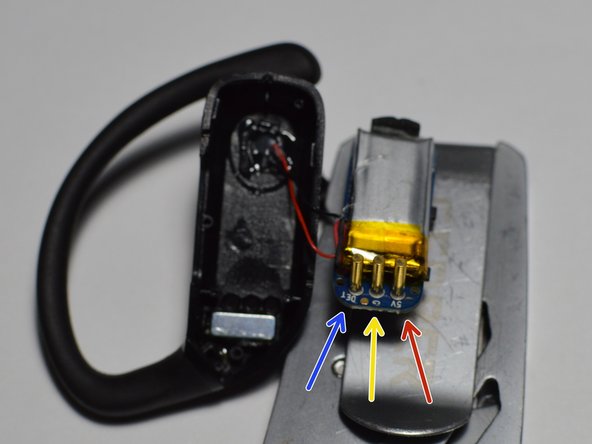
  10. Wireless Earbuds BMANI-VEAT00L Teardown, Connections: 10 단계, 이미지 1/3 Wireless Earbuds BMANI-VEAT00L Teardown, Connections: 10 단계, 이미지 2/3 Wireless Earbuds BMANI-VEAT00L Teardown, Connections: 10 단계, 이미지 3/3
    • How the earbuds connect to the case to charge.

    • 5V

    • GND

    • DET

    • Case PCB has spring load pins on it

  11. Wireless Earbuds BMANI-VEAT00L Teardown, Earbud magnets: 11 단계, 이미지 1/2 Wireless Earbuds BMANI-VEAT00L Teardown, Earbud magnets: 11 단계, 이미지 2/2
    • Magnets hold earbuds securely in case.

  12. Wireless Earbuds BMANI-VEAT00L Teardown, Case Magnets: 12 단계, 이미지 1/2 Wireless Earbuds BMANI-VEAT00L Teardown, Case Magnets: 12 단계, 이미지 2/2
    • Lid is held shut by two magnets in the interior and two magnets hidden in the lid.

Wieli

회원 가입일: 01/08/23

1,707 평판

안내서 10개 작성하였습니다

댓글 0개

댓글 쓰기

조회 통계:

24 시간 전: 2

7일 전: 3

30일 전: 25

전체 시간: 207