주요 콘텐츠로 건너뛰기

필요한 것

해당 분해도는 수리 안내서가 아닙니다. Xbox One Wireless Controller Model 1537 수리는 저희 서비스 설명서를 사용하십시오.

  1. Xbox One Wireless Controller Teardown, Get an Xbox One Controller: 1 단계, 이미지 1/1
    • Start off with having an Xbox One Controller (:

  2. Xbox One Wireless Controller Teardown, Remove First Screw: 2 단계, 이미지 1/2 Xbox One Wireless Controller Teardown, Remove First Screw: 2 단계, 이미지 2/2
    • Start with removing the battery pack and exposing the T8 security screw. The screw should be hidden behind a warranty sticker.

  3. Xbox One Wireless Controller Teardown, Remove side panels: 3 단계, 이미지 1/3 Xbox One Wireless Controller Teardown, Remove side panels: 3 단계, 이미지 2/3 Xbox One Wireless Controller Teardown, Remove side panels: 3 단계, 이미지 3/3
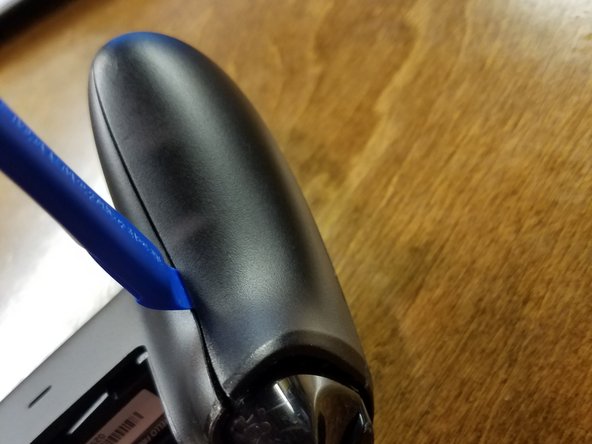
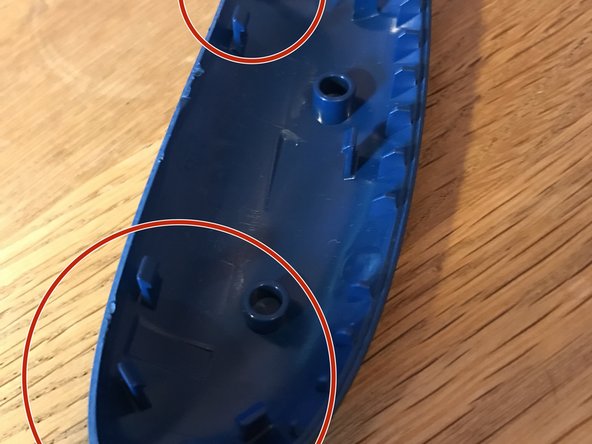
    • Remove the side panels exposing the second T8 security screw using a spudger, an IFixit Opening Tool, or your nails, each choice is fun.

  4. Xbox One Wireless Controller Teardown, Remove all screws: 4 단계, 이미지 1/1
    • By removing all side panels all 5 T8 security screws have appeared!

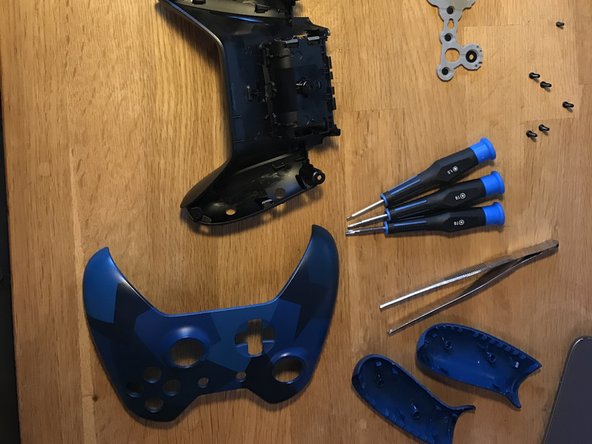
  5. Xbox One Wireless Controller Teardown, Remove Faceplate: 5 단계, 이미지 1/3 Xbox One Wireless Controller Teardown, Remove Faceplate: 5 단계, 이미지 2/3 Xbox One Wireless Controller Teardown, Remove Faceplate: 5 단계, 이미지 3/3
    • Once you removed the T8 security screws remove the front face plate.

  6. Xbox One Wireless Controller Teardown, Tape down rumble motors: 6 단계, 이미지 1/2 Xbox One Wireless Controller Teardown, Tape down rumble motors: 6 단계, 이미지 2/2
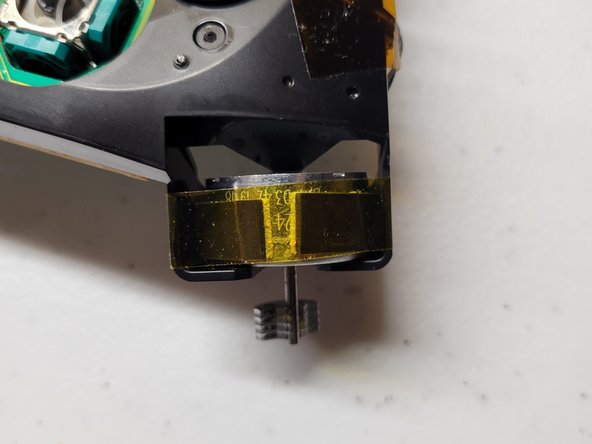
    • Tape down the rumbler motors to prevent them from falling out.

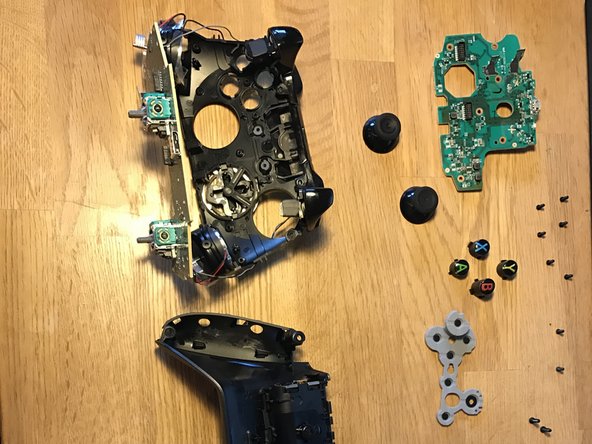
  7. Xbox One Wireless Controller Teardown, Remove T6 screws: 7 단계, 이미지 1/3 Xbox One Wireless Controller Teardown, Remove T6 screws: 7 단계, 이미지 2/3 Xbox One Wireless Controller Teardown, Remove T6 screws: 7 단계, 이미지 3/3
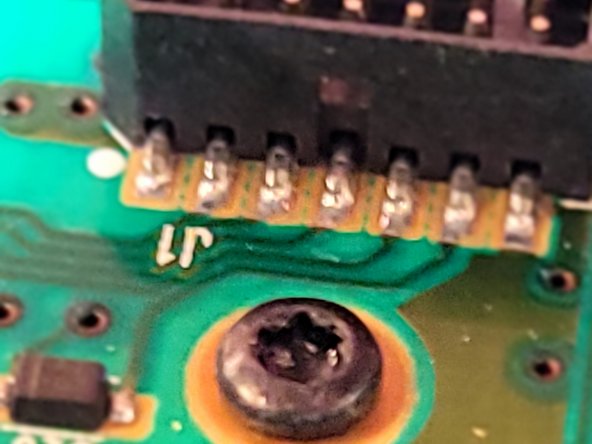
    • Remove the T6 screws to remove the PCB's.

    • It takes a pull to seperate the connectors.

    • Watch the wires! You can not fully remove the circuit board without removing the wires and it requires soldering.

    You spelt without wrong.

    Darren Woloshyn - 답글

  8. Xbox One Wireless Controller Teardown: 8 단계, 이미지 1/3 Xbox One Wireless Controller Teardown: 8 단계, 이미지 2/3 Xbox One Wireless Controller Teardown: 8 단계, 이미지 3/3
    • Remove the top cover, it folds over.

    • There are 6 T6 screws to remove.

    I an attempting to reassemble the controller now but getting stuck at this step, i cant figure out how the sync button fits back in, everything i’ve tried seems to cause it to either turn once the cover is back on or lose it’s ‘spring’ so it stays pressed in.

    adamcomer01 - 답글

    I was having trouble with this too, I think i figured it out. The sync button itself has two tabs, the really long tab should fit into a slot next to the Xbox button that keeps it in place.

    https://i.imgur.com/NGU6oUl.jpg

    there's also a cross shaped protrusion underneath that should make contact with a white button on the pcb, as well as an adhesive strip that goes over the sync button once it's in. (The shiny gray thing in the pic)

    legonro -

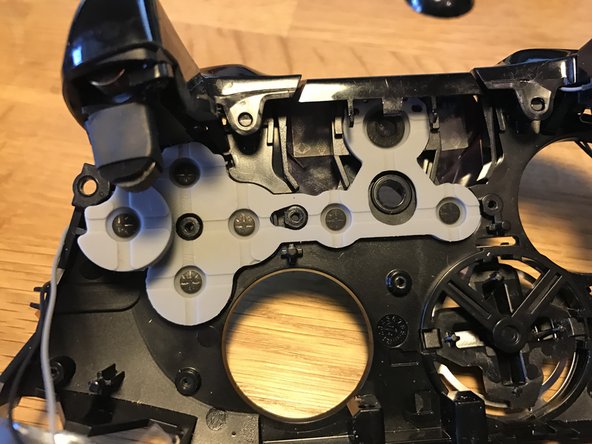
  9. Xbox One Wireless Controller Teardown: 9 단계, 이미지 1/3 Xbox One Wireless Controller Teardown: 9 단계, 이미지 2/3 Xbox One Wireless Controller Teardown: 9 단계, 이미지 3/3
    • Remove the circuit board

    • Under the rubber is the A B X Y buttons.

  10. Xbox One Wireless Controller Teardown: 10 단계, 이미지 1/3 Xbox One Wireless Controller Teardown: 10 단계, 이미지 2/3 Xbox One Wireless Controller Teardown: 10 단계, 이미지 3/3
    • Follow the instructions in reverse to get everything together again. :D

    Yeah, really great directions. I took it apart correctly but needed help putting it back, cause I kept hearing clicking noises…lol

    Thx!

    Pete - 답글

    do you know were the wireless chip is located?

    Harrison Adams - 답글

ubaldo gutierrez

회원 가입일: 11/07/16

262 평판

안내서 1개 작성함

댓글 15개

Very good instructions...

Chadwick Posey - 답글

Nice instructions. I need to take apart mine and replace the d-pad. The previous owner was a bit... rough. Sometimes it doesn't work or it clicks twice. Cheers!

Johnathan - 답글

Do you think that you can label the internals of the controller.

David Becerra - 답글

I have a custom controller from the xbox design labs. I want to change the led on the front.

Can someone point out the model/ size led I would need?

Alajandro - 답글

How do you put the sync buttom back in? Which way does it face?

Throaty Sea5 - 답글

The little tab on the sync button faces inward (Facing the Xbox Home button)

Sean Morris -

thanks a lot for the kick guide, help me a lot.

Jorge Franco - 답글

i did this and my batteries don’t fit anymore l

Aaron Voelke - 답글

i did this and now the batteries don’t fit in the thing lol

Aaron Voelke - 답글

Also, my controller buttons ‘click’, or are very loud when I press or navigate them (buttons, D pad and thumbsticks. Is there a way to lessen or soften that noise?

Pete - 답글

xbox 360 was the best + ez bec rumble motor was two pins just like GPU fan u can remove it and work on ur controller without soldering

Dusty_Earth - 답글

Excellent instructions. I was able to fix my analog sticks not returning to center because of too much pressure.

Dennis George - 답글

How is the placement of the small button on top for syncing the controller placed for reassembly?

This guide did not appear to show this.

Harrison - 답글

The two wide "legs" of the X are down, and the smallest gap is up.

Andreas Andersson -

My son spilled soda all over his controller, and this guide helped me pull it apart, clean it up and got it non-sticky-buttony again with my excellent Essential Electronics Toolkit! Thanks, excellent guide! :)

Andreas Andersson - 답글

댓글 쓰기

조회 통계:

24 시간 전: 27

7일 전: 275

30일 전: 1,427

전체 시간: 168,352