주요 콘텐츠로 건너뛰기

필요한 것

해당 분해도는 수리 안내서가 아닙니다. Acer Aspire One 725 수리는 저희 서비스 설명서를 사용하십시오.

  1. acer aspire one 725 Teardown, This is an acer aspire one: 1 단계, 이미지 1/3 acer aspire one 725 Teardown, This is an acer aspire one: 1 단계, 이미지 2/3 acer aspire one 725 Teardown, This is an acer aspire one: 1 단계, 이미지 3/3
    • prepare you're self for a lot of screws

  2. acer aspire one 725 Teardown, Remove the battery: 2 단계, 이미지 1/3 acer aspire one 725 Teardown, Remove the battery: 2 단계, 이미지 2/3 acer aspire one 725 Teardown, Remove the battery: 2 단계, 이미지 3/3
    • on the top right corner and slide it to the right

    • It release very easily

  3. acer aspire one 725 Teardown, Getting inside the laptop: 3 단계, 이미지 1/3 acer aspire one 725 Teardown, Getting inside the laptop: 3 단계, 이미지 2/3 acer aspire one 725 Teardown, Getting inside the laptop: 3 단계, 이미지 3/3
    • There's a screw natural reaction unscrew it

    • Slide the cover right off

  4. acer aspire one 725 Teardown, Removing the ram: 4 단계, 이미지 1/3 acer aspire one 725 Teardown, Removing the ram: 4 단계, 이미지 2/3 acer aspire one 725 Teardown, Removing the ram: 4 단계, 이미지 3/3
    • Simply push these pins out and it'll come out

    • It's kinda fun to taking it out and pushing it back in

  5. acer aspire one 725 Teardown, Removing the hard drive: 5 단계, 이미지 1/3 acer aspire one 725 Teardown, Removing the hard drive: 5 단계, 이미지 2/3 acer aspire one 725 Teardown, Removing the hard drive: 5 단계, 이미지 3/3
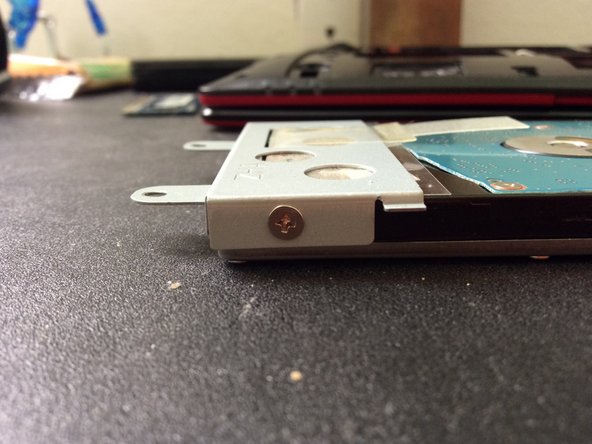
    • More screws unscrew them

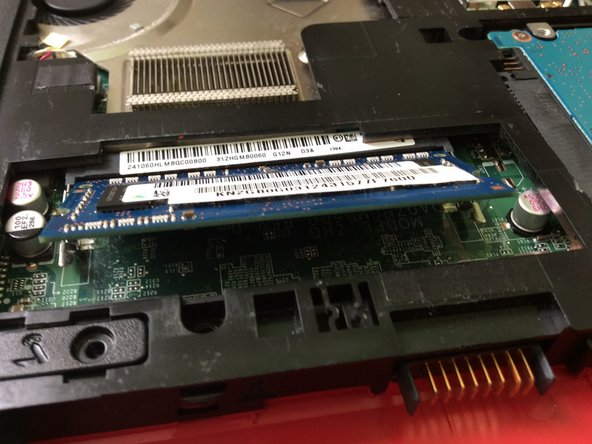
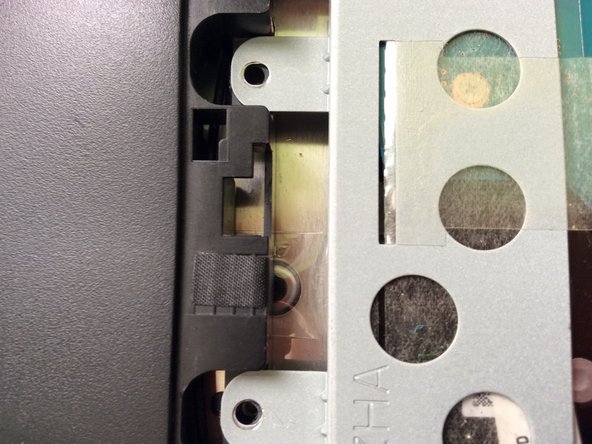
    • It might be hard to removing the hard drive so use the screwdriver to push it out

  6. acer aspire one 725 Teardown, Still removing the hard-drive: 6 단계, 이미지 1/3 acer aspire one 725 Teardown, Still removing the hard-drive: 6 단계, 이미지 2/3 acer aspire one 725 Teardown, Still removing the hard-drive: 6 단계, 이미지 3/3
    • This is what it should look like

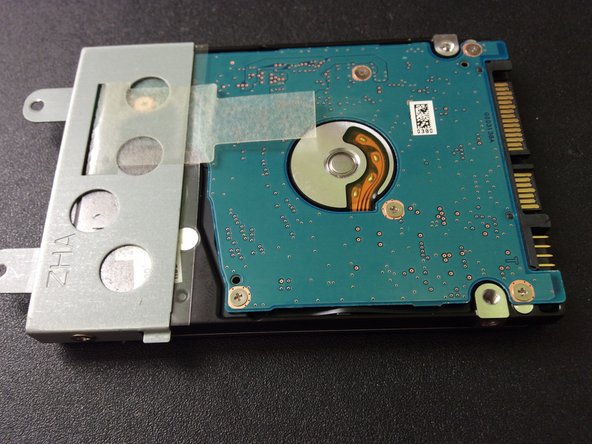
    • You can also change the hard-drive if you want by unscrewing the metal piece

  7. acer aspire one 725 Teardown, Just a look: 7 단계, 이미지 1/1
    • to see how it looks like

  8. acer aspire one 725 Teardown, Before removing the keyboard: 8 단계, 이미지 1/2 acer aspire one 725 Teardown, Before removing the keyboard: 8 단계, 이미지 2/2
    • Please remove the black and blue strip

    • These are connected to the keyboard

    • Also unscrew all the screws keeping the panel down

  9. acer aspire one 725 Teardown, Removing the keyboard: 9 단계, 이미지 1/2 acer aspire one 725 Teardown, Removing the keyboard: 9 단계, 이미지 2/2
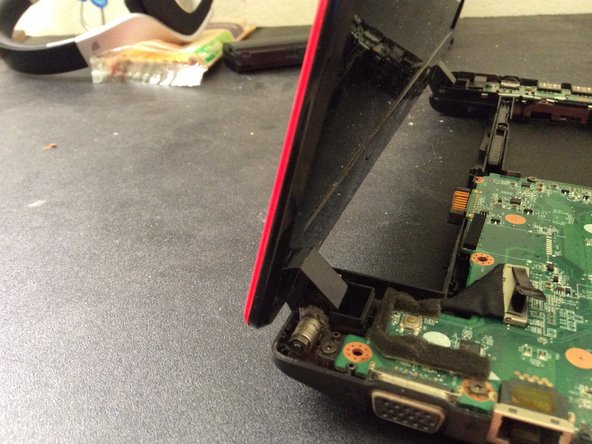
    • pry it open by where the battery was

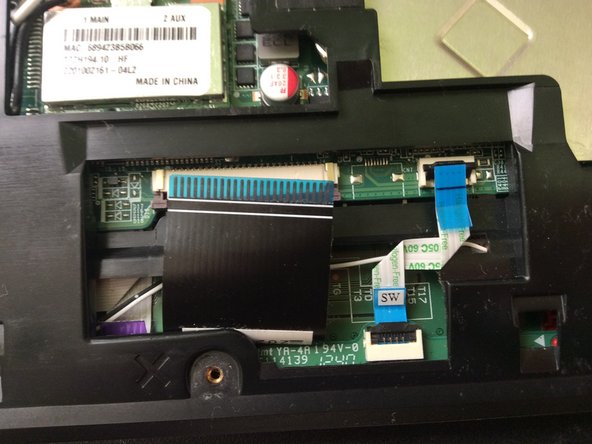
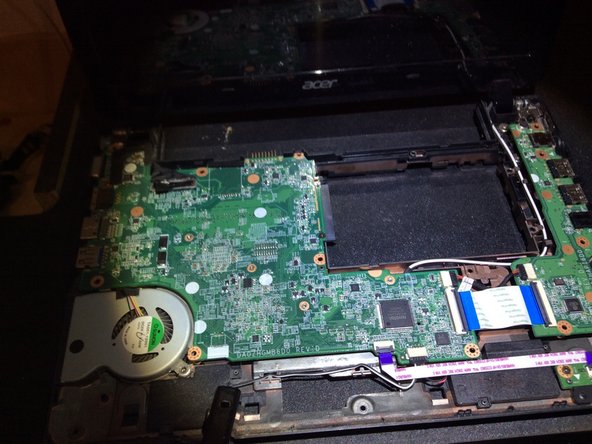
    • These show the mother board

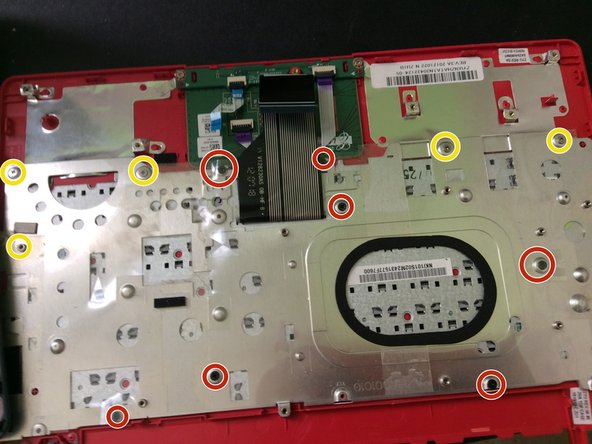
    • There are multiple screws, black screws and sliver screws

    • I labeled black screws with red. I labeled the sliver screws with yellow.

  10. acer aspire one 725 Teardown, The touch pad: 10 단계, 이미지 1/3 acer aspire one 725 Teardown, The touch pad: 10 단계, 이미지 2/3 acer aspire one 725 Teardown, The touch pad: 10 단계, 이미지 3/3
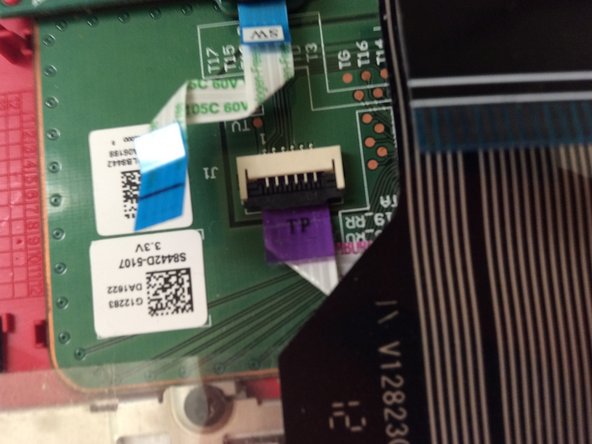
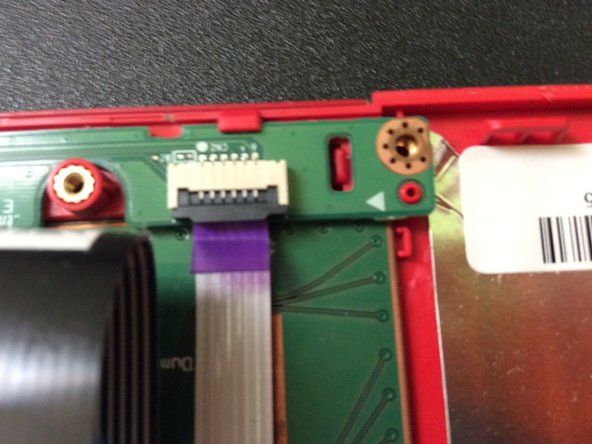
    • There is a purple strip and unhook it

    • Take off the panel that the blue and purple strip its connected to

  11. acer aspire one 725 Teardown, The key board separated: 11 단계, 이미지 1/2 acer aspire one 725 Teardown, The key board separated: 11 단계, 이미지 2/2
    • A look of the key board

  12. acer aspire one 725 Teardown, So far we gone: 12 단계, 이미지 1/3 acer aspire one 725 Teardown, So far we gone: 12 단계, 이미지 2/3 acer aspire one 725 Teardown, So far we gone: 12 단계, 이미지 3/3
    • I know that we didn't take apart the mother board but this is all that

    • I hope that you find this useful

Poua Yang

회원 가입일: 11/10/16

171 평판

안내서 1개 작성함

댓글 2개

thanks !!!! a lot

alej689 - 답글

Great guide, Thanks.

Do you know if there is a lithium battery (coin shape) ? or a jumper for BIOS password resetting ?

Nico Land - 답글

댓글 쓰기

조회 통계:

24 시간 전: 0

7일 전: 3

30일 전: 15

전체 시간: 3,708