소개
This is what happens when you do not turn around while backing up. Boom! There goes the trash can and the tail light. The tail light for this model uses a body half and a tailgate half. The body half is a quick and painless repair. Aftermarket parts are readily available and not to costly.
필요한 것
-
-
Here is the outer tail lamp that will get replaced.
-
Open the liftgate to access and remove the two plastic push-pin fasteners that secure the inboard side of the lamp to the side jamb of the liftgate opening.
-
-
-
-
Pull the outboard side of the lamp rearward far enough to disengage the two ball studs on the back of the lamp housing from the plastic grommets in the lamp opening of the body sheet metal.
-
This will create a gap between the body and the lamp.
-
Locate and remove the plastic push-pin fastener that secures the bracket on the bottom of the inboard side of the outer rear tail lamp housing to the upper flange of the rear fascia. Use a thin tool for some gentle prying if the pins are a little hard to remove.
-
-
-
The lamp is now off the vehicle but the wiring is still connected.
-
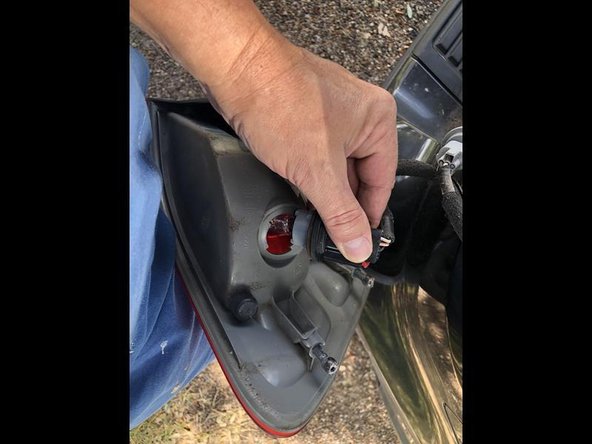
Pull the lamp away from the vehicle far enough to access and disconnect the two body wire harness connectors
-
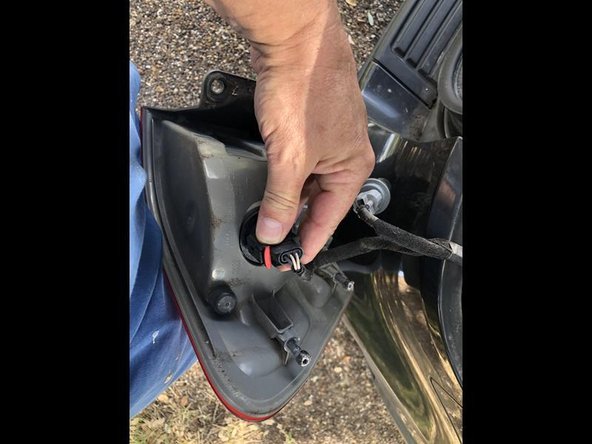
The smaller bottom connector (here right) is the back-up lamp and the larger one is the bulb for tail/stop/rear side marker/turn signal function. Grasp the bulb socket on the back of the rear lamp unit rotate it counterclockwise about 30 degrees to unlock it. Pull the socket and bulb straight out from the keyed opening in the housing.
-


To reassemble your device, follow these instructions in reverse order.
To reassemble your device, follow these instructions in reverse order.

팀
