주요 콘텐츠로 건너뛰기

4Sight 9 Motherboard Replacement

필요한 것

  1. 4Sight 9 Motherboard Replacement, Cover: 1 단계, 이미지 1/2 4Sight 9 Motherboard Replacement, Cover: 1 단계, 이미지 2/2
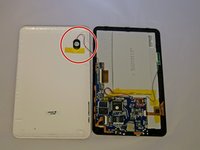
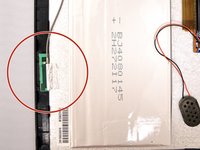
    • Place the tablet on its side so that the two screws are facing upward.

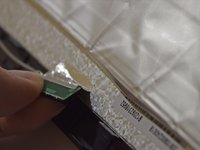
    • Remove two 1 mm screws from the left side of the tablet using a Phillips #00 screwdriver.

  2. 4Sight 9 Motherboard Replacement: 2 단계, 이미지 1/1
    • Pry the case away from the device slowly by sliding a plastic opening tool along the device.

    • Once loosened, use your hands to separate the case from the device.

  3. 4Sight 9 Motherboard Replacement: 3 단계, 이미지 1/2 4Sight 9 Motherboard Replacement: 3 단계, 이미지 2/2
    • Hold the positive and negative wires as close as possible to the speaker.

    • Use an opening tool and fingers to simultaneously lift the speaker from the cover.

  4. 4Sight 9 Motherboard Replacement, Motherboard: 4 단계, 이미지 1/1
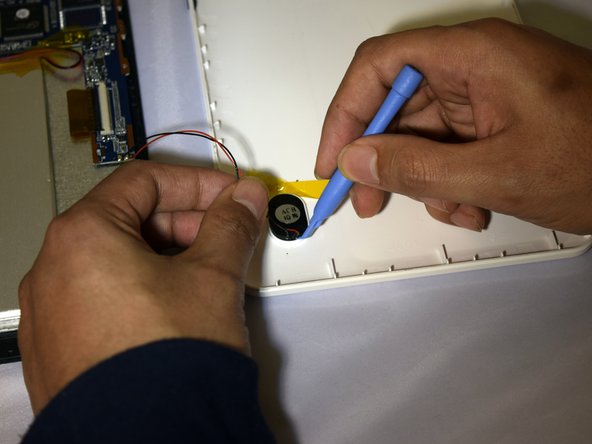
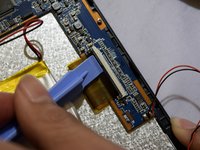
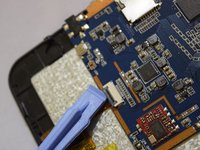
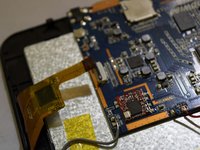
    • Use soldering gun to remove the positive and negative wires connecting the battery to the circuit board.

    • For a complete guide on how to solder, click here.

  5. 4Sight 9 Motherboard Replacement: 5 단계, 이미지 1/2 4Sight 9 Motherboard Replacement: 5 단계, 이미지 2/2
    • Grip the ribbon located at the far end of the circuit board with a plastic spudger tool.

    • Put pressure on the connector until the clasp comes undone.

    • Gently pull up on electrical ribbon until it disconnects from circuit board.

  6. 4Sight 9 Motherboard Replacement: 6 단계, 이미지 1/2 4Sight 9 Motherboard Replacement: 6 단계, 이미지 2/2
    • Remove the second electrical ribbon from the motherboard.

    • Use the technique for the previous ribbon.

  7. 4Sight 9 Motherboard Replacement: 7 단계, 이미지 1/1
    • Using #00 Phillips Screwdriver, remove the four 1mm screws holding the circuit board to the device.

  8. 4Sight 9 Motherboard Replacement: 8 단계, 이미지 1/2 4Sight 9 Motherboard Replacement: 8 단계, 이미지 2/2
    • With fingers, grip the green Wi-Fi connector.

    • Gently pull up on connector to remove tape holding the connector in place.

  9. 4Sight 9 Motherboard Replacement: 9 단계, 이미지 1/1
    • Using your fingers, gently lift the motherboard.

결론

To reassemble your device, follow these instructions in reverse order.

다른 한 분이 해당 안내서를 완성하였습니다.

Hali Ramirez

회원 가입일: 04/07/15

628 평판

안내서 4개 작성하였습니다

댓글 0개

댓글 쓰기

조회 통계:

24 시간 전: 0

7일 전: 0

30일 전: 19

전체 시간: 1,345