이 번역은 원본 안내서의 최신 업데이트를 반영하지 않을 수 있습니다. 번역 업데이트를 돕거나 아니면 원본 안내서 보기를 참조하세요.
소개
납땜 없이도 많은 수리가 가능하지만 조이스틱, 헤드폰 배터리, 럼블 모터 등 특정 부품들을 교체할 때 납떔이 필요할 때가 있습니다. 또한 납땜은 재미있는 전자제품 프로젝트의 신세계를 열어줍니다. 어렵게 들릴 수도 있지만 시작하기는 쉽습니다!
이 안내서에서는 기본적인 납땜 기술과 함께 다음과 같은 구체적인 방법을 설명합니다:
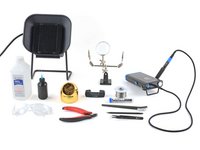
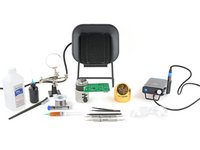
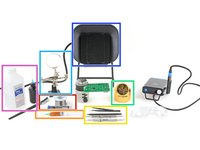
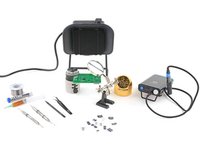
필요한 것
-
이 단계에 사용된 도구:Helping Hands$9.99
-
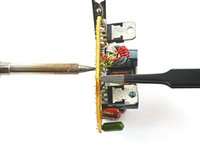
바이스, 클램프 또는 “보조” 도구. 두 개의 전선을 연결할 때는 자사의 Soldering Splint/납땜 부목이 훌륭한 도구입니다.
-
보안경 (안경은 눈을 보호하지만 납땜 스패터는 안경을 손상함).
-
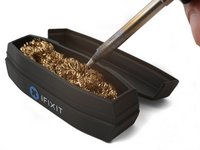
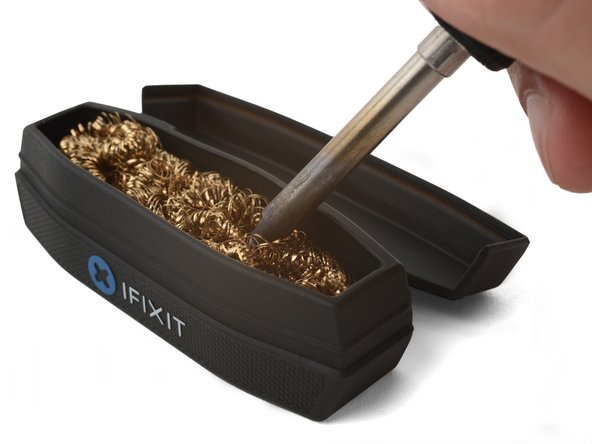
팁 청소 도구(젖은 스펀지 또는 황동선)
-
가스 배출기 (실내에서 작업하는 경우)
-
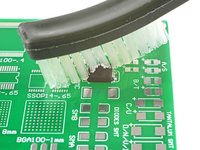
고농도(>90%) 이소프로필 알코올과 부드러운 솔 브러시 (칫솔처럼)
-
-
-
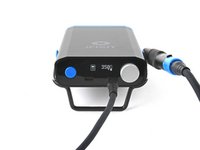
납땜 인두를 켜세요. 납땜 인두에 온도 조절 기능이 있는 경우:
-
납 납땜을 사용하는 경우 300°C(~570°F)로 설정하세요.
-
무연 납땜을 사용하는 경우 375°C(~700°F)로 설정하세요.
-
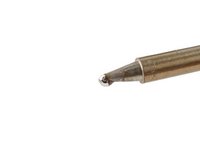
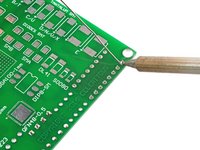
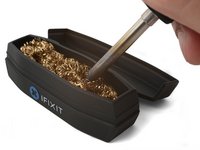
납땜 인두 팁을 청소하세요. 스펀지를 사용하는 경우 스펀지를 적신 후 팁을 빠르게 닦아내세요. 황동선을 사용하는 경우 팁을 선에 몇 번 찌르세요.
-
-
-
이 단계에 사용된 도구:Solder Wick Braid$4.99
-
이 단계에 사용된 도구:Tack Flux SMD291 no clean 5cc ROHS$13.99
-
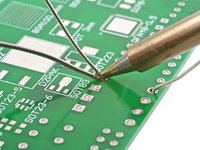
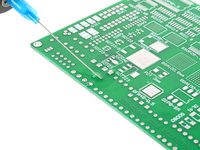
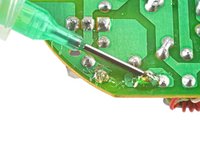
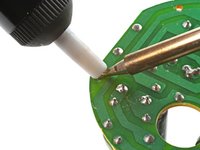
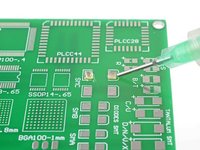
납땜 조인트에 플럭스 비드를 바르세요.
-
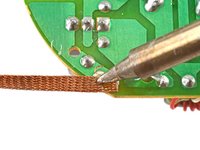
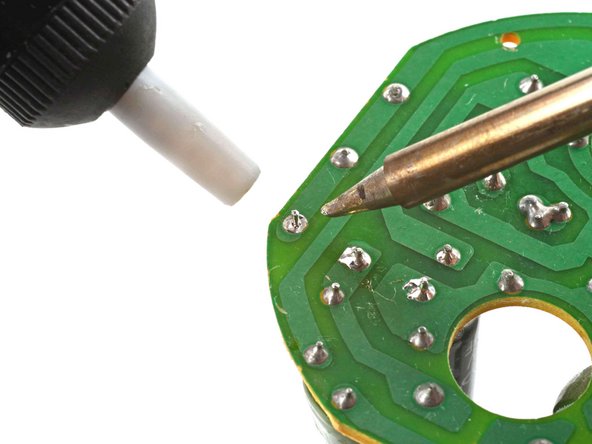
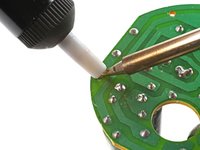
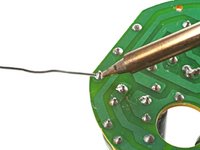
납땜 심지의 깨끗한 부분을 납땜 조인트 위에 놓으세요.
-
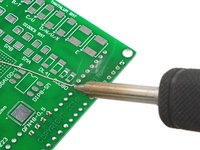
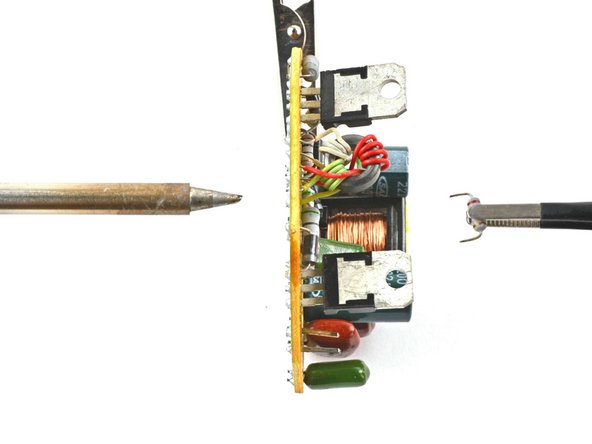
납땜 인두 팁을 심지에 대고 2~3초 동안 꾹 눌러주세요. 심지를 충분히 뜨겁게 가열하여 그 아래의 납땜을 녹이려고 합니다.
-
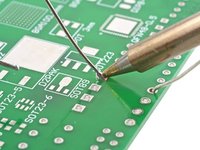
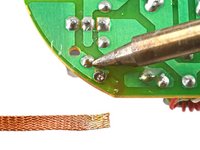
납땜이 심지를 포화시키면 새 부분이 조인트에 닿도록 심지를 밀어 넣으세요. 심지의 색이 구리색에서 은색으로 바뀌면 포화 상태임을 알 수 있습니다.
-
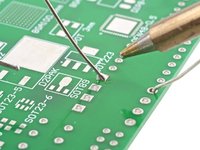
납땜이 심지에 대부분 스며들면 심지와 팁을 들어 올려 조인트에서 함께 떼어내세요.
-
-
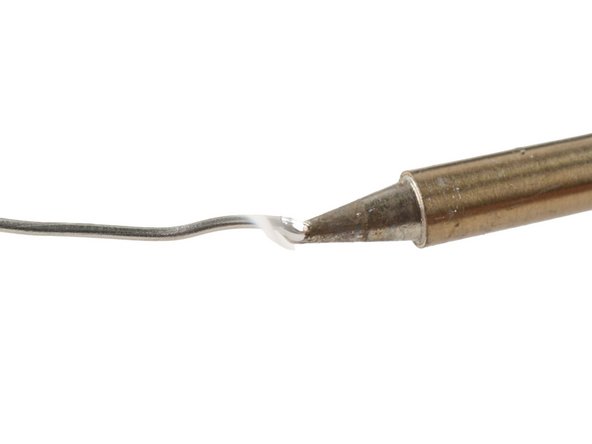
이 단계에 사용된 도구:Solder Leaded 63/37 Rosin Core$19.99
-
-
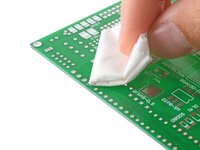
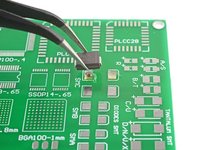
납땜 조인트에 이소프로필 알코올을 약간 바르고 부드러운 솔 브러시로 해당 부위를 문질러 플럭스 잔여물을 분리하세요.
-
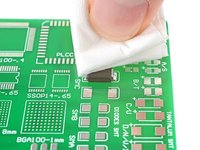
보풀이 없는 천으로 납땜 조인트를 닦아 플럭스와 알코올 잔여물을 흡수하세요.
-
-
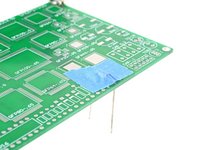
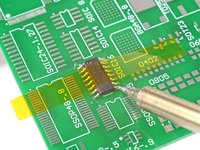
이 단계에 사용된 도구:Polyimide Tape$9.99
-
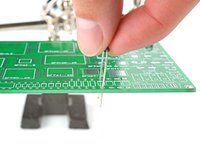
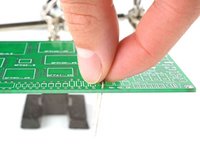
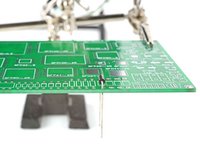
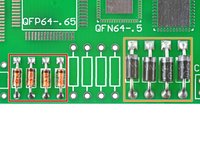
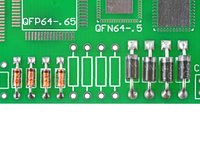
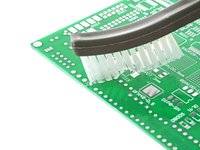
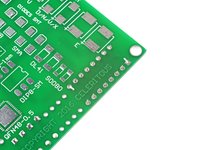
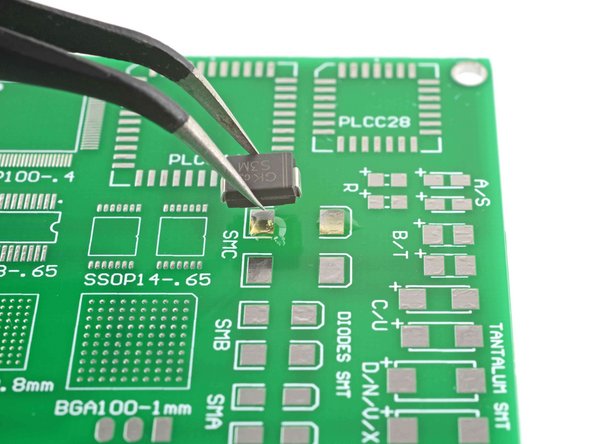
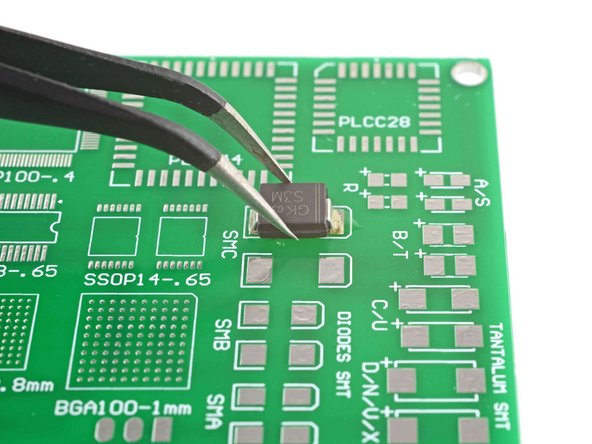
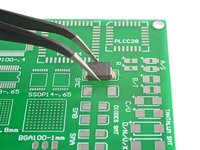
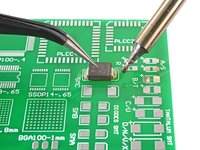
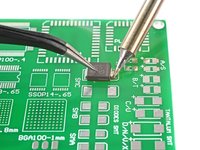
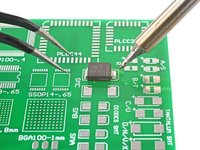
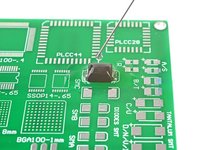
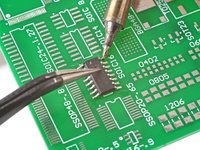
부품을 제자리에 고정하고 모서리 납을 납땜하여 제자리에 고정하세요.
-
대안으로 폴리이미드 테이프를 사용하여 부품들을 보드에 고정시킨 다음 모서리 납을 납땜할 수 있습니다.
-


이 납땜 입문 안내서를 마치신 것을 축하드립니다! 여러분은 가치 있고 다재다능한 기술을 습득하기 위한 첫 걸음을 내디뎠습니다. 이제 기본을 익히셨으니 다양한 전자제품 프로젝트와 수리에 도전할 수 있는 준비가 되었습니다. 연습이 완벽함을 만든다는 사실을 잊지 마시고, 주저하지 말고 기술을 실험하고 다듬어 보세요.
납땜에 대한 자세한 정보는 여기를 클릭 하세요.
다른 490명이 해당 안내서를 완성하였습니다.
다음 번역가들에게 특별히 감사 드립니다:
93%

Christian Kim님은 저희가 세상을 수리하는데 동참하신 분입니다! 기여하시겠습니까?
번역 시작하기 ›

팀

36가이드 댓글
TIP: Another method which works well for clearing solder from holes (especially on repairs like AC Jacks on laptops) is to use compressed air to clear melted solder from holes. A quick blast with a duster can works well (I have even used a drink straw in a pinch and blown out with a blast of air from mouth). Heat the solder until it liquefies, put the duster straw right above the solder and quickly hit the melted solder with an air blast to instantly clear the hole of solder. This works well on very small holes as melted solder does not always push out cleanly with metal tools. You have to be quick with the air blast because the solder re-hardens rapidly.
just be careful doing this lol, flying molten solder can and will burn you or other components.
Logixal -
Flying solder might also get into places you don't want it. Making shorts and other unwanted connections of which you don't know where they are, so it can give you a very hard time finding them.
This is not IPC standards but for the ghetto approach, it will get the job done. I solder in manufacture settings, run my own shop. This is wrong to a degree but will do. If ifixit would like tips from ILLFIXIT then your more then welcome!
Tony Stark - 답글