소개
This guide will show users how to properly replace the motherboard of the AEE Mach 1 quadcopter. The motherboard manages all of the various controls involved in flight, such as handling controller input signals, regulating propellor speed, and processing and sending camera data to the user’s screen. If you have issues with any of the processes mentioned above, a motherboard replacement may restore functionality to your drone!
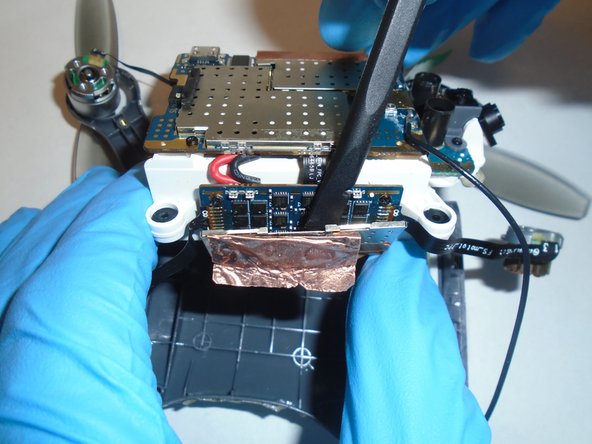
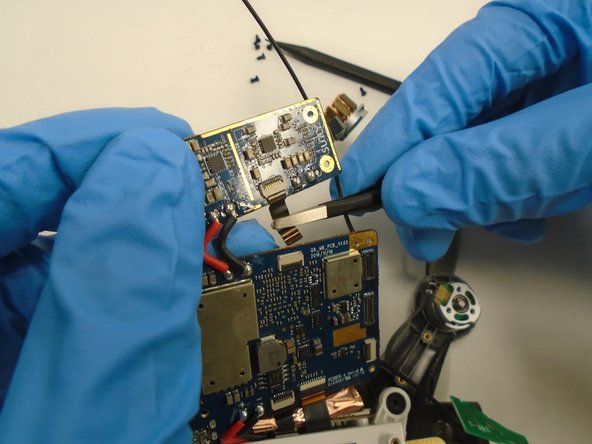
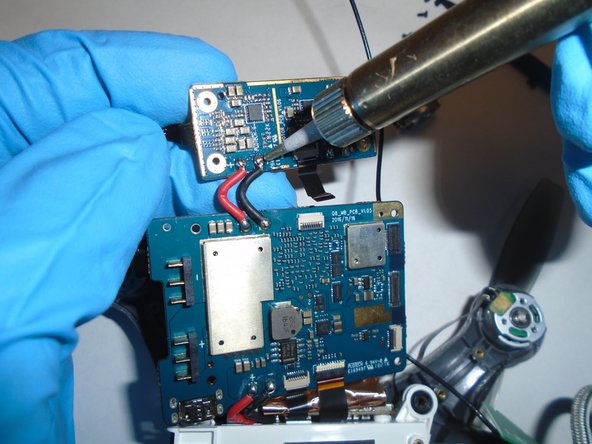
Some soldering skills will be required to complete this guide, so if you are unfamiliar with best practices, check out our How To Solder and Desolder Connections guide before you begin.
필요한 것
-
-
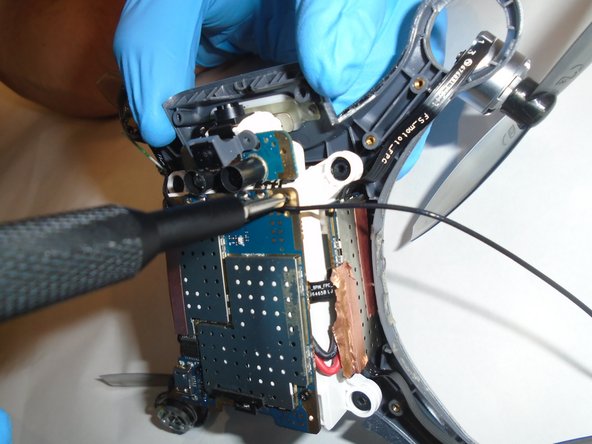
Take out the AEE Mach 1 and place it on a flat surface with its propellers facing up.
-
-


To reassemble your device, follow these instructions in reverse order.
To reassemble your device, follow these instructions in reverse order.
팀

The Citadel Military College of South Carolina, Team S1-G7, Eggleston Fall 2020 The Citadel Military College of South Carolina, Team S1-G7, Eggleston Fall 2020 회원
CMCSC-EGGLESTON-F20S1G7
2 회원들
안내서 1개 작성하였습니다