소개
Our laptops screen cracked so we needed to replace it. This guide will help you in the process of replacing the display screen for ASUS Q536F. If your screen is damaged in any way, for example, cracked screen, pixels not properly displayed, not displaying vivid colors, or just simple damage being seen, then the entire screen needs to be replaced.
In the process of replacing the screen, take extra precaution, as you are working with a screen and it can shatter. Make sure you take time to wear equipment such as safety glasses. This simple-to-follow tutorial will help users prolong the life of their laptops and replace the screen. Make sure to have the laptop unplugged and powered off before proceeding.
필요한 것
-
-
Remove ten 2 mm screws using a Phillips #0 screwdriver.
-
Remove the screw in the center using a T4 Torx screwdriver.
-
Use an iFixit opening tool to pry open the back panel.
 FixBot에 문의하기
-
-
-
Remove the six 2 mm screws from the hinges using a Phillips #0 screwdriver.
-
-
-
-
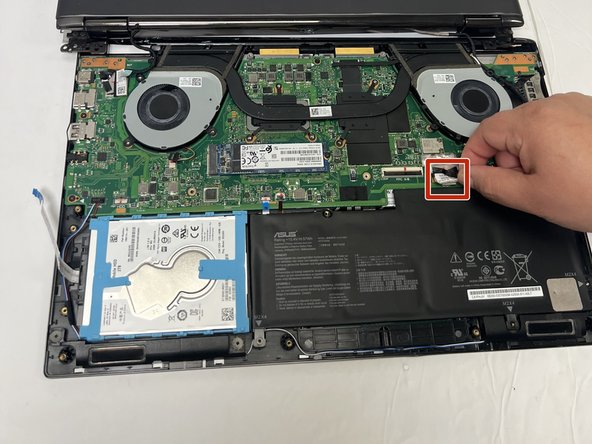
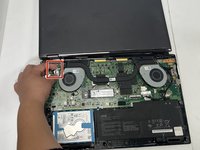
Using your fingers, unplug the two power cables connecting the display to the motherboard.
-
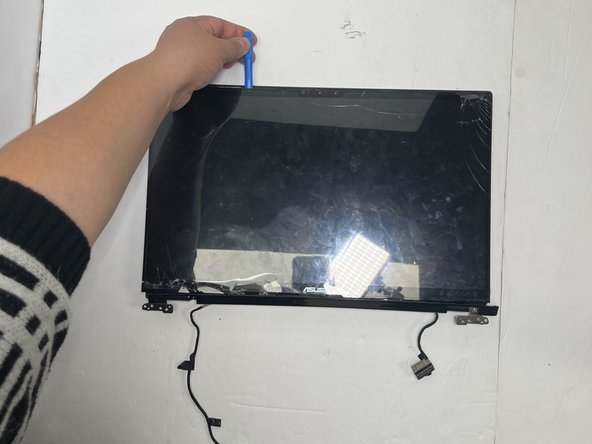
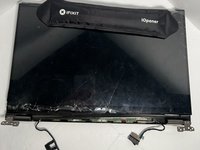
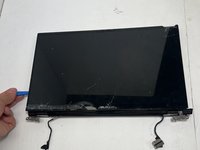
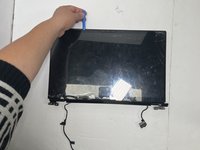
Remove the display assembly from the laptop.
-
-
-
Use an iOpener to help loosen the adhesive on the screen.
-
Gently pry the bottom right corner of the screen's border and remove the sticky screen cover.
-
Use the opening tool around the entire display to ensure you cut as much adhesive as possible.
-


To reassemble your device, follow these instructions in reverse order.
팀

Gateway, Team 88-8, Gonzalez Fall 2023 Gateway, Team 88-8, Gonzalez Fall 2023 회원
GCC-GONZALEZ-F23S88G8
5 회원들
안내서 6개를 작성함
1가이드 댓글
I've never had to do a screen replacement but I know my way around PCs. Laptops not as much, but have done other smaller repairs. Replacing the entire screen has me quite anxious. Whats the difficulty level on that?