소개
If your ASUS X571GT struggles to hold a charge or has a short battery life, then you may need to look into replacing your battery. Before using this guide, look at the documentation linked here for possible fixes that may not need any form of disassembly. This guide can be used to remove the back panel and battery for the ASUS 571GT and similar models
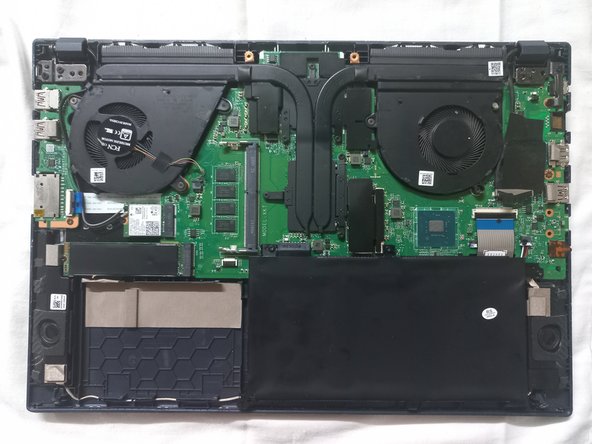
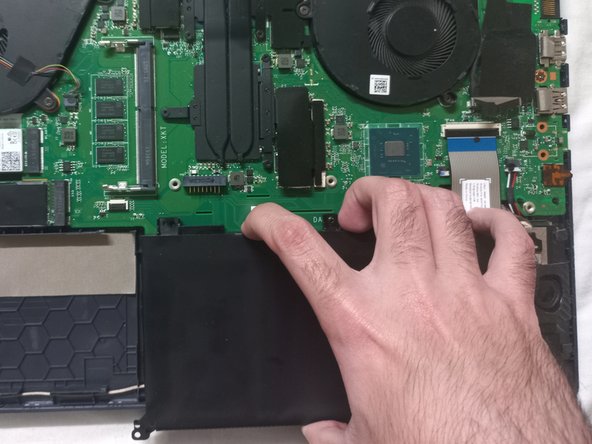
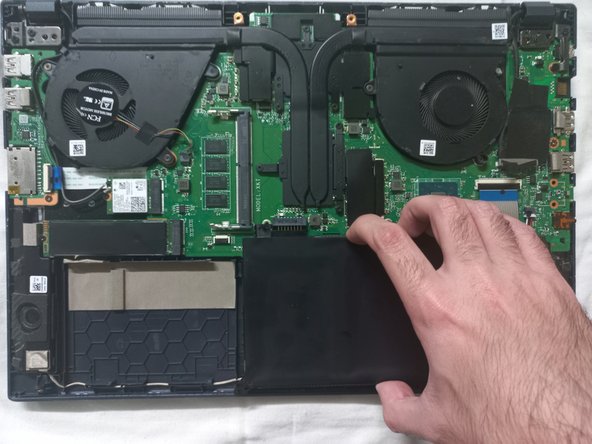
The battery is an important part of the your laptop. Before removing the battery, inspect it to make sure that it is not swollen, and that all the battery has fully discharged. For more information about battery safety, please look at this guide that iFixit has provided.
Before you do any type of disassembly to your device, make sure that you have powered it off and that it is unplugged.
필요한 것
-
-
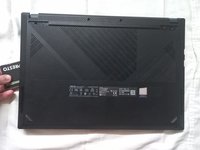
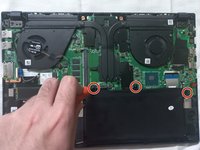
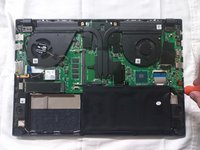
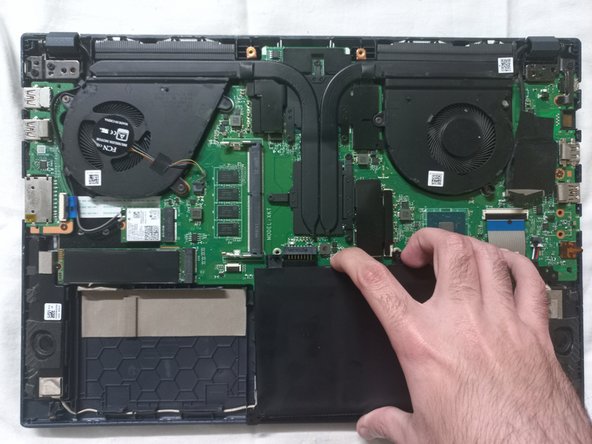
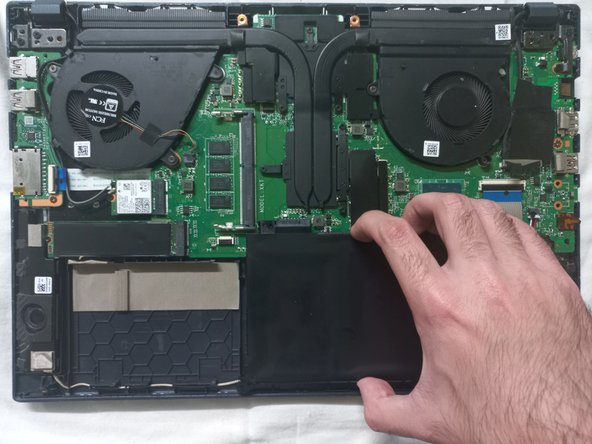
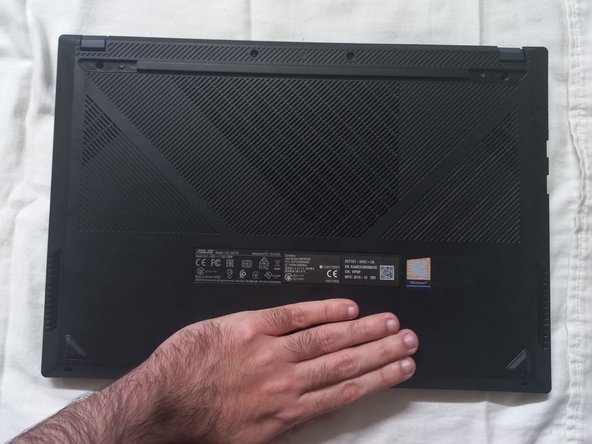
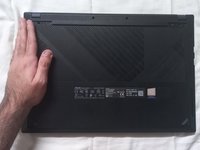
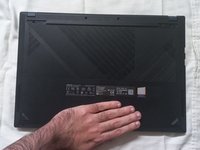
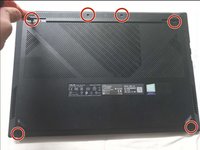
Flip the laptop over so the bottom is facing up.
-
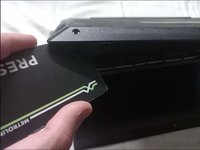
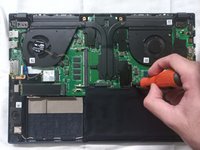
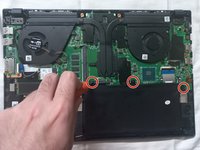
Use a spudger to gently pry off the two screw covers just below each hinge.
-
-


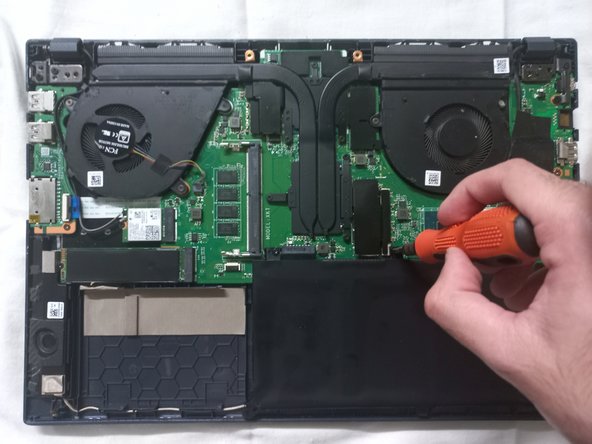


To reassemble your device, follow these instructions in reverse order.
To reassemble your device, follow these instructions in reverse order.
다른 한 분이 해당 안내서를 완성하였습니다.
팀

York University, Team 2-4, O'Regan Winter 2024 York University, Team 2-4, O'Regan Winter 2024 회원
YORK-O'REGAN-W24S2G4
1 회원
안내서 1개 작성