주요 콘텐츠로 건너뛰기

ATT CL2940 Handset Speaker Replacement

필요한 것

  1. ATT CL2940 Handset Speaker Replacement, Handset Speaker: 1 단계, 이미지 1/2 ATT CL2940 Handset Speaker Replacement, Handset Speaker: 1 단계, 이미지 2/2
    • Separate the two sections of the handset by pushing them apart with the tip of the metal spudger or opening tool.

  2. ATT CL2940 Handset Speaker Replacement: 2 단계, 이미지 1/2 ATT CL2940 Handset Speaker Replacement: 2 단계, 이미지 2/2
    • Continue separating the two sections by using the metal spudger all the way around the edge of the handset.

  3. ATT CL2940 Handset Speaker Replacement: 3 단계, 이미지 1/1
    • After separating the two sections of the handset, it should look as shown.

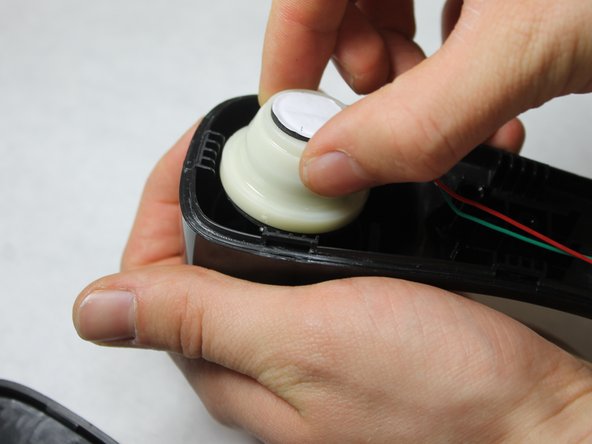
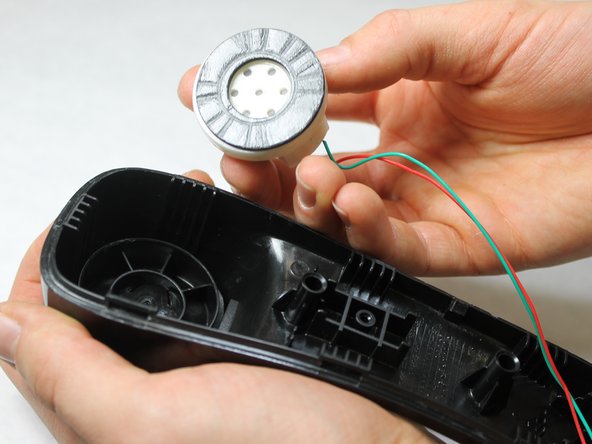
  4. ATT CL2940 Handset Speaker Replacement: 4 단계, 이미지 1/3 ATT CL2940 Handset Speaker Replacement: 4 단계, 이미지 2/3 ATT CL2940 Handset Speaker Replacement: 4 단계, 이미지 3/3
    • Pull the speaker out gently to detach it from the handset. The speaker is located at the top end of the handset. It is the circular white piece with red and greed wires connected to it.

    • The speaker is attached to the handset with a slightly sticky adhesive.

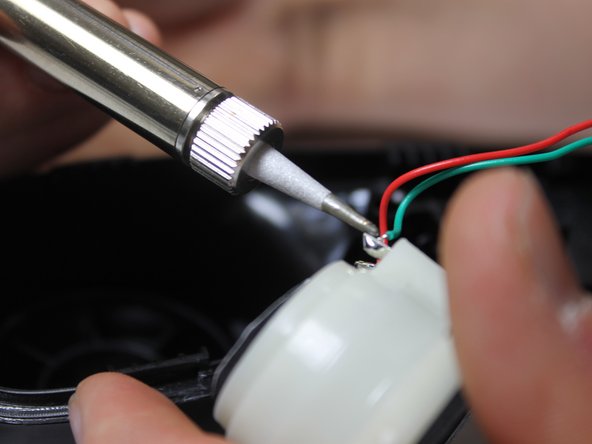
  5. ATT CL2940 Handset Speaker Replacement: 5 단계, 이미지 1/2 ATT CL2940 Handset Speaker Replacement: 5 단계, 이미지 2/2
    • Use a soldering iron to melt the existing solder off of both the red and green wires in order to completely remove the speaker.

결론

To reassemble your device, follow these instructions in reverse order.

다른 한 분이 해당 안내서를 완성하였습니다.

Noor Assaf

회원 가입일: 02/15/16

306 평판

안내서 2개 작성하였습니다

IUPUI, Team 1-1, Harley Spring 2016 IUPUI, Team 1-1, Harley Spring 2016 회원

IUPUI-HARLEY-S16S1G1

4 회원들

안내서 13개 작성하였습니다

댓글 0개

댓글 쓰기

조회 통계:

24 시간 전: 0

7일 전: 1

30일 전: 8

전체 시간: 628