소개
Use this guide to replace a faulty or broken motherboard in your ATT CL4940 telephone.
The motherboard is the main circuit board which provides all connectivity between the hardware components of the device. A faulty motherboard can cause your device to run slow, and in some cases not work at all. Some reasons for motherboard failure include overheating, dust, power surges, and old age.
Before using this guide, make sure to check out the page on soldering and desoldering as this will be an important skill in step 5.
Be sure to unplug your device before starting as to avoid any electrical related injuries and/or damages.
필요한 것
-
-
Disconnect the phone line and power cord from the back cover of the device.
-
Disconnect the phone cable from the side of the device.
-
-
-
-
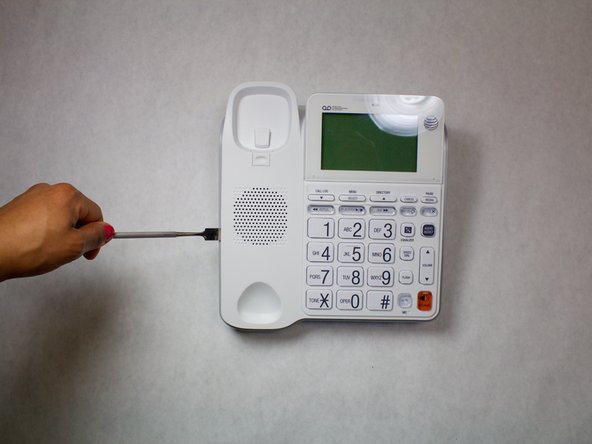
Using a metal spudger, start at the bottom of the device to separate the top cover from the back cover.
-
Work the spudger between the top and back covers of the device starting downwards, then to each side, and finally upwards.
-
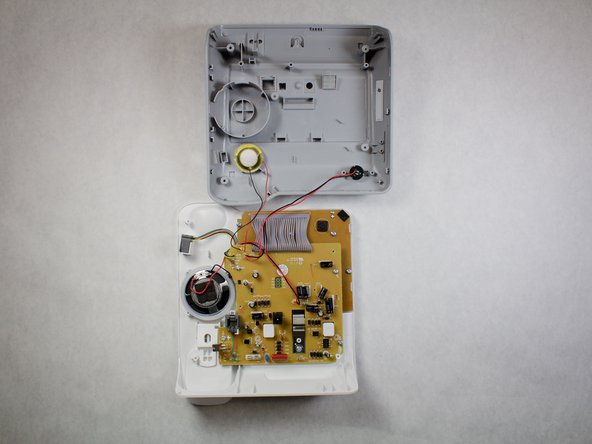
The top and back cover will separate and the internals will be accessible.
-
-
-
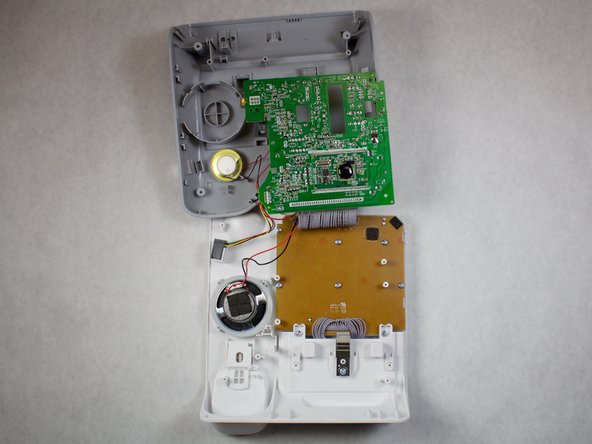
Lift the motherboard upwards as shown in the first image.
-
Use a de-soldering pump to disconnect the electric wires by de-soldering them.
-


To reassemble your device, follow these instructions in reverse order.
To reassemble your device, follow these instructions in reverse order.
팀

IUPUI, Team 2-2, Harley Spring 2016 IUPUI, Team 2-2, Harley Spring 2016 회원
IUPUI-HARLEY-S16S2G2
4 회원들
안내서 8개 작성하였습니다
댓글 한 개
But no option for ordering a replacement motherboard! Did the author get the part off of a scrapped unit?