소개
This guide shows how to replace the heatsink of the Acer Swift X N20C12.
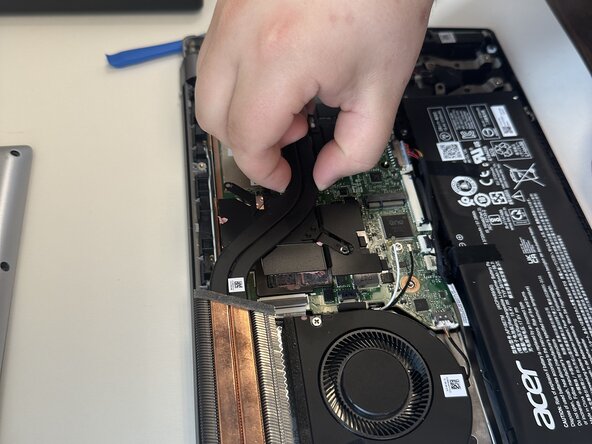
The heatsink moves heat away from important heat generating components like the CPU, GPU, memory modules, etc. The heatsink works together with the fan which blows the hot air out of the laptop.
There are thermal pads and paste on the heatsink and components attached to it, which you may also want to replace if you're experiencing thermal throttling or frequent crashes when doing heavy workloads.
필요한 것
-
-
Use a T5 Torx screwdriver to remove the eleven screws that secure the lower case.
-
-
-
-
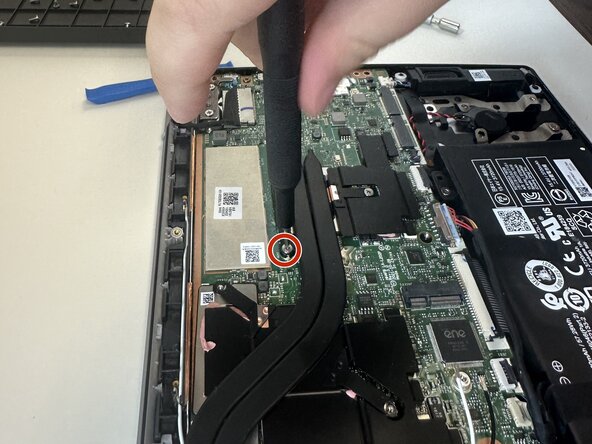
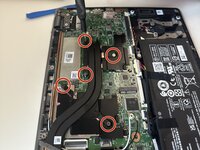
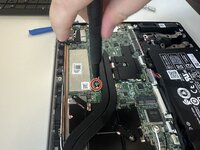
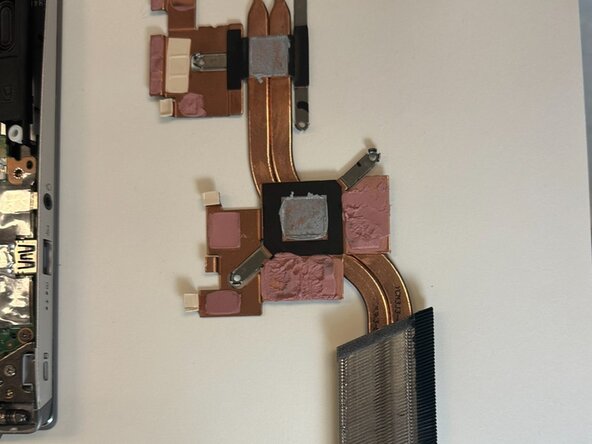
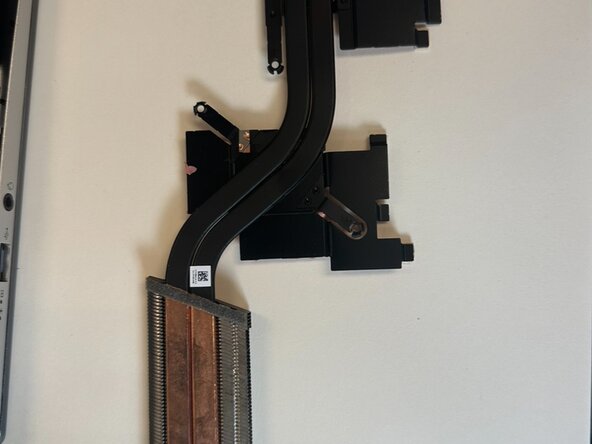
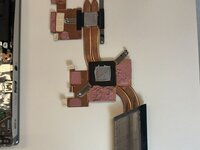
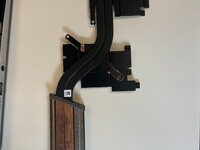
Use a Phillips #00 screwdriver to remove the five 5 mm screws that secure the heatsink.
-


To reassemble your device, follow the above steps in reverse order.
Take your e-waste to an R2 or e-Stewards certified recycler.
Repair didn’t go as planned? Try some basic troubleshooting or ask our Answers community for help.
다른 한 분이 해당 안내서를 완성하였습니다.

팀

Austin Community College, Team 22-3, Watkins Summer 2025 Austin Community College, Team 22-3, Watkins Summer 2025 회원
AUSTINCC-WATKINS-SU25S22G3
4 회원들
안내서 5개를 작성함