주요 콘텐츠로 건너뛰기

Afterglow Wireless PS3 Controller Vibration Motor Replacement

필요한 것

  1. Afterglow Wireless PS3 Controller Vibration Motor Replacement, Back Cover: 1 단계, 이미지 2개 중 1개 Afterglow Wireless PS3 Controller Vibration Motor Replacement, Back Cover: 1 단계, 이미지 2개 중 2개
    • Lay the controller face down on a flat surface and remove the seven 9mm Phillips #0 screws on the back of the controller.

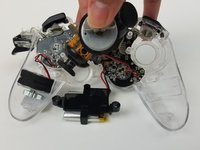
    • Lift up and remove the controller back plate.

  2. Afterglow Wireless PS3 Controller Vibration Motor Replacement, Vibration Motor: 2 단계, 이미지 2개 중 1개 Afterglow Wireless PS3 Controller Vibration Motor Replacement, Vibration Motor: 2 단계, 이미지 2개 중 2개
    • Carefully remove the battery by lifting it straight up from its place.

    • Keep in mind that the red and black battery wires are attached to the motherboard. Handle these with care.

  3. Afterglow Wireless PS3 Controller Vibration Motor Replacement: 3 단계, 이미지 1개 중 1개
    • Unscrew the four 9mm Phillips #0 screws that are attached to both joy stick control mini-motherboards. There are two screws for each mini-motherboard.

  4. Afterglow Wireless PS3 Controller Vibration Motor Replacement: 4 단계, 이미지 3개 중 1개 Afterglow Wireless PS3 Controller Vibration Motor Replacement: 4 단계, 이미지 3개 중 2개 Afterglow Wireless PS3 Controller Vibration Motor Replacement: 4 단계, 이미지 3개 중 3개
    • Jiggle both joy stick control mini-motherboards out of their holding place.

    • Set aside the mini-motherboards so that the vibration motor wire connections are accessible.

  5. Afterglow Wireless PS3 Controller Vibration Motor Replacement: 5 단계, 이미지 2개 중 1개 Afterglow Wireless PS3 Controller Vibration Motor Replacement: 5 단계, 이미지 2개 중 2개
    • Pull both vibration motors straight up from their holding place.

  6. Afterglow Wireless PS3 Controller Vibration Motor Replacement: 6 단계, 이미지 1개 중 1개
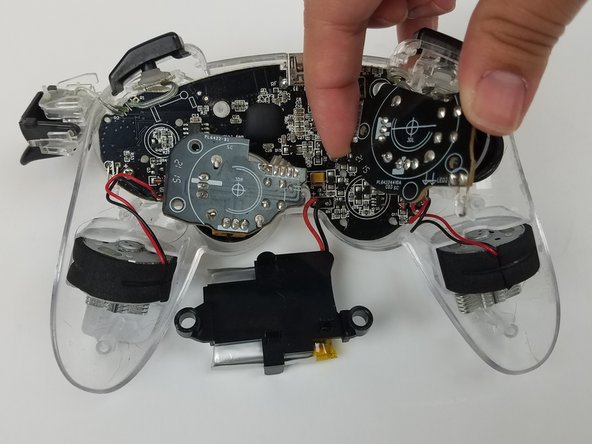
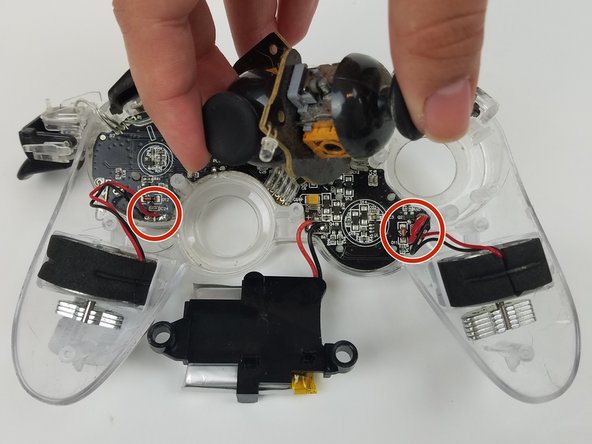
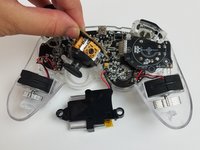
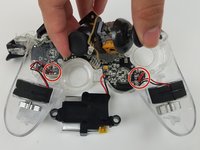
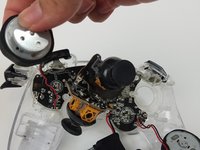
    • Use the soldering tool to heat the solder connecting the red and black vibration motor wires to the motherboard to detach the vibration motors.

    • Use this guide for further details on how to solder.

결론

To reassemble your device, follow these instructions in reverse order.

작성자

1다른 기여자 명과 함께

Natalie Cox

회원 가입일: 02/17/17

207 평판

안내서 2개를 작성함

USF Tampa, Team S19-G5, Hoffman Spring 2017 USF Tampa, Team S19-G5, Hoffman Spring 2017 회원

USFT-HOFFMAN-S17S19G5

4 회원들

안내서 20개를 작성함

0가이드 댓글

댓글 쓰기

조회 통계:

지난 24시간: 1

지난 7일: 5

지난 30일: 17

전체 시간: 1,212