소개
Use this guide to replace the Charging Port of Alcatel Jitterbug Smart.
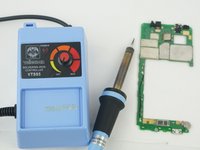
This guide requires the ability to desolder the charging port from the motherboard. For more information on how to solder and desolder connections, please visit this guide.
필요한 것
-
-
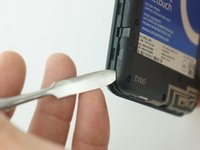
Pry back cover open with a medal spudger, or your fingernail, in the divot at the bottom left corner of the phone.
-
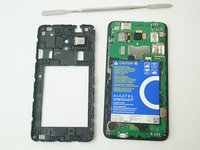
Lift open case by the corner nearest the divot and remove it from the phone.
-
-
-
-
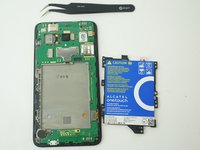
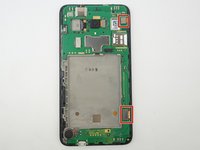
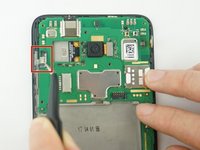
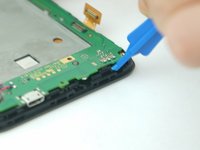
Use the Plastic Opening tools to gently dislodge the two connection on the top and bottom right of the phone from the inside of the phone.
-
-
-
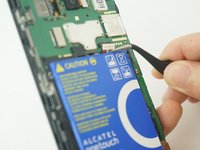
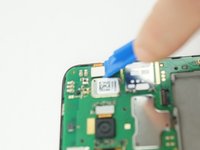
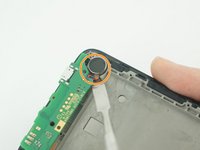
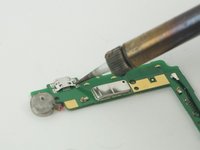
Flip the motherboard over and desolder the charging port pin connecting on the motherboard.
-
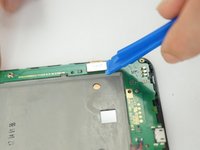
Once pins desolder, pull off the charging port.
-


To reassemble your device, follow these instructions in reverse order.
다른 2명이 해당 안내서를 완성하였습니다.
팀

USF Tampa, Team S11-G4, Cheng Spring 2018 USF Tampa, Team S11-G4, Cheng Spring 2018 회원
USFT-CHENG-S18S11G4
4 회원들
안내서 10개를 작성함