주요 콘텐츠로 건너뛰기

Arlo Ultra 2 Camera Lens Replacement

필요한 것

  1. Arlo Ultra 2 Camera Lens Replacement, Battery: 1 단계, 이미지 2개 중 1개 Arlo Ultra 2 Camera Lens Replacement, Battery: 1 단계, 이미지 2개 중 2개
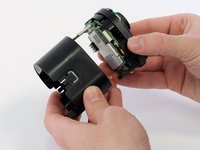
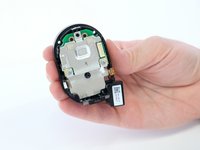
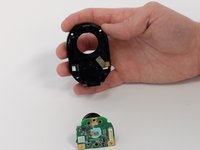
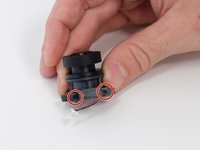
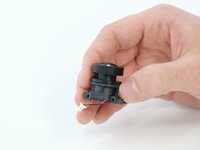
    • Press the button on the bottom of the camera to release the case.

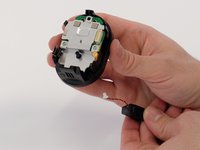
    • Pull the white case off of camera.

  2. Arlo Ultra 2 Camera Lens Replacement: 2 단계, 이미지 1개 중 1개
    • Pull the white cube shaped battery from the back to remove it from camera.

  3. Arlo Ultra 2 Camera Lens Replacement, Speaker: 3 단계, 이미지 2개 중 1개 Arlo Ultra 2 Camera Lens Replacement, Speaker: 3 단계, 이미지 2개 중 2개
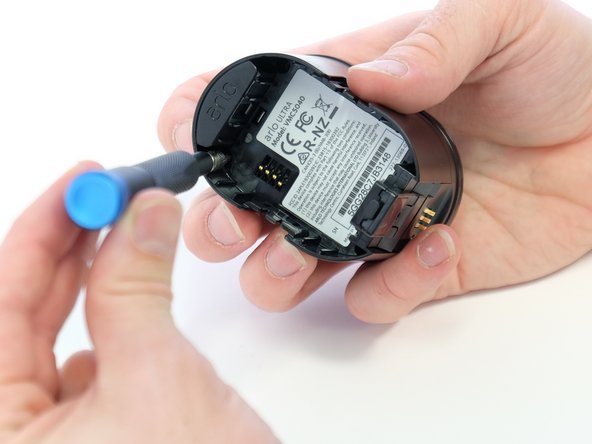
    • Use a Phillips #0 screwdriver to remove the four 20.0 mm screws from the battery cavity. They are found in each corner.

  4. Arlo Ultra 2 Camera Lens Replacement: 4 단계, 이미지 2개 중 1개 Arlo Ultra 2 Camera Lens Replacement: 4 단계, 이미지 2개 중 2개
    • Using the spudger, loosen and remove the camera faceplate.

  5. Arlo Ultra 2 Camera Lens Replacement: 5 단계, 이미지 2개 중 1개 Arlo Ultra 2 Camera Lens Replacement: 5 단계, 이미지 2개 중 2개
    • Using the spudger, loosen and remove the back casing to expose the camera hardware.

  6. Arlo Ultra 2 Camera Lens Replacement: 6 단계, 이미지 2개 중 1개 Arlo Ultra 2 Camera Lens Replacement: 6 단계, 이미지 2개 중 2개
    • Very gently, pry the circuit boards apart from the white connector, removing the upper circuit board.

  7. Arlo Ultra 2 Camera Lens Replacement: 7 단계, 이미지 2개 중 1개 Arlo Ultra 2 Camera Lens Replacement: 7 단계, 이미지 2개 중 2개
    • Use a Phillips #00 screwdriver to remove two 5.0 mm screws from the metal bracket.

    • Use a spudger to separate the long metal bracket.

    • There is an arrow etched into the bracket. It points towards the top of the camera. This is important when reassembling the camera.

  8. Arlo Ultra 2 Camera Lens Replacement: 8 단계, 이미지 3개 중 1개 Arlo Ultra 2 Camera Lens Replacement: 8 단계, 이미지 3개 중 2개 Arlo Ultra 2 Camera Lens Replacement: 8 단계, 이미지 3개 중 3개
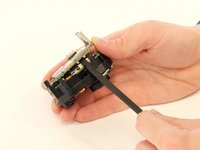
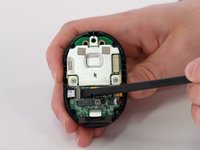
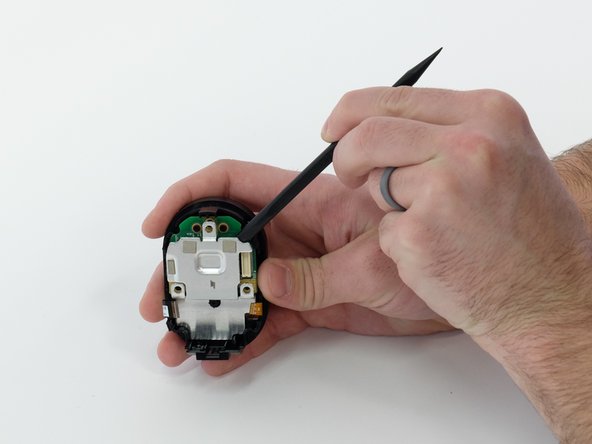
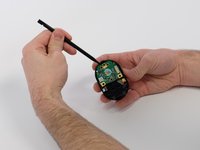
    • Use the tip of a spudger or your fingernail to flip up the small locking flap on each ZIF connector. Then, you can safely pull the cables out.

    • Be sure to pry up on the hinged flap, not the connector socket.

  9. Arlo Ultra 2 Camera Lens Replacement: 9 단계, 이미지 2개 중 1개 Arlo Ultra 2 Camera Lens Replacement: 9 단계, 이미지 2개 중 2개
    • Use a spudger to carefully push on each side of the speaker cable connector until it's out of its socket.

  10. Arlo Ultra 2 Camera Lens Replacement: 10 단계, 이미지 1개 중 1개
    • Remove the small green circuit board.

  11. Arlo Ultra 2 Camera Lens Replacement: 11 단계, 이미지 3개 중 1개 Arlo Ultra 2 Camera Lens Replacement: 11 단계, 이미지 3개 중 2개 Arlo Ultra 2 Camera Lens Replacement: 11 단계, 이미지 3개 중 3개
    • Feed the speaker cable through the opening to remove the speaker.

  12. Arlo Ultra 2 Camera Lens Replacement, Camera Lens: 12 단계, 이미지 3개 중 1개 Arlo Ultra 2 Camera Lens Replacement, Camera Lens: 12 단계, 이미지 3개 중 2개 Arlo Ultra 2 Camera Lens Replacement, Camera Lens: 12 단계, 이미지 3개 중 3개
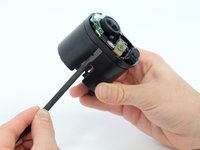
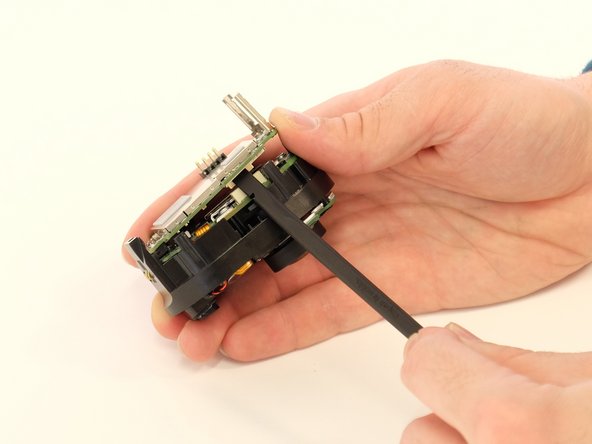
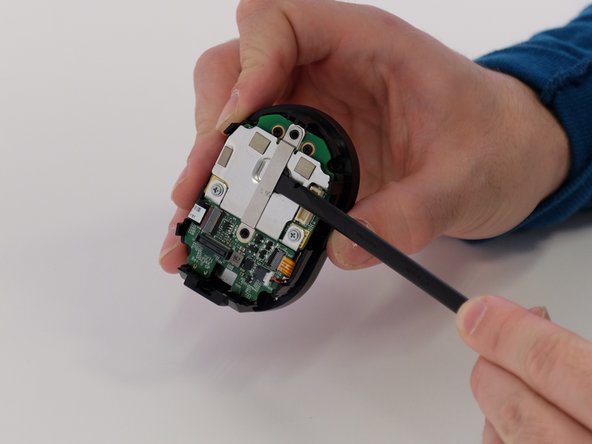
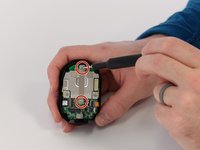
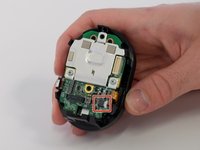
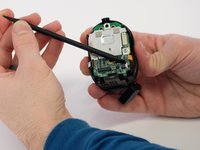
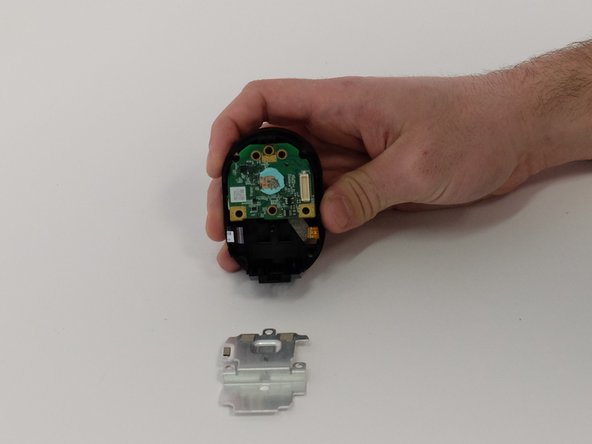
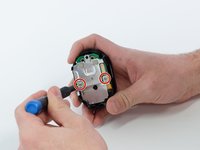
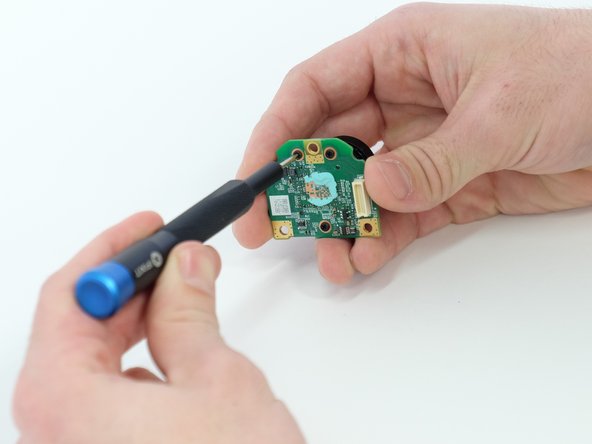
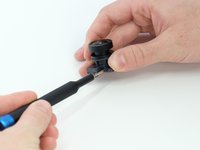
    • Use a Phillips #00 screwdriver to remove the two 5.0 mm screws from both sides of the metal plate.

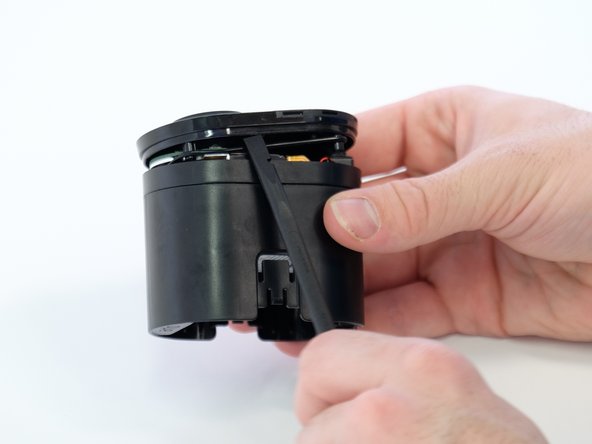
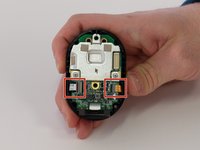
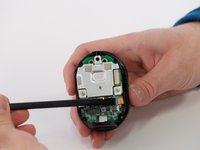
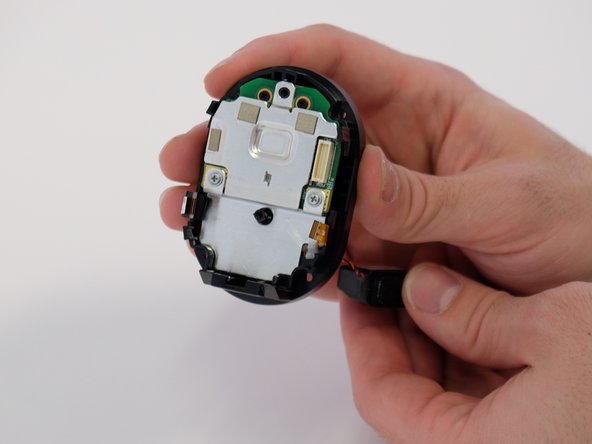
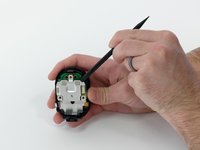
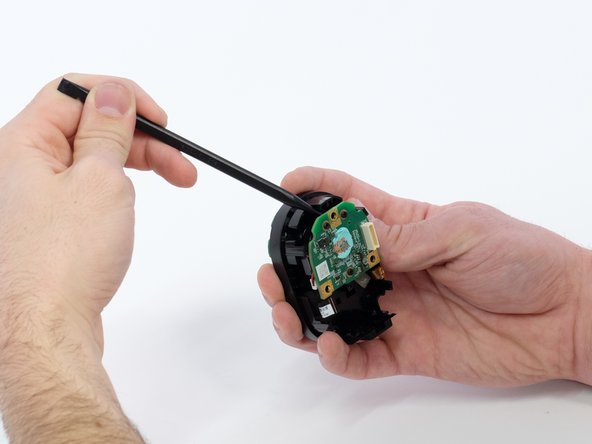
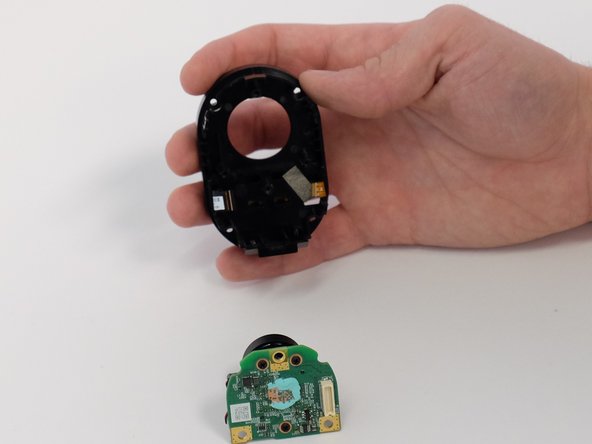
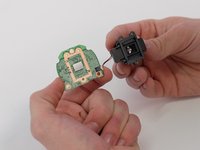
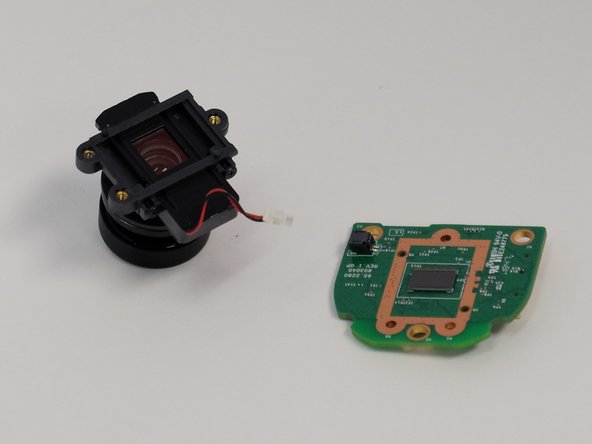
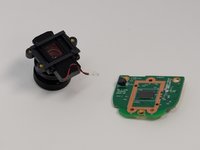
    • Pry the metal plate away from circuit board underneath.
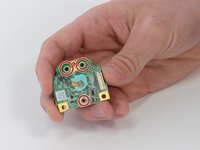
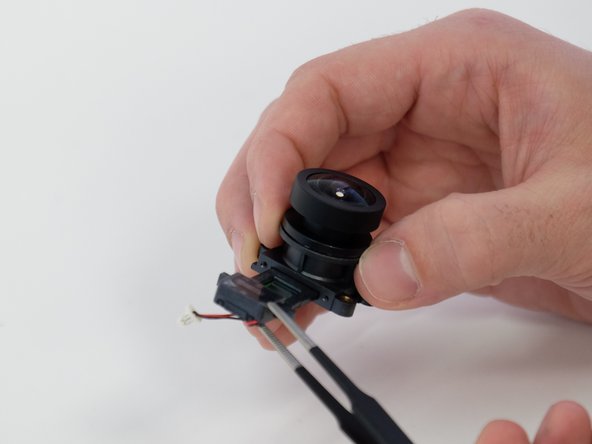
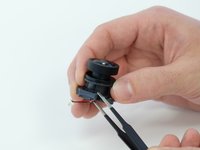
    • There is a small amount of blue putty in between the metal plate and the circuit board.

  13. Arlo Ultra 2 Camera Lens Replacement: 13 단계, 이미지 3개 중 1개 Arlo Ultra 2 Camera Lens Replacement: 13 단계, 이미지 3개 중 2개 Arlo Ultra 2 Camera Lens Replacement: 13 단계, 이미지 3개 중 3개
    • Use a spudger to remove the entire green circuit board with lens attached.

  14. Arlo Ultra 2 Camera Lens Replacement: 14 단계, 이미지 3개 중 1개 Arlo Ultra 2 Camera Lens Replacement: 14 단계, 이미지 3개 중 2개 Arlo Ultra 2 Camera Lens Replacement: 14 단계, 이미지 3개 중 3개
    • Use a Phillips #00 screwdriver to remove three black 5.0 mm screws from back of the circuit board.

    • Separate the lens from the circuit board.

    • There is a small cord connecting the lens and circuit board.

  15. Arlo Ultra 2 Camera Lens Replacement: 15 단계, 이미지 2개 중 1개 Arlo Ultra 2 Camera Lens Replacement: 15 단계, 이미지 2개 중 2개
    • Use a spudger to carefully push on each side of the white cable connector to remove it from the socket and separate the camera lens from the board.

  16. Arlo Ultra 2 Camera Lens Replacement: 16 단계, 이미지 3개 중 1개 Arlo Ultra 2 Camera Lens Replacement: 16 단계, 이미지 3개 중 2개 Arlo Ultra 2 Camera Lens Replacement: 16 단계, 이미지 3개 중 3개
    • Use a Phillips #00 screwdriver to remove the two 4.0 mm screws from the side of the lens body.

  17. Arlo Ultra 2 Camera Lens Replacement: 17 단계, 이미지 3개 중 1개 Arlo Ultra 2 Camera Lens Replacement: 17 단계, 이미지 3개 중 2개 Arlo Ultra 2 Camera Lens Replacement: 17 단계, 이미지 3개 중 3개
    이 단계에 사용된 도구:
    Tweezers
    $4.99
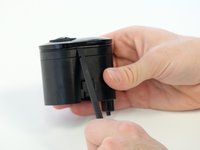
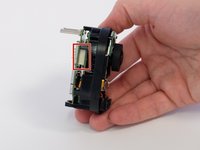
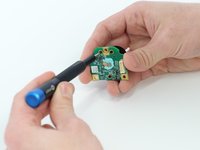
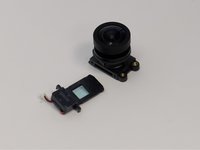
    • Use the blunt tweezers to remove the focus motor control insert from the main lens body.

결론

To reassemble your device, follow these instructions in reverse order.

작성자

4다른 기여자 명과 함께

Xavier Feaster-Rivera

회원 가입일: 01/23/23

449 평판

안내서 2개를 작성함

7가이드 댓글

Any ideas on where to get the lens ordered?

Jerald Buechler - 답글

I called Arlo and they said they don’t sell a replacement. I couldn’t find it anywhere online either. Does anybody know where to get a replacement?

Barry Bonds - 답글

My was badly scratched and I would like to replace the lens but I can't find any arlo lenses for sale. Plenty other ones but not arlo one.

Karol jar - 답글

Has anyon found where to buy a replacement lens? Mine is cracked and unusable without a new lens.

Digit Holder - 답글

My Arlo ultra lens fell out and smashed whilst swapping out the battery, the inertia from the tap dislodged the poorly fix lens, now I cant find a replacement

Paul Heslin - 답글

댓글 쓰기

조회 통계:

지난 24시간: 1

지난 7일: 15

지난 30일: 85

전체 시간: 1,976