주요 콘텐츠로 건너뛰기

Arlo Ultra 2 Speaker Replacement

필요한 것

  1. Arlo Ultra 2 Speaker Replacement, Battery: 1 단계, 이미지 1/2 Arlo Ultra 2 Speaker Replacement, Battery: 1 단계, 이미지 2/2
    • Press the button on the bottom of the camera to release the case.

    • Pull the white case off of camera.

  2. Arlo Ultra 2 Speaker Replacement: 2 단계, 이미지 1/1
    • Pull the white cube shaped battery from the back to remove it from camera.

  3. Arlo Ultra 2 Speaker Replacement, Speaker: 3 단계, 이미지 1/2 Arlo Ultra 2 Speaker Replacement, Speaker: 3 단계, 이미지 2/2
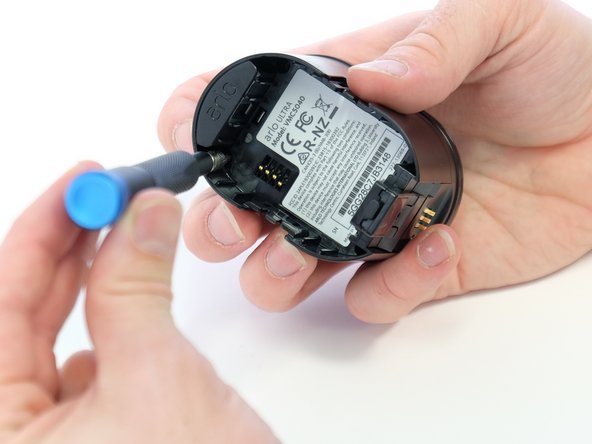
    • Use a Phillips #0 screwdriver to remove the four 20.0 mm screws from the battery cavity. They are found in each corner.

  4. Arlo Ultra 2 Speaker Replacement: 4 단계, 이미지 1/2 Arlo Ultra 2 Speaker Replacement: 4 단계, 이미지 2/2
    • Using the spudger, loosen and remove the camera faceplate.

  5. Arlo Ultra 2 Speaker Replacement: 5 단계, 이미지 1/2 Arlo Ultra 2 Speaker Replacement: 5 단계, 이미지 2/2
    • Using the spudger, loosen and remove the back casing to expose the camera hardware.

  6. Arlo Ultra 2 Speaker Replacement: 6 단계, 이미지 1/2 Arlo Ultra 2 Speaker Replacement: 6 단계, 이미지 2/2
    • Very gently, pry the circuit boards apart from the white connector, removing the upper circuit board.

  7. Arlo Ultra 2 Speaker Replacement: 7 단계, 이미지 1/2 Arlo Ultra 2 Speaker Replacement: 7 단계, 이미지 2/2
    • Use a Phillips #00 screwdriver to remove two 5.0 mm screws from the metal bracket.

    • Use a spudger to separate the long metal bracket.

    • There is an arrow etched into the bracket. It points towards the top of the camera. This is important when reassembling the camera.

  8. Arlo Ultra 2 Speaker Replacement: 8 단계, 이미지 1/3 Arlo Ultra 2 Speaker Replacement: 8 단계, 이미지 2/3 Arlo Ultra 2 Speaker Replacement: 8 단계, 이미지 3/3
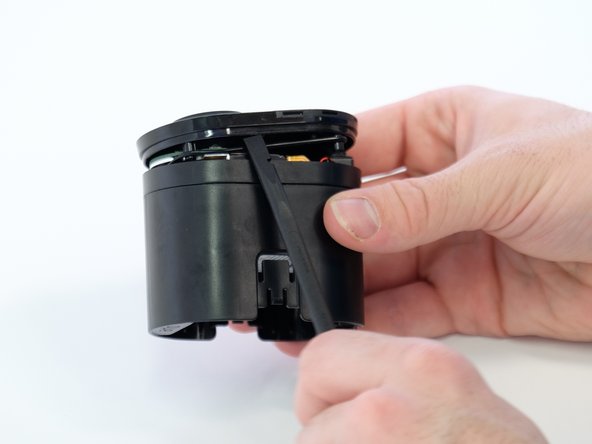
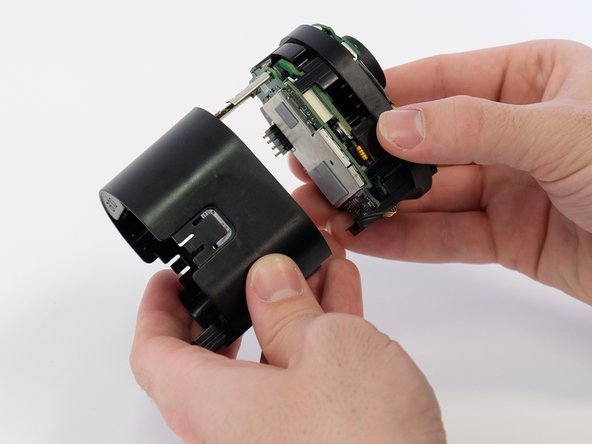
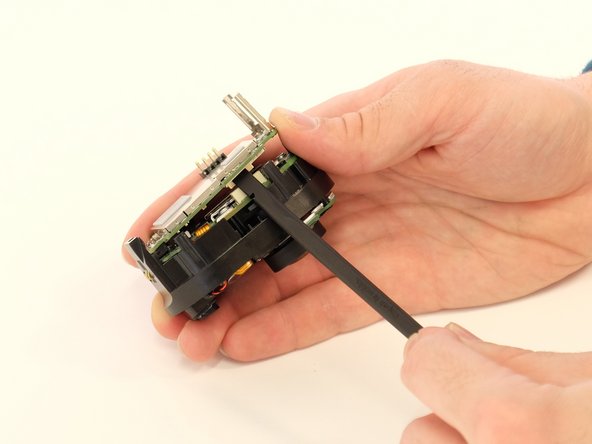
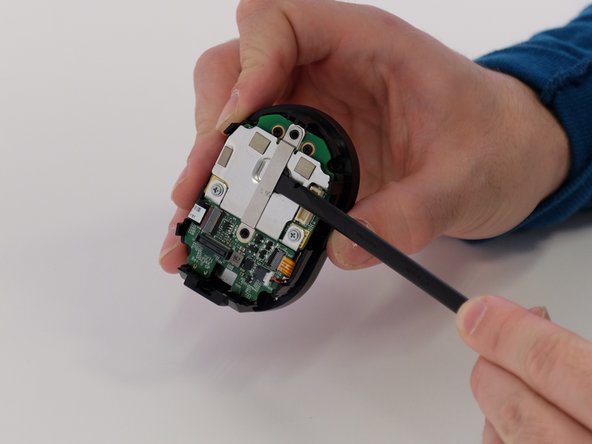
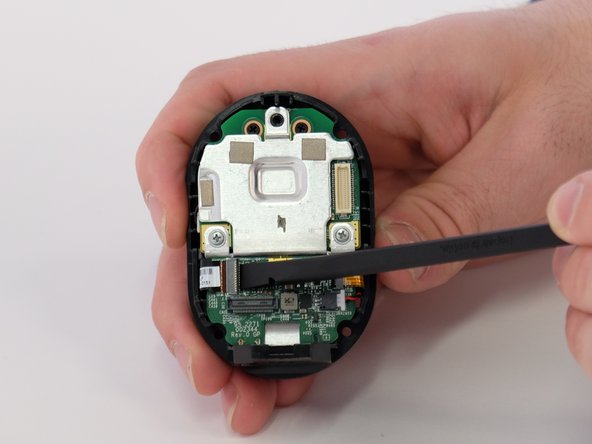
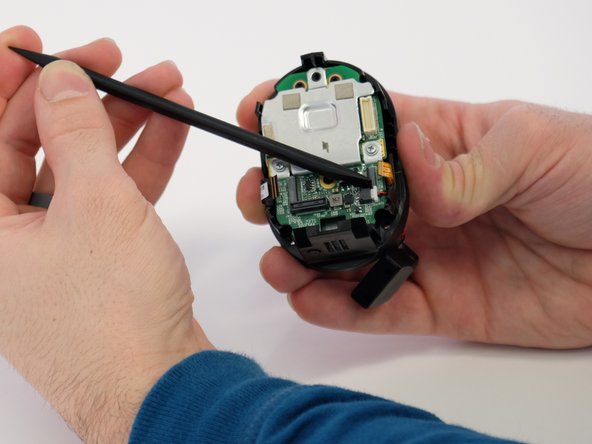
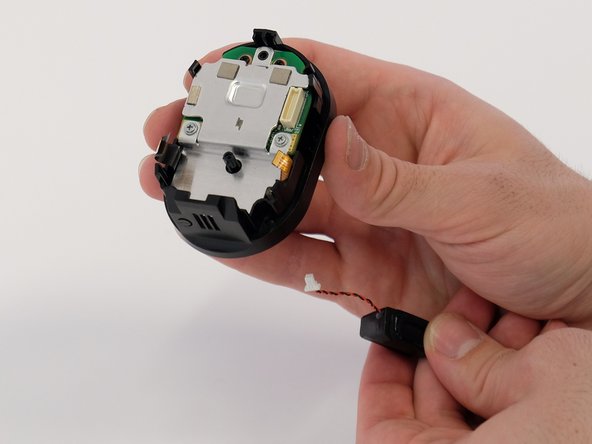
    • Use the tip of a spudger or your fingernail to flip up the small locking flap on each ZIF connector. Then, you can safely pull the cables out.

    • Be sure to pry up on the hinged flap, not the connector socket.

  9. Arlo Ultra 2 Speaker Replacement: 9 단계, 이미지 1/2 Arlo Ultra 2 Speaker Replacement: 9 단계, 이미지 2/2
    • Use a spudger to carefully push on each side of the speaker cable connector until it's out of its socket.

  10. Arlo Ultra 2 Speaker Replacement: 10 단계, 이미지 1/1
    • Remove the small green circuit board.

  11. Arlo Ultra 2 Speaker Replacement: 11 단계, 이미지 1/3 Arlo Ultra 2 Speaker Replacement: 11 단계, 이미지 2/3 Arlo Ultra 2 Speaker Replacement: 11 단계, 이미지 3/3
    • Feed the speaker cable through the opening to remove the speaker.

결론

To reassemble your device, follow these instructions in reverse order.

다른 한 분이 해당 안내서를 완성하였습니다.

Xavier Feaster-Rivera

회원 가입일: 01/23/23

449 평판

안내서 2개 작성하였습니다

댓글 0개

댓글 쓰기

조회 통계:

24 시간 전: 0

7일 전: 1

30일 전: 4

전체 시간: 110