소개
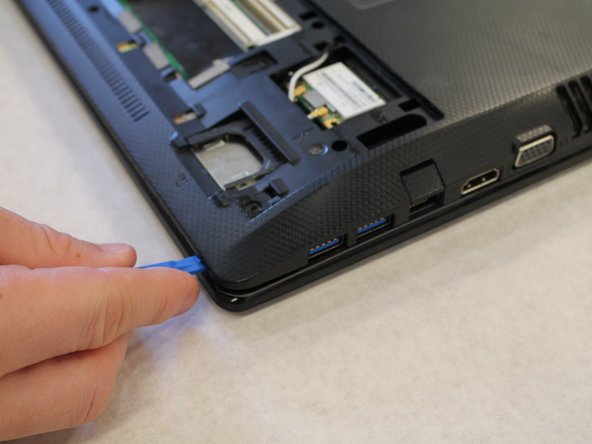
The Asus K55A-Si50301P USB 3.0/Audio port Replacement Guide explains the tools and processes used to replace/remove the board as needed. A USB/Audio port may occur to be damaged/faulty when general hardware malfunctions cause an inability to use the port properly or when the port has sustained physical damage rendering it unusable. A USB is not working properly when a device is unable to plug into the port in the correct orientation or will plug in and yield no results. An audio port is not working properly if the jack cannot be fully inserted or sound cannot be heard. The Asus K55A-Si50301P Troubleshooting page may be referred to here as needed.
필요한 것
-
-
Press and slide the two battery retention clips on either side of the battery towards the unlock position.
-
-


To reassemble your device, follow these instructions in reverse order.
To reassemble your device, follow these instructions in reverse order.
다른 한 분이 해당 안내서를 완성하였습니다.
팀

Western Carolina University, Team S1-G4, Virtue Spring 2019 Western Carolina University, Team S1-G4, Virtue Spring 2019 회원
WCU-VIRTUE-S19S1G4
4 회원들
안내서 5개 작성하였습니다