소개
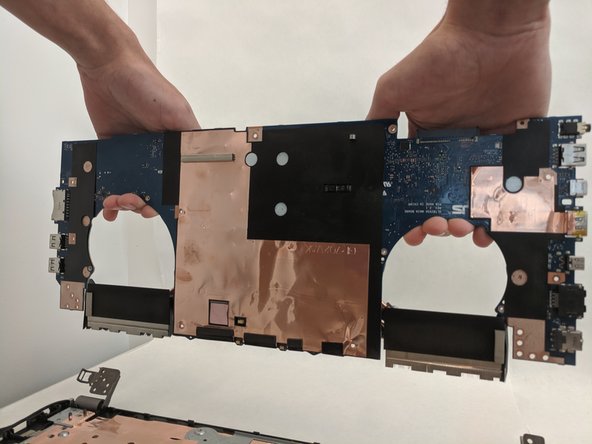
This is a step-by-step walkthrough on how to remove the motherboard from an ASUS Republic of Gamers STRIX GL702VS laptop. If it has been determined that the motherboard is failing, consult this guide for removal and replacement. Common issues include boot failures such as CPU or GPU initialization failure on startup. Reference iFixit troubleshooting guide here to help determine the issue. The part number for a new motherboard will vary based upon your desired CPU, GPU and RAM.
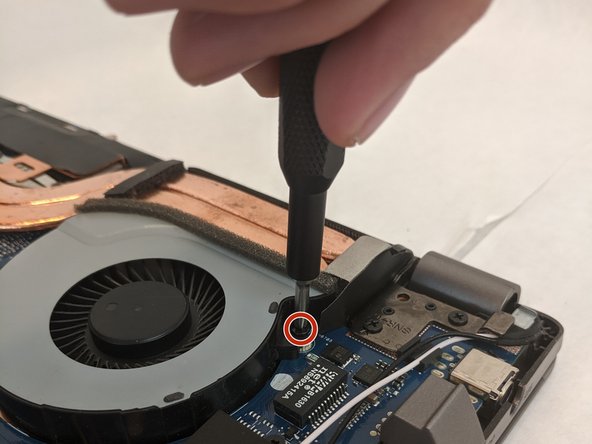
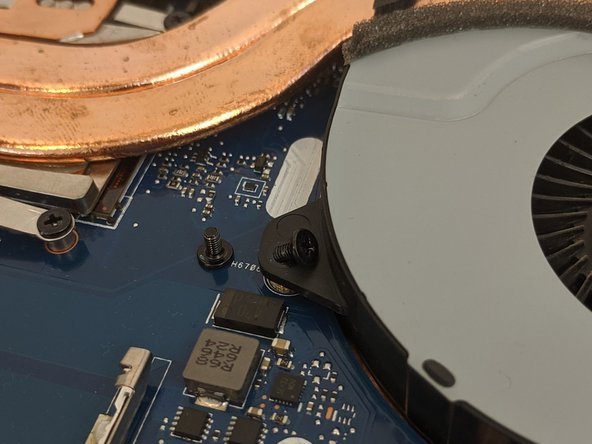
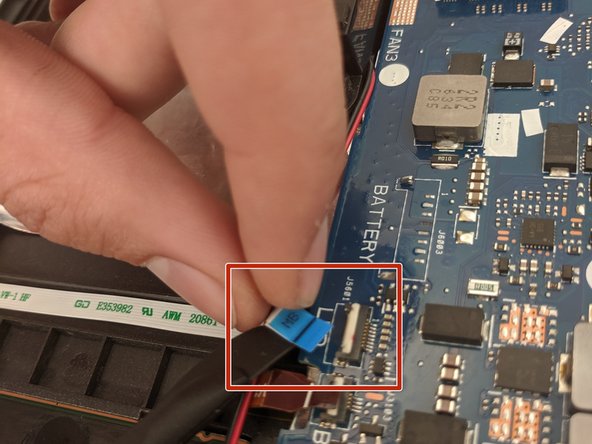
Remember, computer components are fragile. Be careful with clips and wiring when disassembling and reassembling the computer. They can easily break or get pinched. It may also be helpful to take a picture of wiring routing and component placement before disassembly as a reference for reassembly. Note that there are multiple screw lengths in this application. Pay attention to their locations.
필요한 것


To reassemble the device, follow these instructions in reverse order.
To reassemble the device, follow these instructions in reverse order.
다른 한 분이 해당 안내서를 완성하였습니다.

팀

Embry-Riddle Aeronautical University, Team S8-G6, Salas Fall 2019 Embry-Riddle Aeronautical University, Team S8-G6, Salas Fall 2019 회원
ERAU-SALAS-F19S8G6
4 회원들
안내서 7개 작성하였습니다
댓글 4개
Try ebay -- that's where I got mine.. arrived in a few weeks from China.
What I wonder is that, when replacing the motherboard, should I remove all the aluminium tape that's at the bottom of the case? I suspect some of it has lifted and caused a short previously..
Yes I just replaced the motherboard. There are lots more tips that could have been added here but I used this page to remember where the screws are. Many thanks..