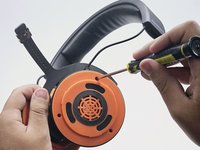
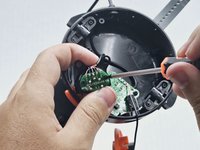
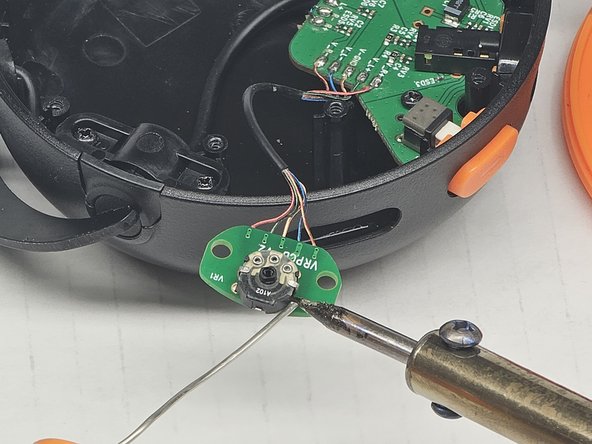
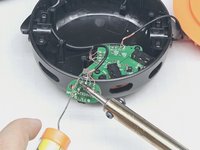
주요 콘텐츠로 건너뛰기

Beyerdynamic MMX100 Volume Controller Repair

필요한 것

  1. Beyerdynamic MMX100 Volume Controller Repair, Beyerdynamic MMX100 Volume Controller Repair: 1 단계, 이미지 1/3 Beyerdynamic MMX100 Volume Controller Repair, Beyerdynamic MMX100 Volume Controller Repair: 1 단계, 이미지 2/3 Beyerdynamic MMX100 Volume Controller Repair, Beyerdynamic MMX100 Volume Controller Repair: 1 단계, 이미지 3/3
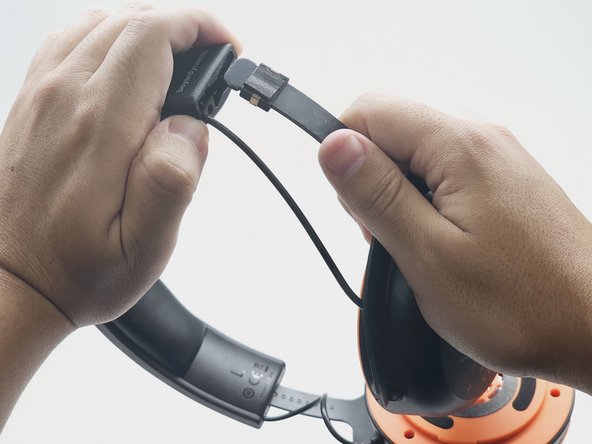
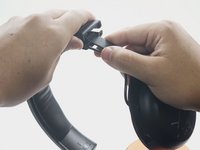
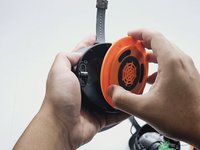
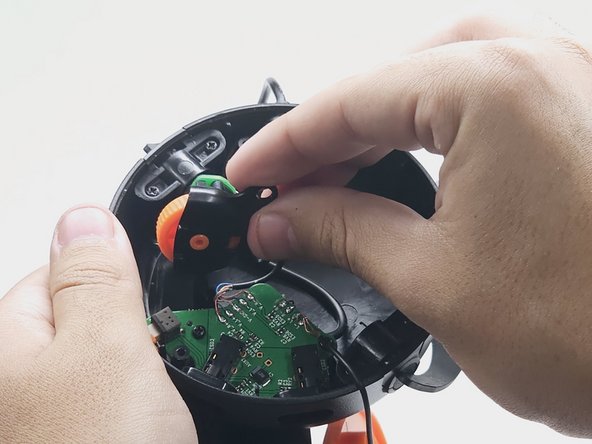
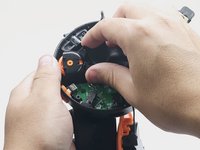
    • Twist the left speaker cushion towards you, and pull off the headset.

  2. Beyerdynamic MMX100 Volume Controller Repair: 2 단계, 이미지 1/3 Beyerdynamic MMX100 Volume Controller Repair: 2 단계, 이미지 2/3 Beyerdynamic MMX100 Volume Controller Repair: 2 단계, 이미지 3/3
    • Using the 2.0mm Phillips-Head screwdriver, unscrew the two 0.6mm screws at the end of the left side headband.

  3. Beyerdynamic MMX100 Volume Controller Repair: 3 단계, 이미지 1/2 Beyerdynamic MMX100 Volume Controller Repair: 3 단계, 이미지 2/2
    • Hold open the top part of the headband. Slide out the left earphone.

  4. Beyerdynamic MMX100 Volume Controller Repair: 4 단계, 이미지 1/3 Beyerdynamic MMX100 Volume Controller Repair: 4 단계, 이미지 2/3 Beyerdynamic MMX100 Volume Controller Repair: 4 단계, 이미지 3/3
    • Using the 3.0mm Phillips-Head Screwdriver, unscrew the three 0.7 mm screws on the left speaker cover.

  5. Beyerdynamic MMX100 Volume Controller Repair: 5 단계, 이미지 1/2 Beyerdynamic MMX100 Volume Controller Repair: 5 단계, 이미지 2/2
    • Using the 2.0mm Phillips-Head Screwdriver, unscrew the two 0.5mm screws on the volume control component.

  6. Beyerdynamic MMX100 Volume Controller Repair: 6 단계, 이미지 1/3 Beyerdynamic MMX100 Volume Controller Repair: 6 단계, 이미지 2/3 Beyerdynamic MMX100 Volume Controller Repair: 6 단계, 이미지 3/3
    • Take out, and flip over, the volume control component.

  7. Beyerdynamic MMX100 Volume Controller Repair: 7 단계, 이미지 1/2 Beyerdynamic MMX100 Volume Controller Repair: 7 단계, 이미지 2/2
    • Using the 2.0mm Phillips-Head Screwdriver, unscrew the two 0.3mm screws on the board. Then, take off the volume wheel.

  8. Beyerdynamic MMX100 Volume Controller Repair: 8 단계, 이미지 1/2 Beyerdynamic MMX100 Volume Controller Repair: 8 단계, 이미지 2/2
    • Hazardous situation which, if not avoided, could result in minor or moderate injury.

    • Using a soldering iron, desolder the damaged wires and the prongs on either side of the board.

결론

To reassemble your device, follow these instructions in reverse order.

Anthony Grande

회원 가입일: 10/23/23

157 평판

안내서 1개 작성함

CSU Los Angeles, Team 5-9, Kershman Fall 2023 CSU Los Angeles, Team 5-9, Kershman Fall 2023 회원

CSULA-KERSHMAN-F23S5G9

1 회원

안내서 1개 작성하였습니다

댓글 0개

댓글 쓰기

조회 통계:

24 시간 전: 2

7일 전: 12

30일 전: 63

전체 시간: 173