이 버전에는 잘못된 편집 사항이 있을 수 있습니다. 최신 확인된 스냅샷으로 전환하십시오.
필요한 것
-
이 단계는 번역되지 않았습니다. 번역을 도와주십시오
-
Apply heat to the back glass around the edges. you can do this by one of three ways. 1) the iOpener Tool, 2) the hot air gun, and 3) the mobile dryer.
-
Lift the corner as much as possible. Should there be any excessive resistance, be sure to apply more heat.
-
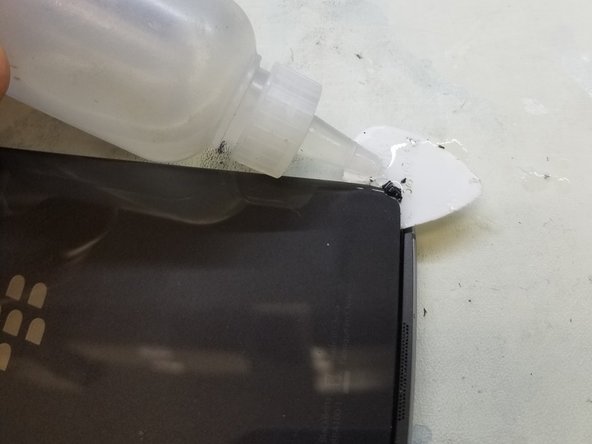
begin working your way through the panel seam. should you encounter and snags, be sure ti dab a minimal amount of alcohal onto your pick, and that will help eat away at the adhesive
-
-
이 단계는 번역되지 않았습니다. 번역을 도와주십시오
-
when there is enough glass Separating, begin to lift it slowly. There is a cable connecting your finger print sensor to the board. BE SURE NOT TO TEAR THIS
-
Lift from the left side to prevent damage to the sensor, and disconnect the connector from the board.
-
-
-
이 단계는 번역되지 않았습니다. 번역을 도와주십시오
-
Disconnect the battery from the board, and Reheat the location to losen adhesive.
-
Try not to directly heat the battery. if you heat a bad battery, the Lithium may expand and cause damage to the board or self.
-
Gently lift the battery from the housing. The adhesive is tough, and may require some force. dont puncture the battery while doing this.
-
-
이 단계는 번역되지 않았습니다. 번역을 도와주십시오
-
Follow the steps in reverse to reassemble the device.
-
Congratulations on your new battery
-


다른 5명이 해당 안내서를 완성하였습니다.