주요 콘텐츠로 건너뛰기

BrightSign 4K Battery Charging Port Replacement

필요한 것

  1. BrightSign 4K Battery Charging Port Replacement, Outer Shell: 1 단계, 이미지 1/3 BrightSign 4K Battery Charging Port Replacement, Outer Shell: 1 단계, 이미지 2/3 BrightSign 4K Battery Charging Port Replacement, Outer Shell: 1 단계, 이미지 3/3
    • Remove three 8mm screws from the left side of the device.

    • Remove four 8mm screws from the right side of the device.

  2. BrightSign 4K Battery Charging Port Replacement: 2 단계, 이미지 1/3 BrightSign 4K Battery Charging Port Replacement: 2 단계, 이미지 2/3 BrightSign 4K Battery Charging Port Replacement: 2 단계, 이미지 3/3
    • Apply pressure on the SD card to pop it out of the port.

    • Remove the card by pulling it out.

  3. BrightSign 4K Battery Charging Port Replacement: 3 단계, 이미지 1/3 BrightSign 4K Battery Charging Port Replacement: 3 단계, 이미지 2/3 BrightSign 4K Battery Charging Port Replacement: 3 단계, 이미지 3/3
    • Press down on the top cover of the device and slid it towards you until you see a slight gap created.

    • Lift the top cover off.

  4. BrightSign 4K Battery Charging Port Replacement: 4 단계, 이미지 1/3 BrightSign 4K Battery Charging Port Replacement: 4 단계, 이미지 2/3 BrightSign 4K Battery Charging Port Replacement: 4 단계, 이미지 3/3
    • Slide the body case back away from the bottom.

    • Pull up the body case to remove it from the bottom.

  5. BrightSign 4K Battery Charging Port Replacement, Motherboard Removal: 5 단계, 이미지 1/2 BrightSign 4K Battery Charging Port Replacement, Motherboard Removal: 5 단계, 이미지 2/2
    • Remove the four 8mm screws at each corner of the motherboard with a JIS #0 screwdriver.

  6. BrightSign 4K Battery Charging Port Replacement: 6 단계, 이미지 1/2 BrightSign 4K Battery Charging Port Replacement: 6 단계, 이미지 2/2
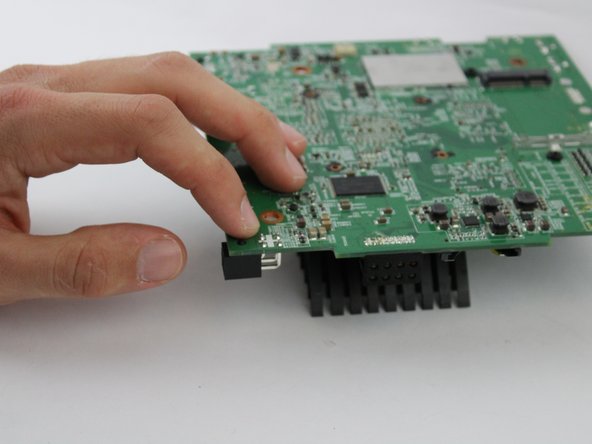
    • Lift the motherboard out of the casing.

  7. BrightSign 4K Battery Charging Port Replacement, Battery Charging Port: 7 단계, 이미지 1/3 BrightSign 4K Battery Charging Port Replacement, Battery Charging Port: 7 단계, 이미지 2/3 BrightSign 4K Battery Charging Port Replacement, Battery Charging Port: 7 단계, 이미지 3/3
    • Flip the motherboard over so the heatsink is facing down.

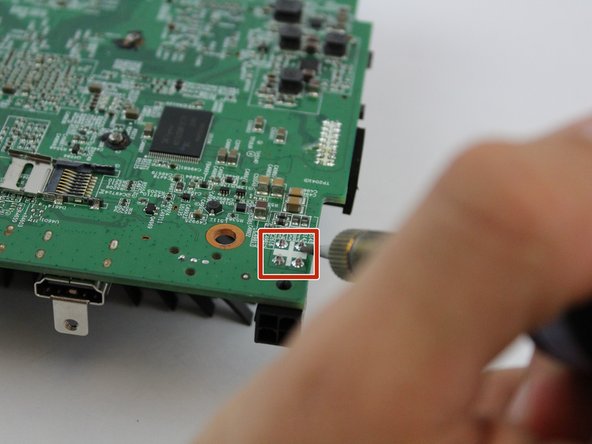
    • Desolder the four solder joints and remove the melted solder with the pump.

  8. BrightSign 4K Battery Charging Port Replacement: 8 단계, 이미지 1/3 BrightSign 4K Battery Charging Port Replacement: 8 단계, 이미지 2/3 BrightSign 4K Battery Charging Port Replacement: 8 단계, 이미지 3/3
    이 단계에 사용된 도구:
    Desoldering Pump
    $3.99
    구매
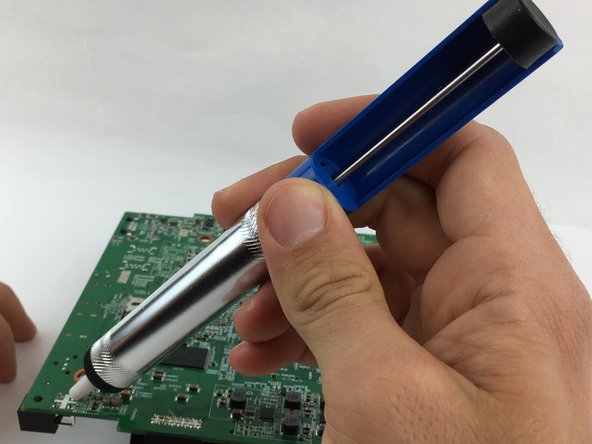
    • Apply the desoldering pump to remove the melted part from the motherboard (press the button to release it).

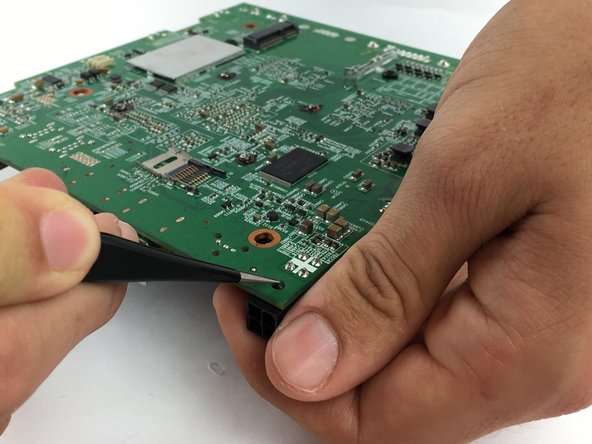
    • Using the tweezers apply pressure to the spade head clip shown.

    • Remove the charging port by pulling the piece off.

결론

To reassemble your device, follow these instructions in reverse order.

Nhi Pham

회원 가입일: 02/15/18

169 평판

안내서 2개 작성하였습니다

USF Tampa, Team S17-G6, Boczar Spring 2018 USF Tampa, Team S17-G6, Boczar Spring 2018 회원

USFT-BOCZAR-S18S17G6

4 회원들

안내서 6개 작성하였습니다

댓글 0개

댓글 쓰기

조회 통계:

24 시간 전: 2

7일 전: 7

30일 전: 9

전체 시간: 308