소개
If your Brother MFC-490CW printer has begun printing faded or streaked documents, has received a message requesting to change the printhead, or must have the printhead cleaned continuously between printing documents it might be time to replace the printhead.
If you are having difficulty with your printer, please review the troubleshooting page before proceeding with replacing the printhead.
The following guide will lead you step by step through the process of replacing the printhead. It is important to have the correct tools listed below and enough time set aside to efficiently replace the printhead.
Remember to always unplug any electrical device prior to beginning any work to prevent any electrical issues or risk being shocked.
필요한 것
-
-
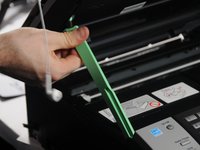
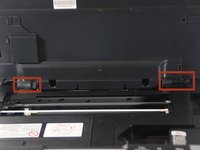
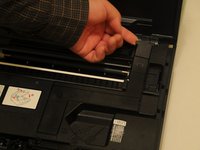
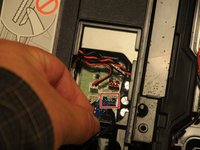
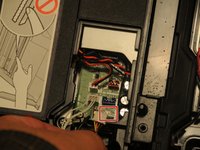
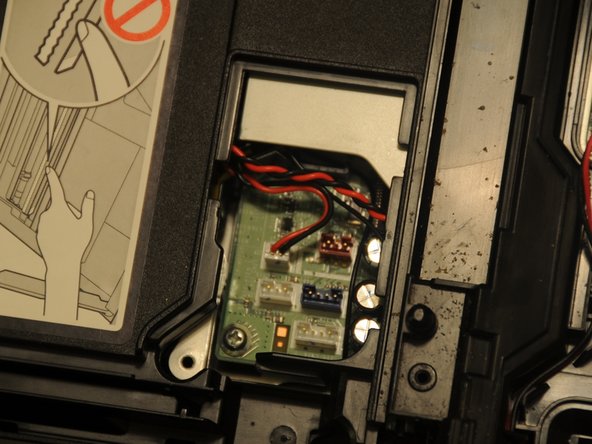
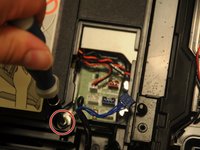
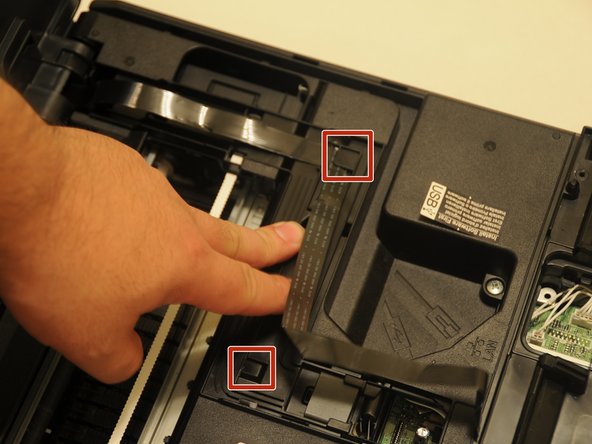
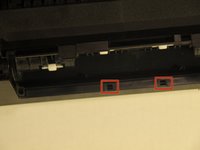
Use a Phillips #2 screwdriver to remove the three 12.1 mm screws holding the control panel in place.
-
-
-
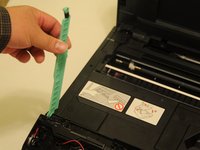
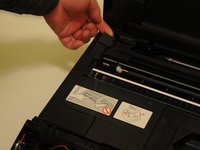
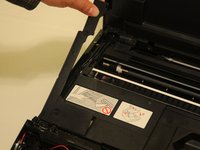
Lift up the front panel from the device.
-
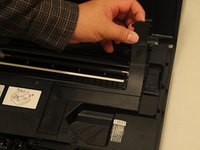
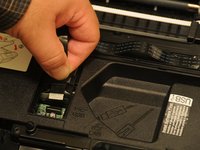
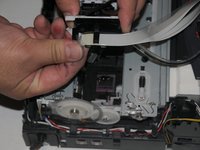
Gently lift up and disconnect the data cables that attach the panel to the printer.
-
-
-
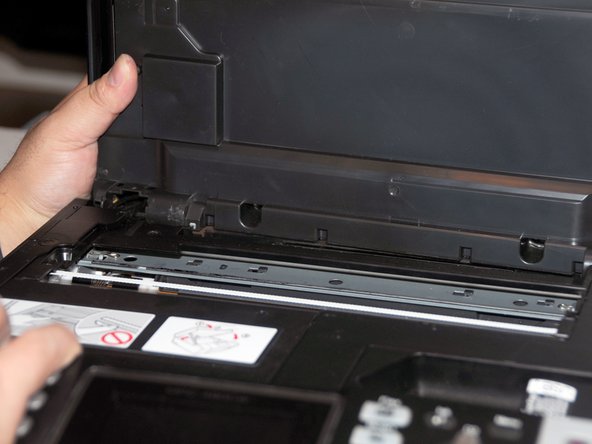
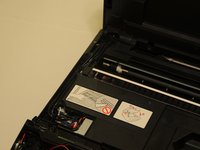
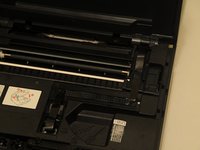
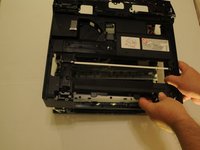
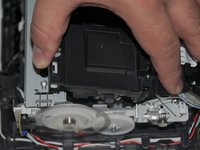
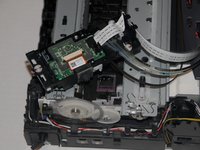
Lift the scanner unit.
-
Gently twist the top portion of the arm.
-
Rotate the arm approximately 45 degrees to remove the bottom portion of the arm from the device.
-
-
-
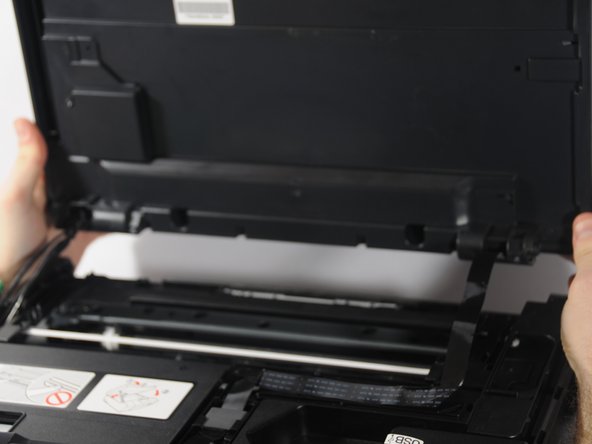
Slide the unit either to the left or right and begin to push the unit away from the device.
-
Once one hinge is separated from the device, begin to remove the other hinge from the device.
-
Gently place the unit on the work surface.
-
-
-
Starting from the back of the printer, use the exposed portion of the panel to gently pry the panel up from the printer.
-
-
-
From the back of the device, use the exposed portion of the panel to begin to lift the panel away from the device.
-
-
-
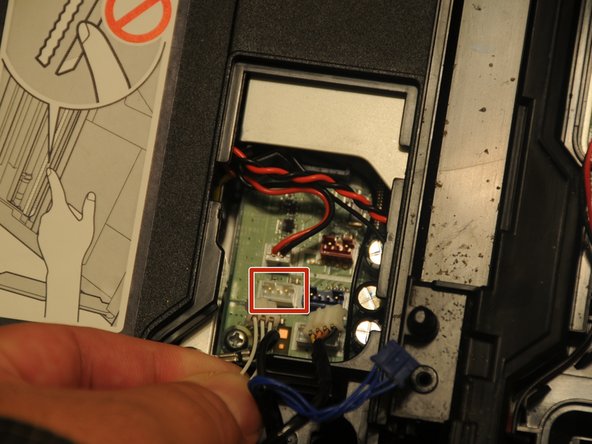
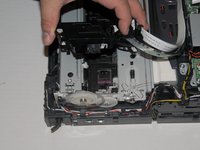
Remove the three power cables that connect the scanner to the motherboard.
-
-
-
Use a Phillips #2 screwdriver to remove the 12.1 mm screw to remove the ground wire.
-
-
-
-
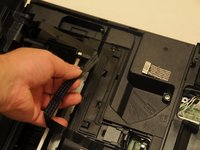
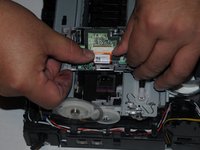
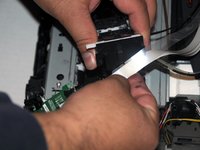
Gently pull the data cable away from the motherboard.
-
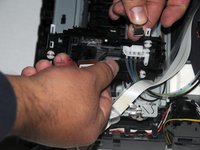
Slide the cable out of the slots to remove the cable from the device.
-
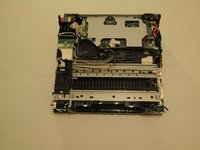
The scanner unit is now separated. Place the unit and ground screw in a safe part of the workspace until needed for re-assembly.
-
-
-
Use the Phillips #2 screwdriver to remove the three 14.1 mm screws.
-
Use the Phillips #2 screwdriver to remove the 12.1 mm screw.
-
-
-
Use the Phillips #2 screwdriver to remove the 8 mm screw at the center of the device.
-
-
-
Use the Phillips #2 screwdriver to remove the two 14.1 mm screws holding the panel in place.
-
-
-
Gently push the upper-left tab of the cover and separate the hinged portion of the cover from the rest of the device.
-
Once one side is free, slide the other side away from the device.
-
Pull the cover away from the device.
-
-
-
Using a spudger, loosen the two clipped portions of the cover located at the back-center of the cover.
-
Once the clips are free the rest of the cover can be lifted up and away from the device.
-
-
-
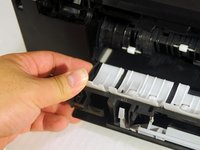
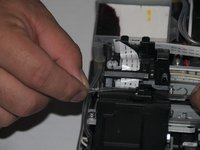
Gently pull the wire to the left so the end of the wire is released.
-
Slide the wire away from the top of the print head unit.
-
-
-
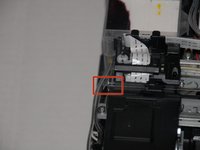
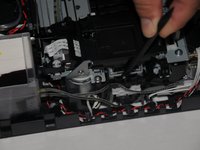
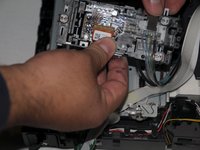
Using a spudger, press down on the plastic housing of the carriage that the print head rests on.
-
Slide the print head to the left of the device.
-
-
-
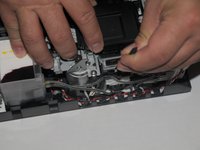
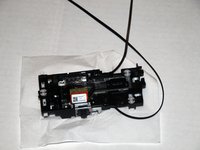
Slide the print head until it is at the end of the rail.
-
Push the print head unit towards the back of the device and lift the unit from the back rail.
-
Gently release the other end of the print head to remove it from the front rail.
-
-
-
Using the spudger, press the spring section of the white pulley.
-
Release the conveyor from the pulley while the spring is still compressed.
-
Remove the conveyor from the gear on the other side of the device.
-
-
-
Squeeze the ends of the cover, then release the cover, revealing the processor unit.
-
-
-
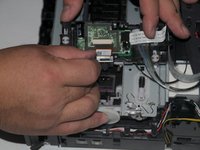
Slide the black cap away from the port.
-
Slide the data cable out of the port.
-
-
-
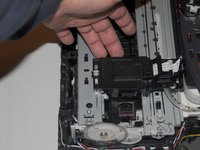
Lift the processor out of the print head.
-
Slide the cables attached to the processor away from the print head unit.
-
-
-
Remove the metal clip holding the nozzle unit.
-
Lift the unit from the rest of the print head unit.
-


To reassemble your device, follow these instructions in reverse order
다른 28명이 해당 안내서를 완성하였습니다.
팀

UMass Dartmouth, Team 4-4, Miles Fall 2014 UMass Dartmouth, Team 4-4, Miles Fall 2014 회원
UMASSD-MILES-F14S4G4
3 회원들
안내서 11개를 작성함
11가이드 댓글
I did follow this guide for a Brother MFC-6490CW although they are not identical it was very helpful for me to follow up to the removal of the print head as I only wanted to clean some blocked nozzles but the principle was the same
crystalbic - 답글
Also after putting the new print head on the inkjet nozzle unit lines / tubing is full of air and needs to be primed in order for the ink to flow again because there is a huge air bubble in the print head.
To do this best way is to (if it is back together without pulling it apart):
1) Start the printer to print a page and when it has started while the paper is still under the print head disconnect the power that way the print head is in the middle and not parked on the right side.
2)Put a couple pieces blotting paper or in my case I used folded up paper towel under the print head
3)Take out all the ink cartridges and using a large syringe and a small tube full of a cleaning solution or use a kit that u can buy online.
*Caught off guard not knowing I would need to do this I improvised breaking an old ink cartridge and cutting off the ink nozzle flush with the cartridge so i had the female rubber grommet end and about a ½" piece of plastic tube, I then cut off a bit of spare air hose for my fish tank and got an empty squeeze sauce bottle with a long nozzle and put in some alcohol. I put the plastic tube into the female end and the other end onto the sauce bottle.
Connect it to where the ink cartridge goes in and push the fluid through the line till you see ink / fluid come out of the print head, then do the other lines possibly changing the blotting paper in between colors depending how much mess it makes
Then replace the ink cartridges and run a cleaning or to and print a few full color pages .... dont panic if the colors dissapears for a while and it comes out blank because the alcohol needs to fully come out but the new ink will flow up the tubes after the alcohol .... this actually took quite a while to start printing colors again but it did get there and a few more cleans once it was and it was fantastic
The Printer has not printed as well for years :)