주요 콘텐츠로 건너뛰기

Canon Selphy CP910 Printer Body Replacement

필요한 것

  1. Canon Selphy CP910 Printer Body Replacement, Disassembling Canon Selphy CP910 Body: 1 단계, 이미지 1/2 Canon Selphy CP910 Printer Body Replacement, Disassembling Canon Selphy CP910 Body: 1 단계, 이미지 2/2
    • Turn the printer over.

    • Use the PH1 screw bit to remove the three 8 mm screws in the middle of the back plate.

    • Keep track of these screws because you will need them to reassemble the printer.

  2. Canon Selphy CP910 Printer Body Replacement: 2 단계, 이미지 1/3 Canon Selphy CP910 Printer Body Replacement: 2 단계, 이미지 2/3 Canon Selphy CP910 Printer Body Replacement: 2 단계, 이미지 3/3
    • Loosen up the four 10 mm corner screws.

    • A screwdriver with a long shaft approximately 7mm in diameter will make it easier to reach these screws.

  3. Canon Selphy CP910 Printer Body Replacement: 3 단계, 이미지 1/3 Canon Selphy CP910 Printer Body Replacement: 3 단계, 이미지 2/3 Canon Selphy CP910 Printer Body Replacement: 3 단계, 이미지 3/3
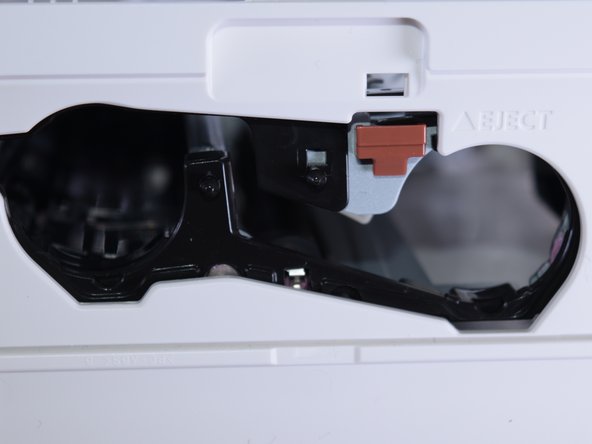
    • Turn the device around and remove the "open" lid.

    • This lid needs to be removed in order to take the printer apart.

    • Gently bend the lid and remove it from its hinges.

  4. Canon Selphy CP910 Printer Body Replacement: 4 단계, 이미지 1/3 Canon Selphy CP910 Printer Body Replacement: 4 단계, 이미지 2/3 Canon Selphy CP910 Printer Body Replacement: 4 단계, 이미지 3/3
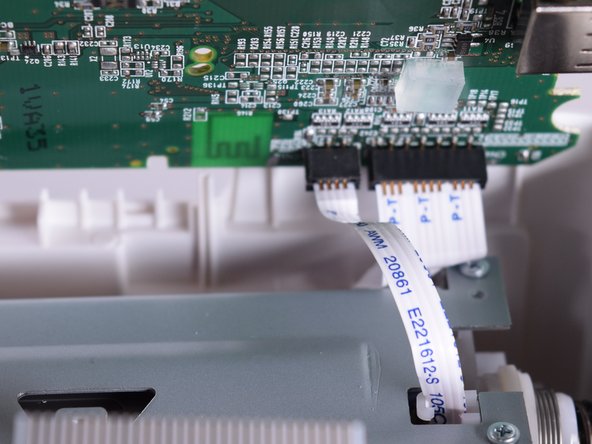
    • Turn the device back over and lift the top panel up.

    • Disconnect the ribbon cables leading to the LCD screen.

    • Pull the top panel off.

  5. Canon Selphy CP910 Printer Body Replacement, Printer Body: 5 단계, 이미지 1/2 Canon Selphy CP910 Printer Body Replacement, Printer Body: 5 단계, 이미지 2/2
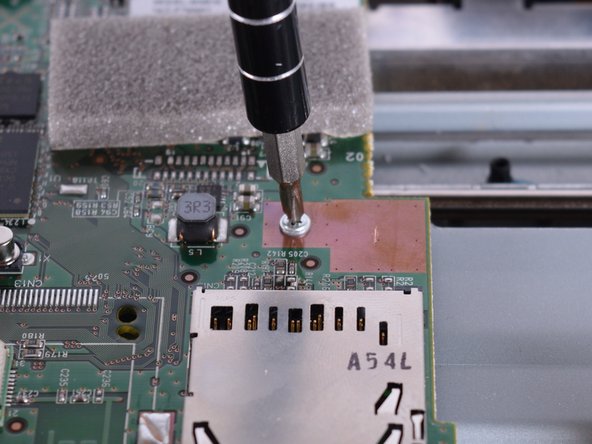
    • Use the PH1 screw driver to remove the three screws on the motherboard.

  6. Canon Selphy CP910 Printer Body Replacement: 6 단계, 이미지 1/2 Canon Selphy CP910 Printer Body Replacement: 6 단계, 이미지 2/2
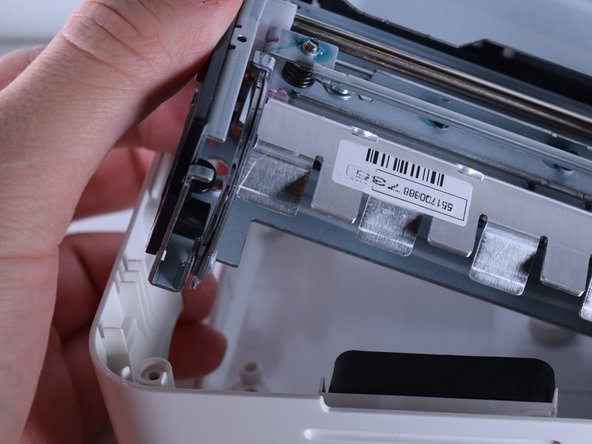
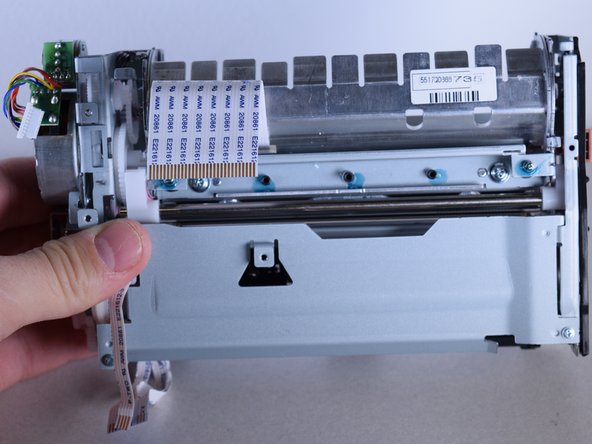
    • Remove the printer.

    • This will prevent the printer from falling out during repair.

  7. Canon Selphy CP910 Printer Body Replacement: 7 단계, 이미지 1/3 Canon Selphy CP910 Printer Body Replacement: 7 단계, 이미지 2/3 Canon Selphy CP910 Printer Body Replacement: 7 단계, 이미지 3/3
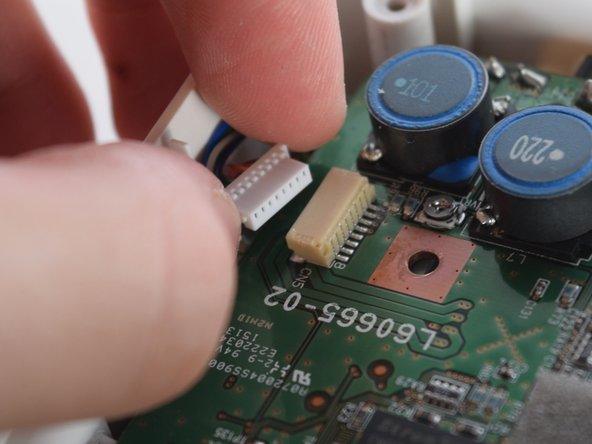
    • Remove the output connections.

    • Be careful! Do not pull too hard because the wires might rip.

    • Output connections are located on the corners of the motherboard.

  8. Canon Selphy CP910 Printer Body Replacement: 8 단계, 이미지 1/2 Canon Selphy CP910 Printer Body Replacement: 8 단계, 이미지 2/2
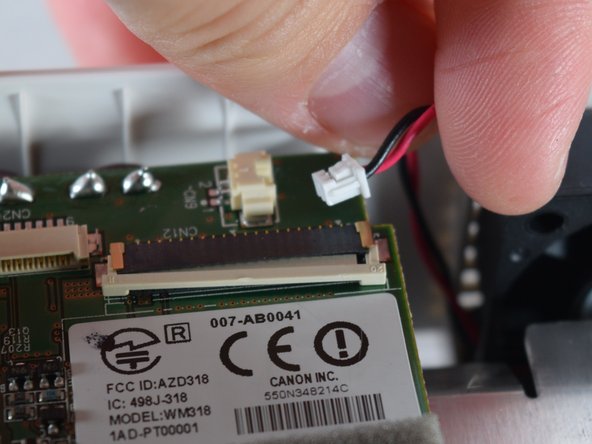
    • The motherboard is attached to three more ribbon wires.

    • Detach these wires.

    • Be careful not to pull too hard.

  9. Canon Selphy CP910 Printer Body Replacement: 9 단계, 이미지 1/2 Canon Selphy CP910 Printer Body Replacement: 9 단계, 이미지 2/2
    • Separate the motherboard from the main hard drive.

  10. Canon Selphy CP910 Printer Body Replacement: 10 단계, 이미지 1/3 Canon Selphy CP910 Printer Body Replacement: 10 단계, 이미지 2/3 Canon Selphy CP910 Printer Body Replacement: 10 단계, 이미지 3/3
    • Remove the main hard drive from the printer body.

  11. Canon Selphy CP910 Printer Body Replacement: 11 단계, 이미지 1/2 Canon Selphy CP910 Printer Body Replacement: 11 단계, 이미지 2/2
    • Gently remove the fan from the body.

    • The fan is glued to the case. When you install it in the new body, use hot glue to secure it in place.

  12. Canon Selphy CP910 Printer Body Replacement: 12 단계, 이미지 1/2 Canon Selphy CP910 Printer Body Replacement: 12 단계, 이미지 2/2
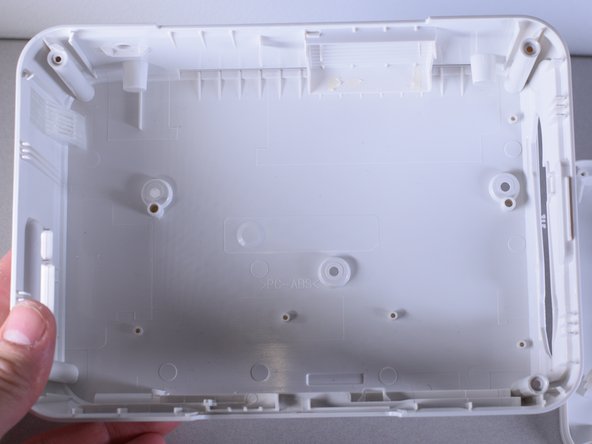
    • The empty case will look like this once all the parts are removed.

결론

To reassemble your device, follow these instructions in reverse order.

다른 2명이 해당 안내서를 완성하였습니다.

Christie Peralta

회원 가입일: 02/01/16

700 평판

안내서 5개 작성하였습니다

UW Tacoma, Team 1-6, Rose Winter 2016 UW Tacoma, Team 1-6, Rose Winter 2016 회원

UWT-ROSE-W16S1G6

4 회원들

안내서 10개 작성하였습니다

댓글 0개

댓글 쓰기

조회 통계:

24 시간 전: 1

7일 전: 16

30일 전: 54

전체 시간: 4,234