소개
This guide shows how to remove and replace the metal fan cover for a Clarke Floor Sander 07014A.
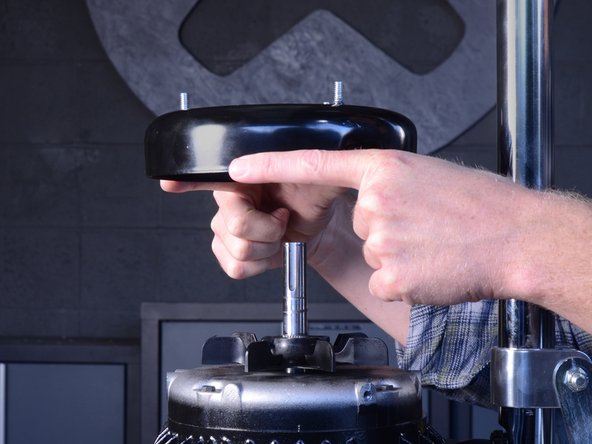
The blower fan will probably be stuck to the motor axle. In order to pry the fan out, you will need two prying tools—either pry bars or hammers with long claws.
필요한 것
-
-
Twist and pull the dust bag collar to disconnect it from the elbow pipe.
-
Remove the dust bag.
-
-
-
-
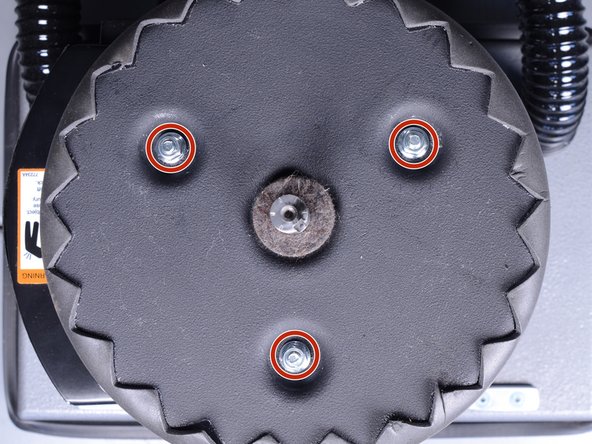
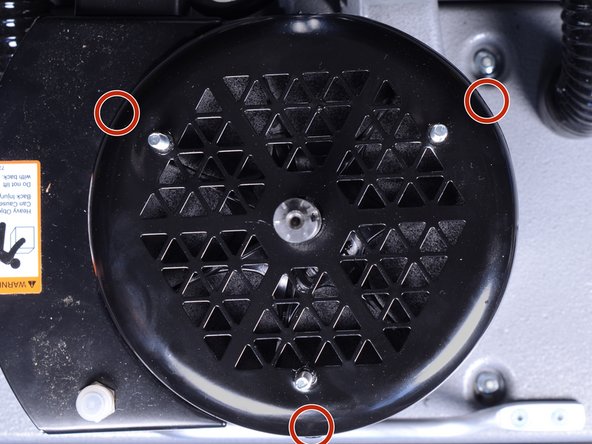
Use a 3/16" hex key to remove the three 16 mm long bolts along the side of the fan cover.
-
-
-
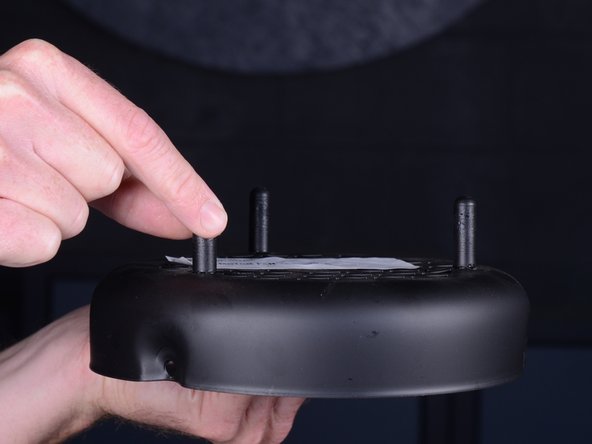
When you are installing the fan cover, note that the cover is not perfectly round. There is a slightly squared edge, which should sit close to the sander's handle.
-
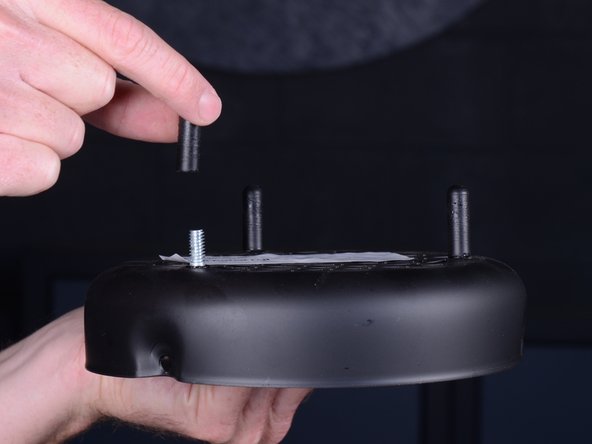
Your replacement part will most likely have screw covers on the fan cover bolts. Be sure to remove them before installing the fan cover.
-


To reassemble your device, follow these instructions in reverse order.
To reassemble your device, follow these instructions in reverse order.
다른 3명이 해당 안내서를 완성하였습니다.

