이 버전에는 잘못된 편집 사항이 있을 수 있습니다. 최신 확인된 스냅샷으로 전환하십시오.
필요한 것
-
이 단계는 번역되지 않았습니다. 번역을 도와주십시오
-
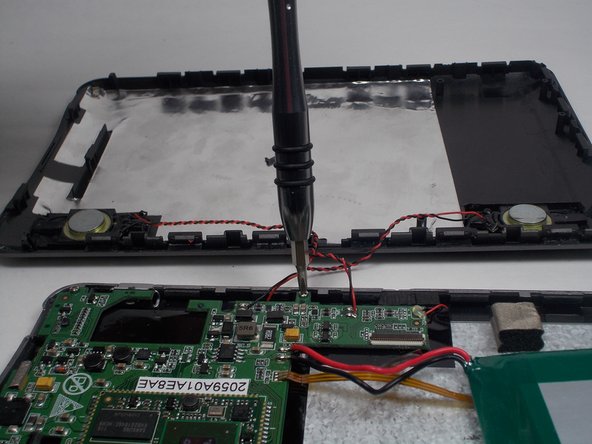
Remove the connection of all of the ribbon cables connected to the motherboard of the device using the Plastic Spudger.
-
-
-
이 단계는 번역되지 않았습니다. 번역을 도와주십시오
-
Use plastic Spudger to remove the battery off of the panels and and leave it unconnected until the device is being put back together.
-
-
이 단계는 번역되지 않았습니다. 번역을 도와주십시오
-
Using the philips head screw driver size PH0, unscrew the screws holding the mother board to the device.
-
-
이 단계는 번역되지 않았습니다. 번역을 도와주십시오
-
Using the plastic Spudger, pop the mother board out of place to expose the broken button piece.
-
-
이 단계는 번역되지 않았습니다. 번역을 도와주십시오
-
Use the plastic Spudger to remove broken power button, and then pop in new power button after removal.
-
Reverse steps 1-5 to reassemble.
-


팀

UMass Dartmouth, Team 5-2, Martin Fall 2016 UMass Dartmouth, Team 5-2, Martin Fall 2016 회원
UMASSD-MARTIN-F16S5G2
3 회원들
안내서 10개 작성하였습니다
댓글 한 개
For people wondering: Yes, this does work on a MID7120, because the MID7120's board is similar to the MID7125's board. Also, where can I get switches similar to these? My MID7120 is missing the switch so I can't turn it on.