소개
If your Coby Kyros MID9042 tablet's camera is malfunctioning or damaged, this guide is here to help.
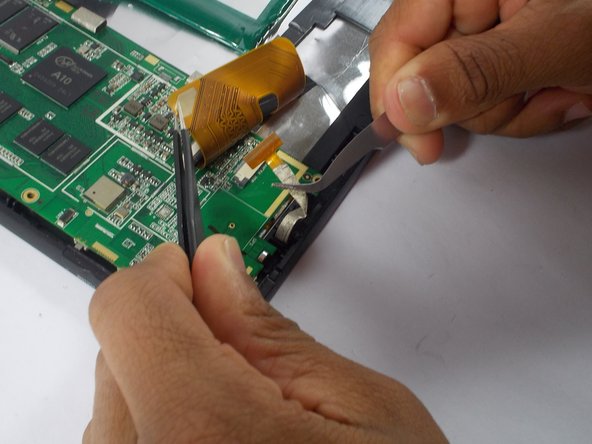
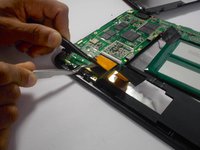
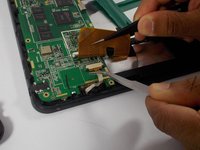
Replacing the camera can resolve common issues such as blurry images, inability to launch the camera app, or hardware-related errors. While this task can be challenging, with the right preparation and tools, you can successfully restore the tablet's functionality. This repair is recommended if your camera no longer functions due to physical damage, displays persistent hardware-related errors that software troubleshooting cannot resolve, or produces poor-quality images despite proper cleaning and settings adjustments.
Basic technical skills are sufficient for most of this repair. However, soldering may be required if the camera is directly connected to the motherboard. Familiarity with disassembling electronics and handling small, delicate parts is essential. The Coby Kyros MID9042’s design may involve tightly secured or fragile components, making it crucial to exercise caution to avoid damaging internal parts like the touchscreen or cables. Consulting the device's user manual can provide additional insights into the tablet’s assembly.
Before you begin, make sure that the tablet is turned off and disconnected from the charger.
필요한 것
-
-
After powering off device, remove the anti-slip pads from all 4 corners on the back of the device.
-
Once slip pads are removed, proceed to unscrewing the four 3.2 mm Phillips #0 screws from the back cover.
-
-


To reassemble your device, follow these instructions in reverse order. Take your e-waste to an R2 or e-Stewards certified recycler.
팀

UMass Dartmouth, Team 2-6, Shastany Spring 2015 UMass Dartmouth, Team 2-6, Shastany Spring 2015 회원
UMASSD-SHASTANY-S15S2G6
4 회원들
안내서 6개를 작성함