소개
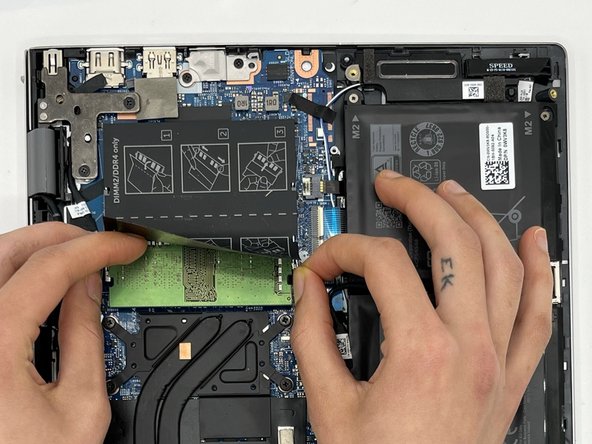
This guide will teach you how to properly replace a faulty RAM in your Dell Inspiron 14-5415.
The RAM is a component that allows temporarily stored data to be received and read instantly. It is fundamentally your device's short-term memory, which is why it is often known as your device's PC memory or just memory.
If your device refuses to install new programs, does not boot up, runs slowly during operations, and experiences a decline in performance, you may be dealing with a faulty RAM. You may refer to our troubleshooting page for more information about these symptoms.
It is important to note that performing proper diagnostics, such as running memory tests, can help you accurately identify if your RAM needs a replacement.
To determine whether your device has a faulty RAM, here is a helpful link to check out: What are the signs of RAM failure, and how to check faulty RAM?
필요한 것
To reassemble your device, follow these instructions in reverse order.
To reassemble your device, follow these instructions in reverse order.


