소개
Is your motherboard damaged or are you looking for an upgrade? if so, this guide will show you how to locate and replace a motherboard.
필요한 것
-
-
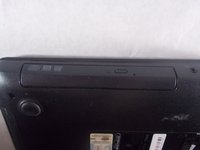
Locate the battery on the underside of the laptop.
-
Push the two battery clips following the direction of the arrows.
-
-
-
-
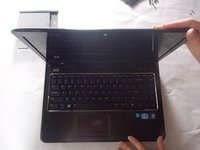
Flip the computer over, and open the laptop.
-
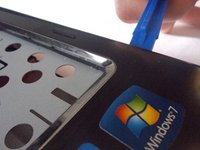
Use a plastic opening tool to begin to remove the keyboard.
-
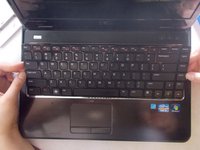
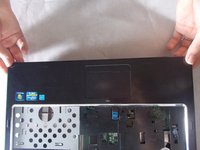
Use your hands to finish separating the keyboard from the laptop.
-
-
-
Disconnect the ribbon cable over the screw to reveal it. Flip up the latch and pull gently on the ribbon to remove it from the connector.
-
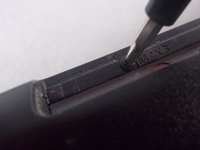
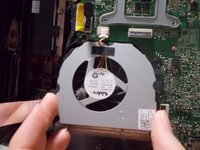
Unscrew the 2.5x5 mm screw from the fan.
-
-
-
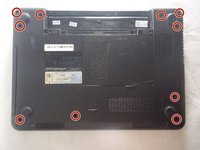
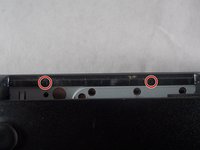
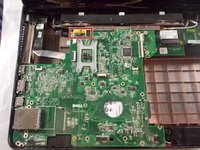
Unscrew the six 2.5x5mm screws from the motherboard.
-
Note that this screw may be "retained" by the loop at the end of the grounding wire.
This step is also incorrect. The screw sizes here are not 2.5x3 mm, they are all 2.5x5 mm.
-
-
-
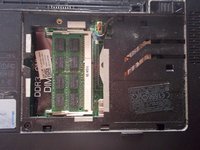
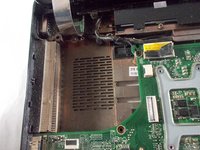
Disconnect the black and yellow cable from the motherboard.
Also remove the grounding screw next to it.
The grounding cable was already removed in the previous step it was one of the six screws he said to remove
-
-
-
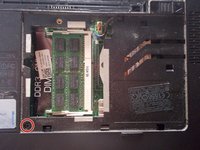
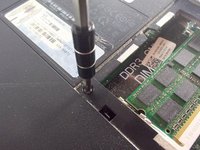
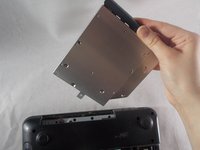
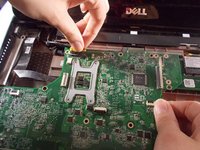
Begin to separate the motherboard from the laptop
When reinstalling motherboard, Insure the two connectors under back RH corner of MB are precisely aligned with the daughterboard below. If slightly misaligned, you will bend pins.
-


To reassemble your device, follow these instructions in reverse order.
To reassemble your device, follow these instructions in reverse order.
다른 2명이 해당 안내서를 완성하였습니다.
팀

UMass Dartmouth, Team S5-G1, Peak Spring 2018 UMass Dartmouth, Team S5-G1, Peak Spring 2018 회원
UMASSD-PEAK-S18S5G1
3 회원들
안내서 6개를 작성함
댓글 2개
After pulling off the battery, the step to remove the four M2x3 mm screws was forgotten. Please update the guide.