소개
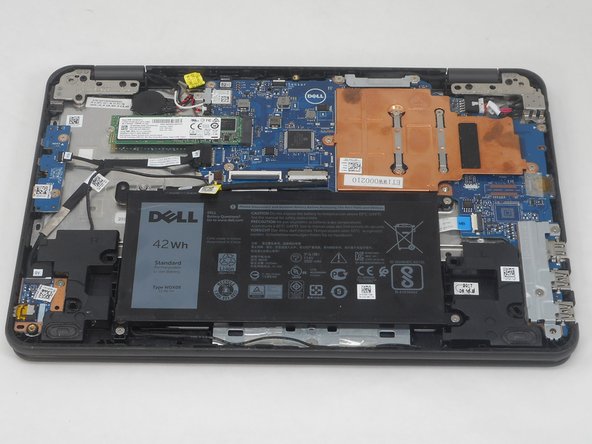
If your Dell Latitude 3189 will not hold a charge anymore, you most likely have a dead battery, which requires replacement.
A battery provides power to your laptop. After a number of repeated charge cycles, batteries will slowly degrade. If you notice that your charged battery is draining faster than usual, you should replace your battery.
A charged battery when punctured can be a fire hazard, so before replacing a battery, deplete its charge. If your battery is bulging, proceed with caution.
Make sure to power down your device before you begin.
필요한 것
-
-
Use a Phillips screwdriver to loosen the seven captive screws that secure the lower case.
-
-
-
-
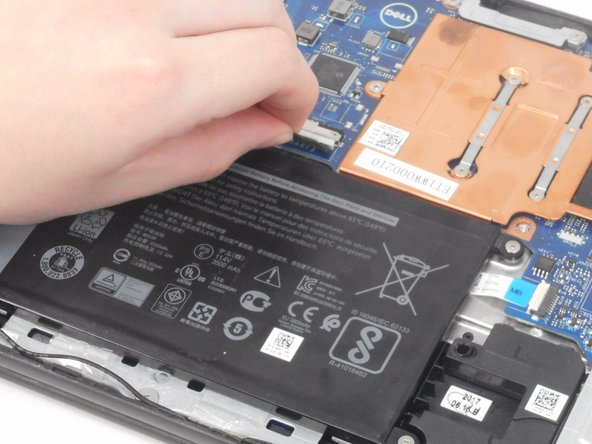
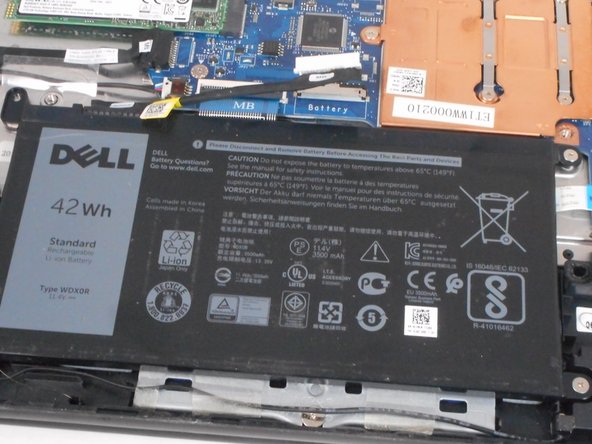
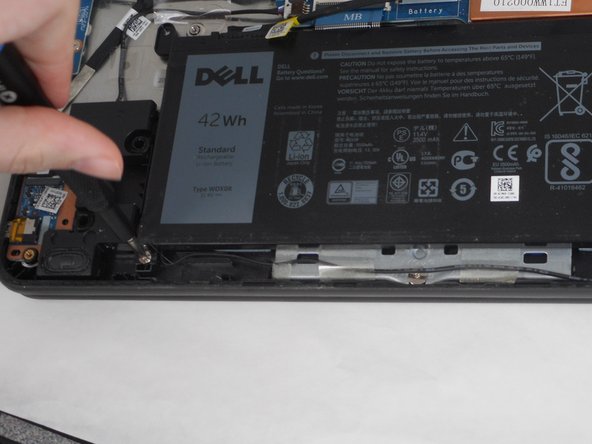
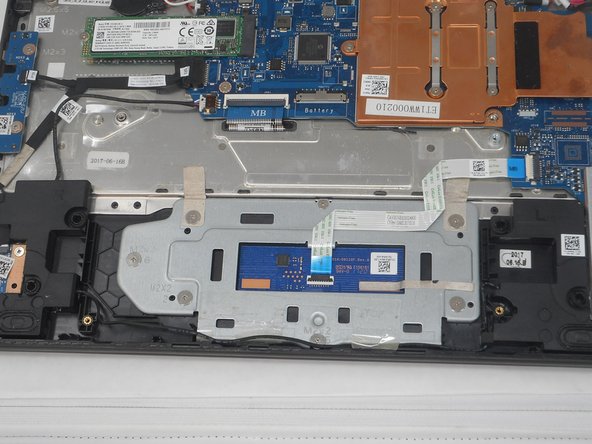
Use a Phillips #0 screwdriver to remove the three 3.2 mm screws that secure the battery.
-


For optimal performance, calibrate your newly installed battery after completing this guide.
Compare your new replacement part to the original part—you may need to transfer remaining components or remove adhesive backings from the new part before installing.
To reassemble your device, follow the above steps in reverse order.
Take your e-waste to an R2 or e-Stewards certified recycler.
다른 한 분이 해당 안내서를 완성하였습니다.

팀

University of Memphis, Team 2-3, Sneed Spring 2024 University of Memphis, Team 2-3, Sneed Spring 2024 회원
UM-SNEED-S24S2G3
4 회원들
안내서 7개 작성하였습니다