소개
This guide shows you how to remove/replace the Interconnect cable in the Dell 15 9575.
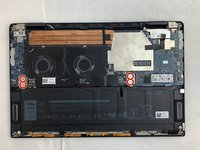
The interconnect cable generally allows the motherboard and daughterboard to communicate with one another. However, in the design of the Dell XPS 9575, the cable is also integrated with a couple of fan covers. Since the cable sits over the battery connection and includes these fan covers, the cable will need to be removed before you can access the fan or battery. The cable uses a special screwed in connection, so be sure to align the pins during reassembly before retightening the screws to not bend any of the connector pins.
Signs that the interconnect cable is damaged or malfunctioning may be hard to diagnose, as any issues could be the fault of a malfunctioning motherboard or daughterboard. Instead, if you are having issues that could be attributed to a damaged board; like constant freezing, inability to start up, or a blue screen on start up; check to see that the interconnect cable isn’t damaged and is seated to both boards properly before replacing the mother or daughterboard. Check out our troubleshooting page for more details on problems you may experience with regards to the interconnect cable.
필요한 것
-
-
Use your T5 Torx driver to remove all eight 3.2 mm screws holding down the back panel.
-
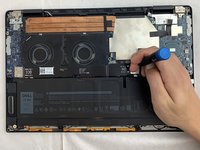
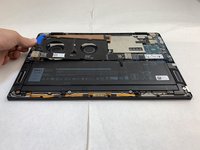
Wedge an opening pick between the back cover and the base of the board, then slightly lift the tool to pop the clips on the back cover off.
-
-
-
-
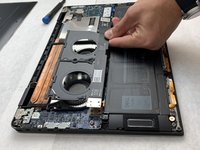
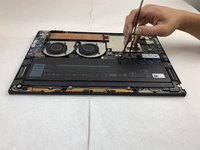
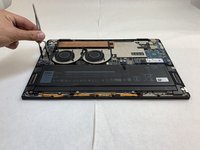
Use the Phillips #0 screwdriver to remove all four silver 3.2 mm screws fastening the interconnect cable.
-


To reassemble your device, follow these instructions in reverse order.
팀

Embry-Riddle Aeronautical University, Team S1-G1, Watkins Fall 2019 Embry-Riddle Aeronautical University, Team S1-G1, Watkins Fall 2019 회원
ERAU-WATKINS-F19S1G1
4 회원들
안내서 16개를 작성함