소개
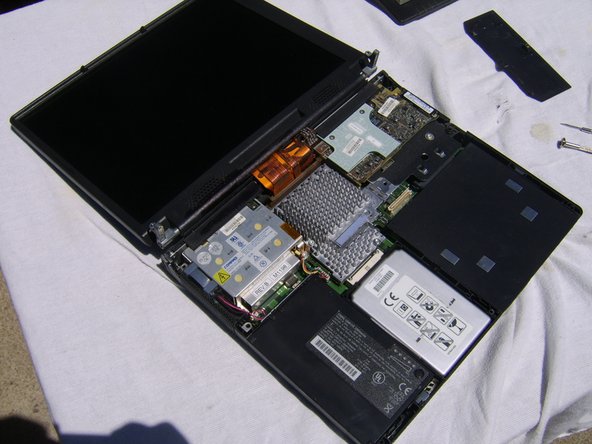
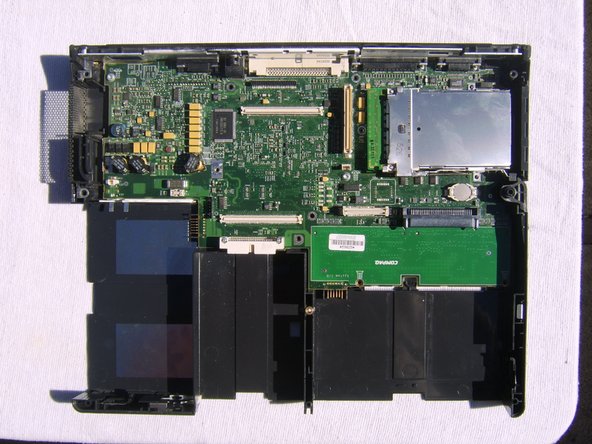
This Guide will demonstrate the removal of the Keyboard, RAM, HDD, Power Supply, Fan, Audio Drives, Disk Drive, Battery, Display, CPU Board and Heatsink, and strip the system down to it's Motherboard.
필요한 것
-
-
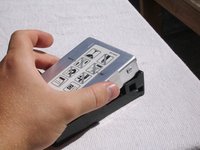
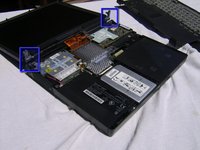
Locate RAM access panel located on the bottom of the Compaq Armada.
-
Locate and remove the one screw using the T9 Torx Screwdriver.
-
Remove RAM access panel.
-
-
이 단계에 사용된 도구:Flathead 3/32" or 2.5 mm Screwdriver$5.49
-
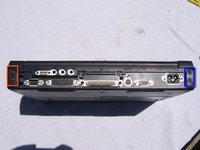
Locate and remove the 10 screws found on the bottom of the laptop using the 3.0 mm Flathead Screwdriver.
-
-
-
-
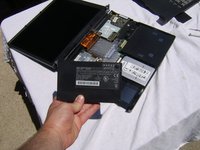
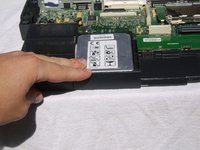
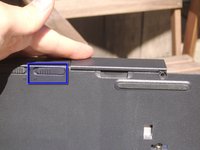
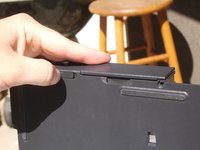
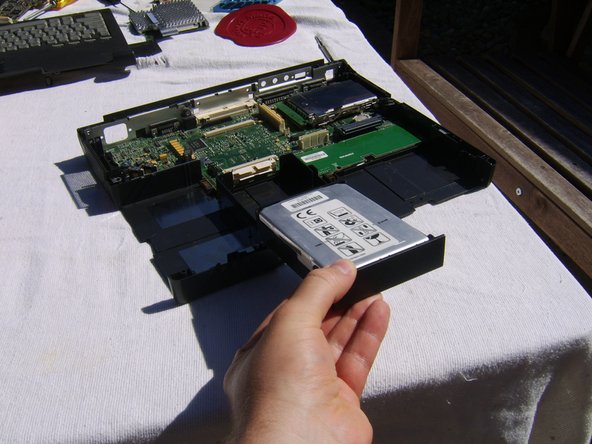
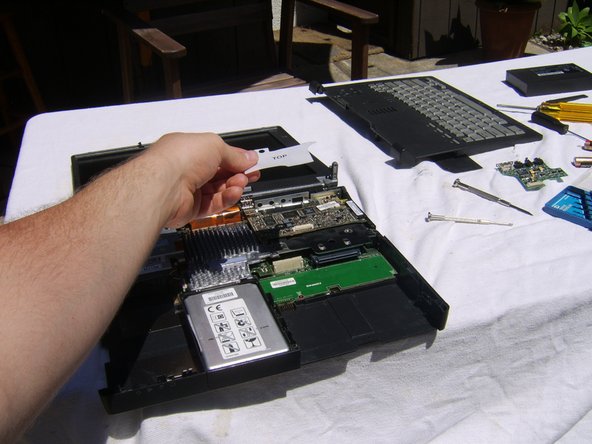
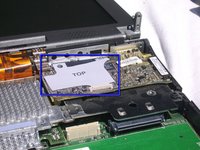
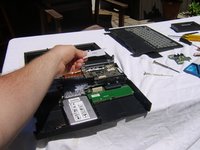
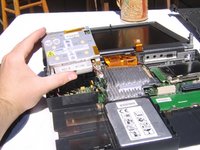
Once the locking mechanism had been released, gently lift and pull the HDD in its casing directly outward.
-
Once free of the Motherboard, grasp the HDD firmly on right and left and lift upwards at slight angle.
-
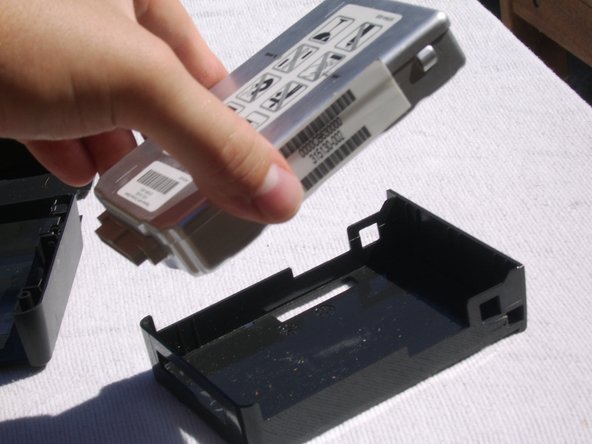
Once lifted, pull directly outward at the presented angle to free the HDD from its casing.
-
-
-
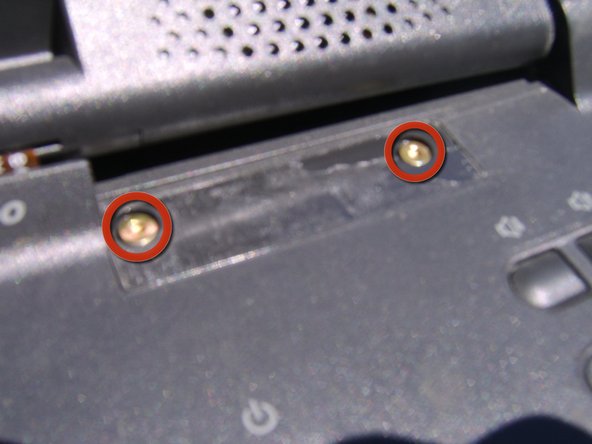
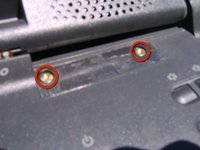
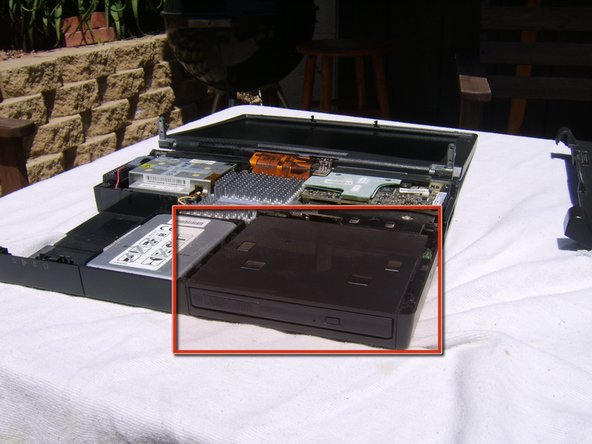
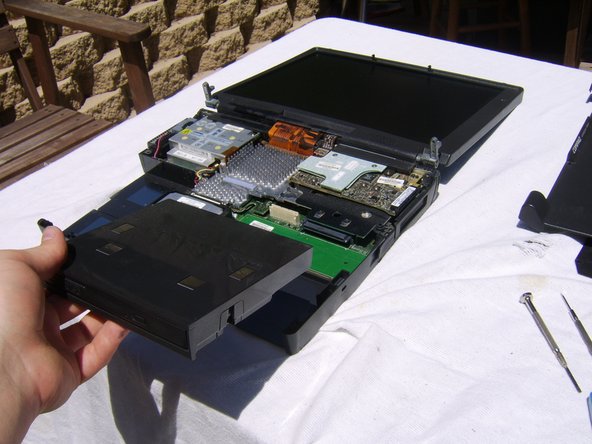
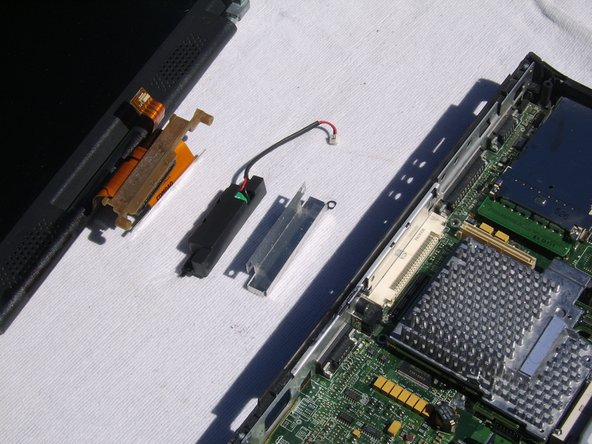
Locate and remove the one screw from the upper right of the Audio Driver's seat using the T9 Torx Screwdriver.
-
Locate and remove the one screw from the middle left of the Audio Driver's seat using the 2.4 mm Flathead Screwdriver.
-
Lift the Audio Driver's seat directly up to remove it from the Motherboard.
-
-
-
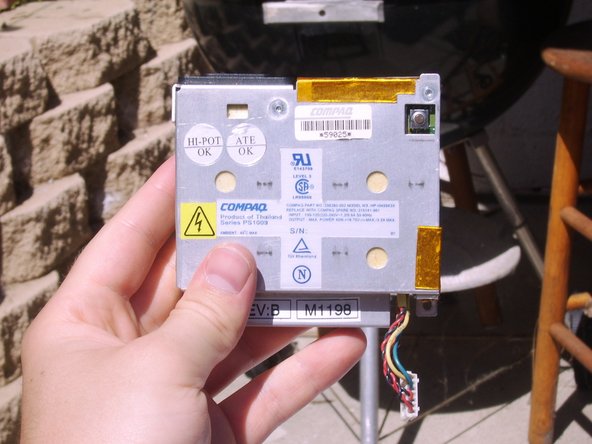
Locate and remove the one screw from the lower left of the Power Supply using the 2.4 mm Flathead Screwdriver.
-
Locate and remove the two screws from the metal guard anchoring the lower right side of the Power Supply using the 3.0 mm Flathead Screwdriver.
-
Remove metal guard.
-
Locate plastic guard along the top of the Power Supply.
-
From the far right lower corner, tilt the plastic guard upwards and lift free of the Power Supply.
-
-
-
Close the screen of the laptop and turn the device so you can see its back.
-
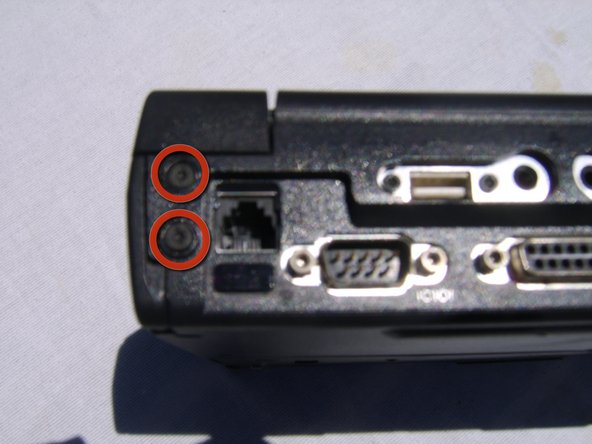
Locate and remove the two screws located on the back of the laptop on its left side using the 3.0 mm Flathead Screwdriver.
-
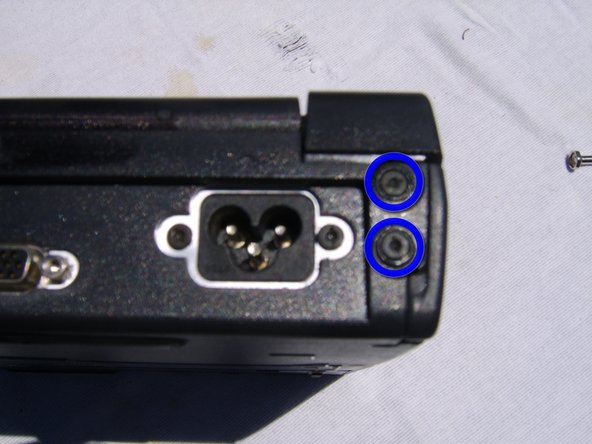
Locate and remove the two screws located on the back of the laptop on its right side using the 3.0 mm Flathead Screwdriver.
-
-
-
Turn the laptop back over and carefully lift the Display and its metal anchors clear of the laptop. Angle the metal anchors safely away from the Motherboard as shown.
-
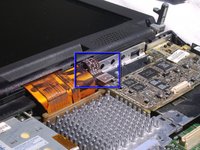
Locate and remove the one screw from the far right of the ribbon cable attaching the Display case to the Motherboard using the 2.4 mm Flathead Screwdriver.
-
And pull the ribbon cable free of the Motherboard.
-
-
-
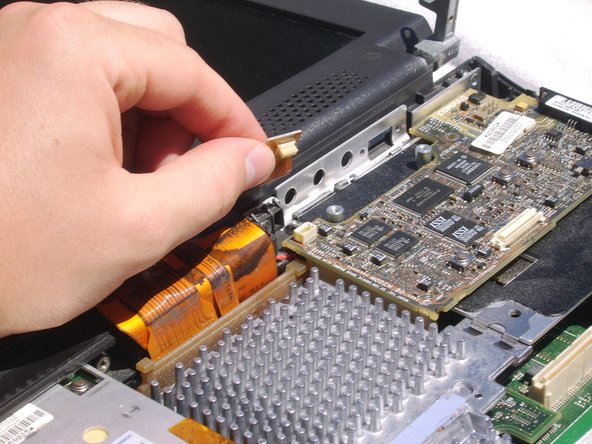
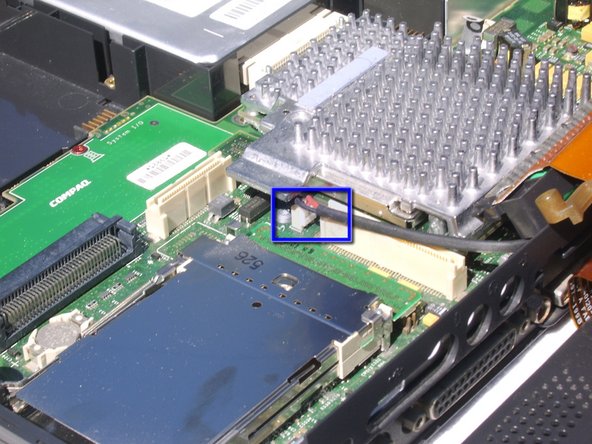
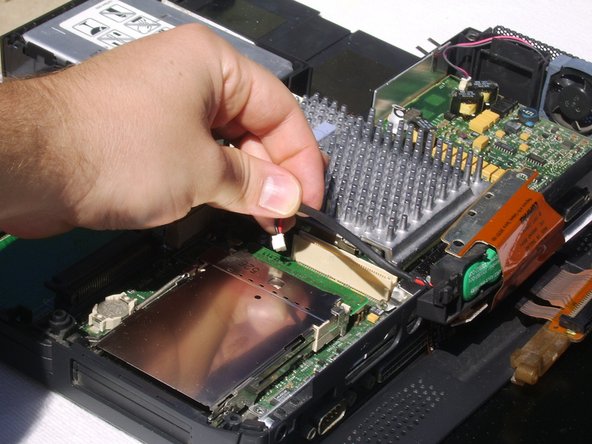
Locate the cable attaching the Display to the Motherboard. It is located between the CPU Board and where the Audio Drivers attach.
-
Firmly grasp the cable by its plastic head and pull it free of the Motherboard.
-
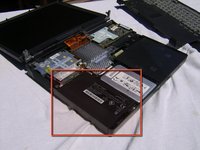
Lift the Display, the Rechargeable Battery in its casing, and the Rechargeable Battery's metal seat from the Motherboard.
-
-
-
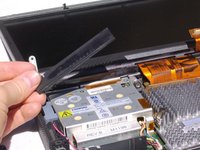
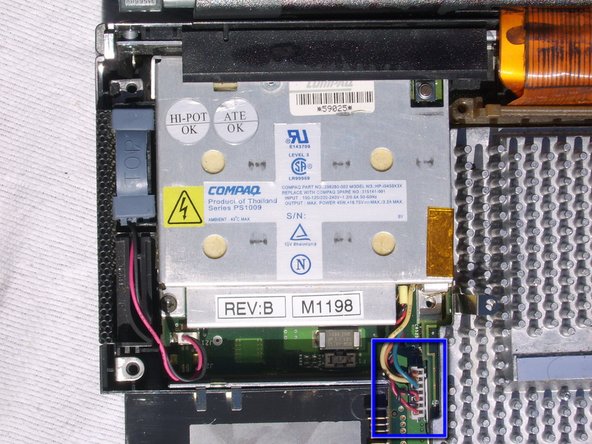
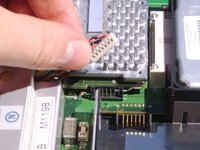
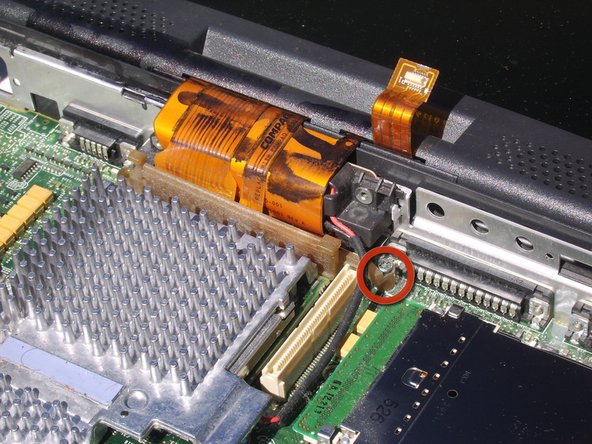
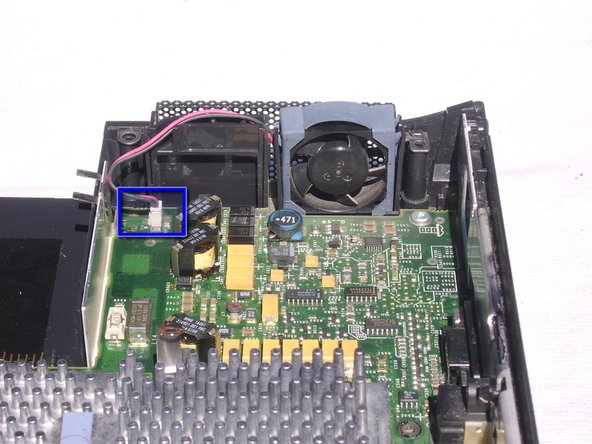
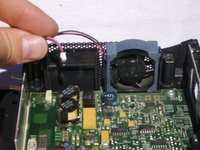
Locate the cable that connects the Power Supply Fan to the Motherboard. Found to the left of the Fan itself.
-
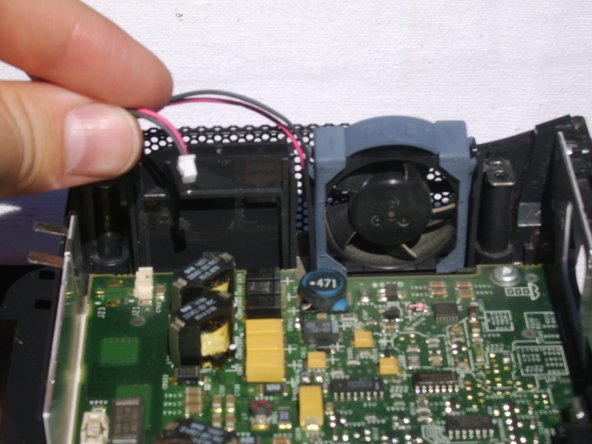
Grasp the cable firmly by its plastic head and pull it free of the Motherboard.
-
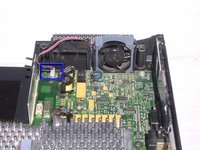
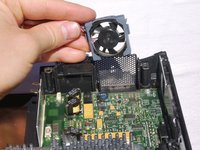
Gently lift the Power Supply Fan free of the laptop. It sits freely in its place and can be removed by lifting it directly upwards.
-
-
-
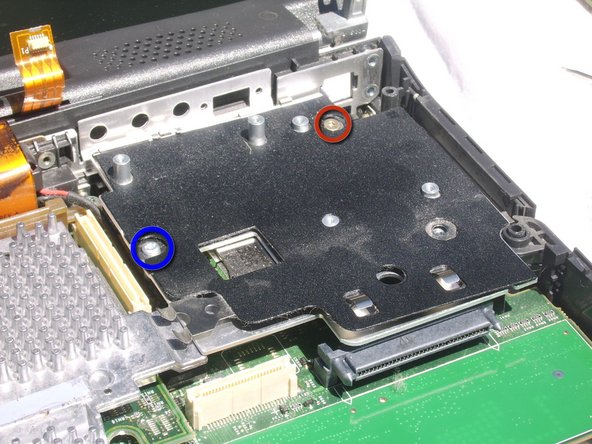
Locate and remove the two screws fixing the left metal guard in place using the 3.0 mm Flathead Screwdriver. Remove the metal guard.
-
Perform this step only if you have not already done so in removing the Power Supply.
-
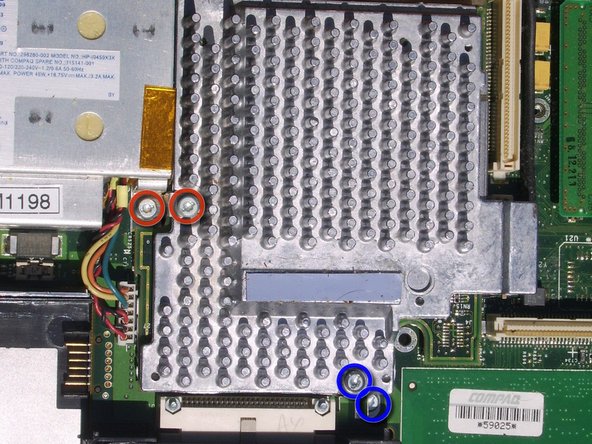
Locate and remove the two screws fixing the bottom right metal guard in place using the 3.0 mm Flathead Screwdriver. Remove metal guard.
-
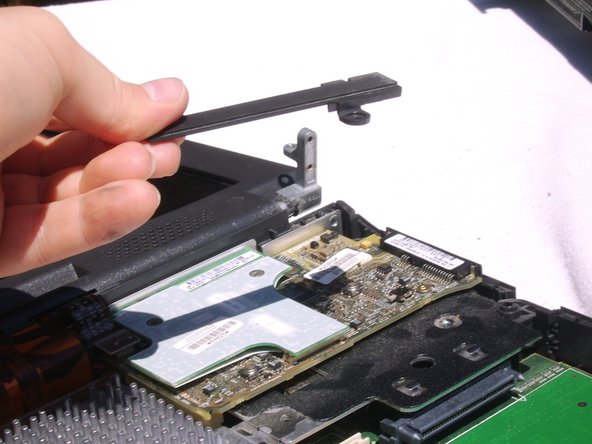
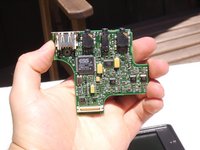
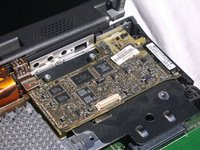
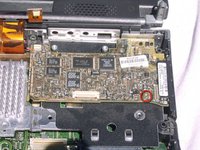
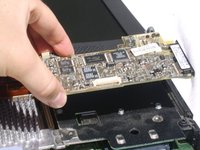
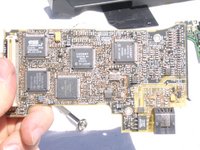
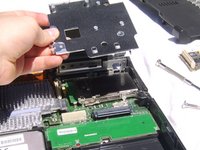
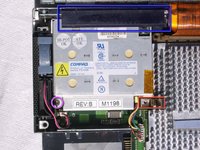
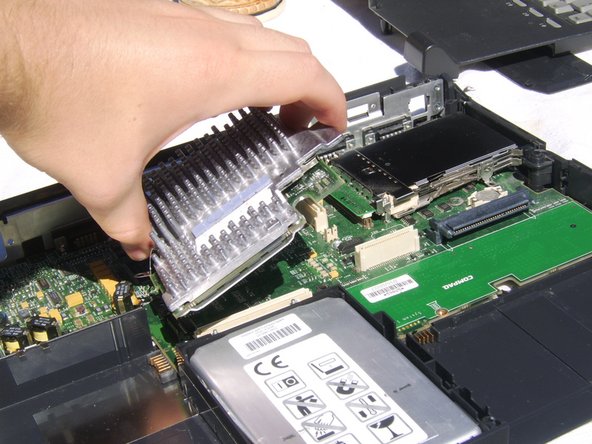
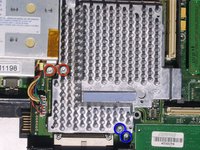
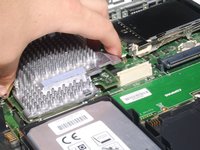
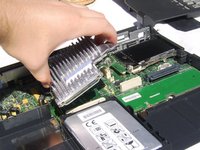
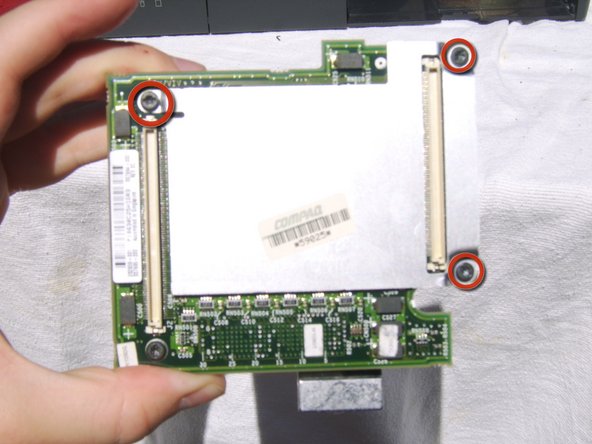
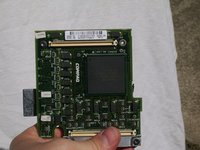
Grasp the CPU Board by the metal tab on the far right.
-
Lift upwards on the metal tab, pulling the CPU Board free of the Motherboard and life upwards to remove it.
-


To reassemble your device, follow these instructions in reverse order.
다른 7명이 해당 안내서를 완성하였습니다.