주요 콘텐츠로 건너뛰기

Dragon Touch A1x Plus Cameras Replacement

필요한 것

  1. Dragon Touch A1x Plus Cameras Replacement, Battery: 1 단계, 이미지 1/1
    • Insert the plastic opening tool between the white back cover and black front over.

  2. Dragon Touch A1x Plus Cameras Replacement: 2 단계, 이미지 1/2 Dragon Touch A1x Plus Cameras Replacement: 2 단계, 이미지 2/2
    • Slide the plastic opening tool along the edgeof the device until back cover is detached and remove the cover.

    • You may need to pry the back cover off using the opening tool while moving it along the edge.

  3. Dragon Touch A1x Plus Cameras Replacement: 3 단계, 이미지 1/1
    • Remove the yellow tape holding the battery to the device using your fingers or plastic opening tool if necessary.

  4. Dragon Touch A1x Plus Cameras Replacement: 4 단계, 이미지 1/1
    • Use the hair dryer to melt the glue holding the battery to the device.

    • Be careful not to overheat the battery as it could cause the battery to combust.

  5. Dragon Touch A1x Plus Cameras Replacement: 5 단계, 이미지 1/1
    이 단계에 사용된 도구:
    Plastic Cards
    $2.99
    구매
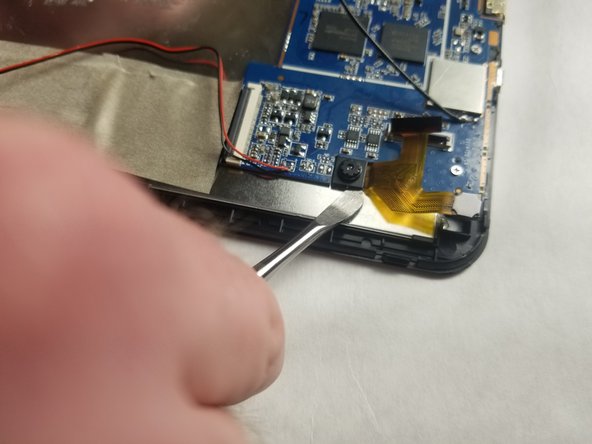
    • Insert the plastic card under the battery and use it to remove the battery from the device.

    • Be careful not to deform the battery.

  6. Dragon Touch A1x Plus Cameras Replacement: 6 단계, 이미지 1/2 Dragon Touch A1x Plus Cameras Replacement: 6 단계, 이미지 2/2
    • Desolder the red and black wires connecting the battery to the motherboard and remove the battery.

  7. Dragon Touch A1x Plus Cameras Replacement, Cameras: 7 단계, 이미지 1/2 Dragon Touch A1x Plus Cameras Replacement, Cameras: 7 단계, 이미지 2/2
    • Remove black tape holding the cameras to the motherboard.

  8. Dragon Touch A1x Plus Cameras Replacement: 8 단계, 이미지 1/2 Dragon Touch A1x Plus Cameras Replacement: 8 단계, 이미지 2/2
    • Use your fingernail to flip up the small locking flap on the ZIF connector.

    • Pull the ribbon cable from the ZIF connector.

  9. Dragon Touch A1x Plus Cameras Replacement: 9 단계, 이미지 1/1
    • Remove the front camera from the device using your fingers.

  10. Dragon Touch A1x Plus Cameras Replacement: 10 단계, 이미지 1/2 Dragon Touch A1x Plus Cameras Replacement: 10 단계, 이미지 2/2
    • Melt the glue holding the rear camera in place using a hair dryer.

    • Insert the metal spludger under the rear camera and pry it free from the device.

결론

To reassemble your device, follow these instructions in reverse order.

Josh Null

회원 가입일: 03/21/18

313 평판

안내서 3개 작성하였습니다

IUPUI, Team S5-G5, Baechle Spring 2018 IUPUI, Team S5-G5, Baechle Spring 2018 회원

IUPUI-BAECHLE-S18S5G5

3 회원들

안내서 6개 작성하였습니다

댓글 0개

댓글 쓰기

조회 통계:

24 시간 전: 1

7일 전: 2

30일 전: 11

전체 시간: 169