이 안내서에는 최근 변경 사항이 더 있습니다. 최신 비검증 버전으로 전환하십시오.
소개
Here is a DualShock 4 controller that had a drift to both analog joysticks. Fairly straight forward replacement of the joysticks resolved the issue.
필요한 것
-
-
Using the Phillips #00 Screwdriver, remove the four 6.0 mm screws securing the rear cover to the controller.
-
-
-
Wedge a plastic opening tool into the case-splittings and pull down to crack open the casing near the following buttons:
-
Share button
-
Options button
-
Split the plastic covers of the controller apart, taking note that they will still be attached by circuit board ribbons.
-
2 Trigger Springs
-
1 Grey Reset Button Extension
-
-
-
Use tweezers or your fingers to grab and disconnect the head of the battery cable from the motherboard.
-
-
-
-
Remove the single 6.0 mm Phillips screw found below the battery retainer with the Phillips #00 Screwdriver.
-
-
-
Gently detach the touchpad ribbon connected to the motherboard using the blunt forceps. The touchpad ribbon is connected to the motherboard by a connector that flips to tighten and loosen. During reassembly, to reattach the ribbon, the plastic tray will need to be gently removed from the motherboard and the flip-lock flipped up.
-
-
-
Successful disassembly of the controller will result in the following three parts, respectively:
-
Motherboard Assembly
-
Front Cover
-
Rear Cover
-
-
-
Use a "Helping Hands" or similar tool to hold the circuit board steady for the solder work.
-
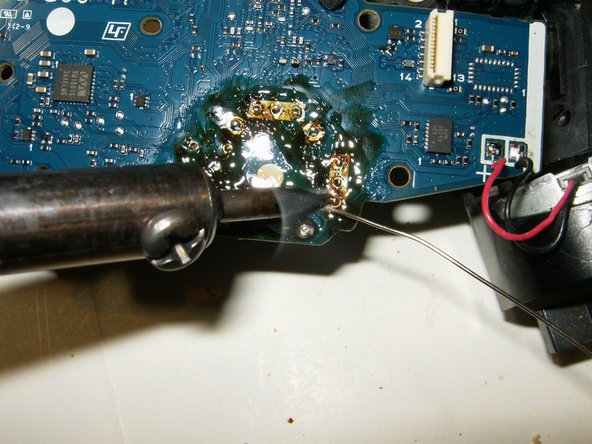
These are the solder connections that will need to be desoldered. Since the board is upside down, left will become right.
-
Use a desoldering wick and flux to melt and remove the solder
-
-
-
Once all the contacts are desoldered, the old joystick can be removed. This may take a bit of practice since all the solder will have to be removed. It does help to pull a bit on the joystick while melting the solder and using the wick.
-
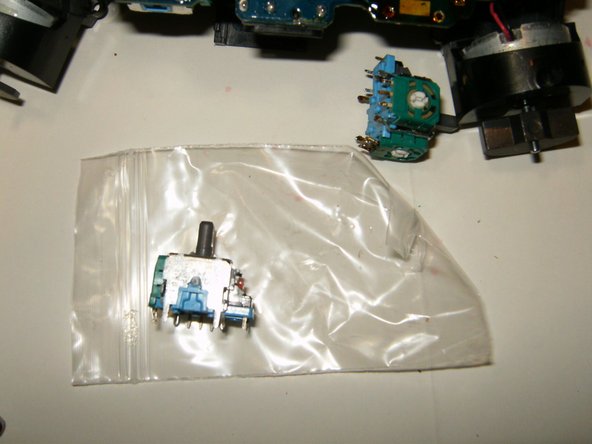
Ensure that the contacts of the replacement joystick are identical to the original.
-
Check that all the holes are cleared of old solder. Hypodermic needles as well as very small drill bits can be used to clear the holes. The molten looking substance on the circuit board is the flux used for the desoldering.
-
-
-
Insert the new joystick into the circuit board. Make sure it is properly seated and that all the contacts line up with the holes in the circuit board.
-
Solder all the contacts to the board.
-
Here is the board after the repair. All that is left is to clean off the old flux with some isopropyl alcohol.
-


To reassemble your device, follow these instructions in reverse order.
To reassemble your device, follow these instructions in reverse order.
다른 84명이 해당 안내서를 완성하였습니다.

팀

댓글 37개
Where can i buy the left stick ?
Swammieslippyslappy, there is no lead in the device, if so the solder would release much easier. Lead Solder goes to liquid at 180-190 Celsius vs lead free at 212-226 Celsius. I would suggest buying a desoldering iron (cheap ones are fine $10-$20 they have the bulb attached for one handed operation) as using a solder wick becomes rather tedious with the smaller parts.
Very helpful guide!! I've never soldered/desoldered anything before so this was a little difficult for me. I ran into a few problems along the way: my inital soldering iron was 30W and it wasn't melting the solder, so I had to buy a 40W iron and that one did the trick. I also had a rough time using the desoldering wick (the solder didn't seem to suck up into the wick) so I ended up using a combination of a desoldering pump and the wick. I eventually got the piece out and the rest was easy! Thanks again and if anybody needs help with this project feel free to message me and I'll do the best I can to help.