소개
Dymo LabelManager 280 is an electronic label maker with a screen that previews the text before printing.
Please refer to the dymo and ifixit troubleshoot page before confirming the screen must be replaced.
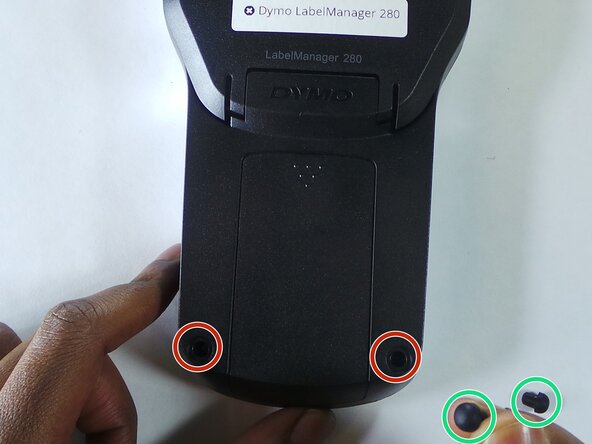
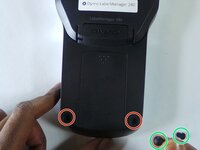
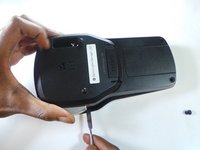
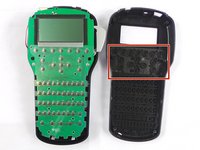
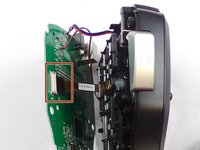
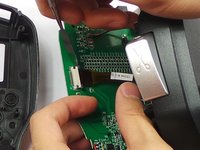
The screen may need to be removed if the screen display is blank or damaged. This guide will help how to safely remove the display on the Dymo LabelManager 280.
필요한 것


To reassemble your device, follow these instructions in reverse order.
다른 한 분이 해당 안내서를 완성하였습니다.
팀

USF Tampa, Team 6-5, Eyestone Spring 2016 USF Tampa, Team 6-5, Eyestone Spring 2016 회원
USFT-EYESTONE-S16S6G5
3 회원들
안내서 4개를 작성함
1가이드 댓글
Hi, thak you for the tutorial, it seems pretty simple. Do you know where to find the LCD screen, or whats the specs, maybe I can find it at AliExpress.