소개
If your Electro-Harmonix Bass Mono Synth effects pedal is transmitting a distorted sound, or no sound at all, this guide is designed to offer you a solution. A common problem with your bass pedal is a disconnected soldering point within the motherboard. The solution to this problem is to solder the wires back together.
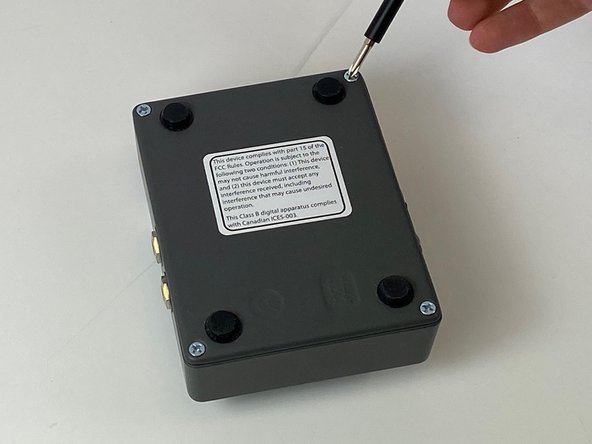
Before following this guide, make sure the device is disconnected from all power sources. If you need any assistance in soldering, check out iFixit’s link on how to solder/desolder connections.
필요한 것
-
-
Gently pry the five knobs with an opening tool until they are loose.
-
Once the knobs are loose, gently pull them off.
-
-


To reassemble your device, follow these instructions in reverse order.
다른 한 분이 해당 안내서를 완성하였습니다.

팀

Embry-Riddle Aeronautical University, Team 9-12, Rauch Fall 2021 Embry-Riddle Aeronautical University, Team 9-12, Rauch Fall 2021 회원
ERAU-RAUCH-F21S9G12
3 회원들
안내서 2개를 작성함