소개
Flipper Zero is a versatile and powerful tool for hardware hacking, electronics prototyping, and security testing. It is a handheld gadget that comes with a range of features, such as RFID emulation, infrared signal analysis, hardware debugging, and more. However, like all electronic devices, Flipper Zero's battery will eventually wear out and need to be replaced.
In this guide, we'll walk you through the process of replacing the battery of your Flipper Zero. We'll cover all the necessary steps, from safely disassembling the device to installing the new battery.
If your battery is swollen, take appropriate precautions.
필요한 것
-
-
Go to Main Menu > Settings > Power.
-
Select Power OFF.
-
Confirm by pressing the Right-button.
-
-
-
Use a PH1 screwdriver to unscrew the four long screws holding the back cover.
-
-
-
Press the middle of the top cover on both sides, one by one, to release the latches that hold the back cover in place.
-
Once the latches are released, you can remove the bottom cover.
-
-
-
-
Use a PH0 screwdriver to unscrew the two short screws that are holding the chassis and top cover together.
-
Once the screws are removed, separate the chassis from the top cover.
-
-
-
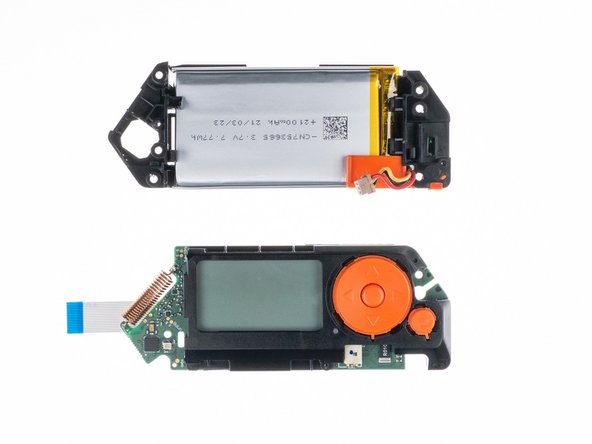
Disconnect the battery by carefully prying the connector with a Spudger and pulling it out.
-
-
-
Disconnect the large ribbon cable from the board. Use a plastic pick to lift the latch up to open the lock and carefully pull it out of the connector.
-
-
-
To release the battery chassis, lightly rock it back and forth while pulling the two parts apart.
-
-
-
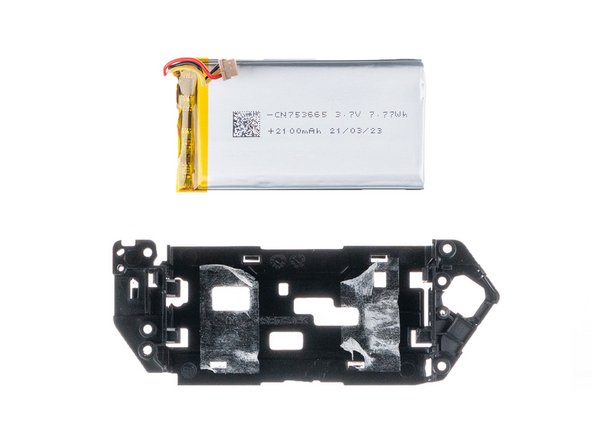
To remove the lace mount, use a PH0 screwdriver to unscrew the short screw that is securing it in place.
-
-
-
The battery is attached to the chassis with double-sided tape. To remove it, use a plastic pick to gently peel the battery off the chassis.
-


To reassemble your device, follow these instructions in reverse order and apply new adhesive where needed.
Take your e-waste to an R2 or e-Stewards certified recycler.
To reassemble your device, follow these instructions in reverse order and apply new adhesive where needed.
Take your e-waste to an R2 or e-Stewards certified recycler.
다른 2명이 해당 안내서를 완성하였습니다.

팀
