이 버전에는 잘못된 편집 사항이 있을 수 있습니다. 최신 확인된 스냅샷으로 전환하십시오.
필요한 것
-
이 단계는 번역되지 않았습니다. 번역을 도와주십시오
-
At the top of the outer frame, insert the plastic spudger into the groove in the center.
-
Lever the frame gently until it pops out of the case.
-
-
이 단계는 번역되지 않았습니다. 번역을 도와주십시오
-
Use a Phillips #00 screwdriver to remove the four screws around the screen.
-
-
이 단계는 번역되지 않았습니다. 번역을 도와주십시오
-
Gently pull from both ends of the casing to separate the front and back panels.
-
-
-
이 단계는 번역되지 않았습니다. 번역을 도와주십시오
-
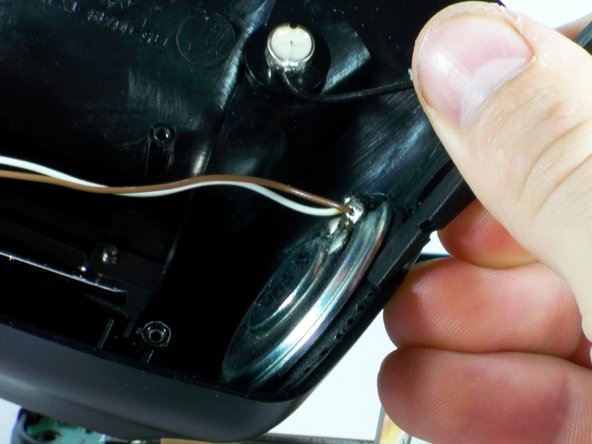
Gently unplug the white cable connector using either your fingers or tweezers.
-
-
이 단계는 번역되지 않았습니다. 번역을 도와주십시오
-
Use a Phillips #00 screwdriver to remove the two screws from the battery bracket.
-
-
이 단계는 번역되지 않았습니다. 번역을 도와주십시오
-
Carefully peel the metal bracket away from the battery.
-
Pull the battery away from the back cover.
-
Desolder the wires from the speakers using a soldering iron.
-
-
이 단계는 번역되지 않았습니다. 번역을 도와주십시오
-
Carefully use the spudger to pry the speakers from the outer casing.
-
Once removed, you may use a soldering iron to remove the wires from the speakers.
-


팀

Cal Poly, Team 22-1, Maness Fall 2010 Cal Poly, Team 22-1, Maness Fall 2010 회원
CPSU-MANESS-F10S22G1
3 회원들
안내서 4개 작성하였습니다