주요 콘텐츠로 건너뛰기

Gigabyte A320M-S2H Processor Replacement

필요한 것

  1. Gigabyte A320M-S2H Processor Replacement, Ryzen 3 2200g processor: 1 단계, 이미지 1/3 Gigabyte A320M-S2H Processor Replacement, Ryzen 3 2200g processor: 1 단계, 이미지 2/3 Gigabyte A320M-S2H Processor Replacement, Ryzen 3 2200g processor: 1 단계, 이미지 3/3
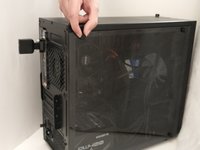
    • Turn off the computer by unplugging the power cord from the wall outlet.

    • Remove the power supply cable from the computer.

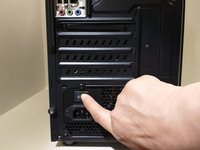
    • Change the power switch on the back of the computer to the “off” position.

  2. Gigabyte A320M-S2H Processor Replacement: 2 단계, 이미지 1/3 Gigabyte A320M-S2H Processor Replacement: 2 단계, 이미지 2/3 Gigabyte A320M-S2H Processor Replacement: 2 단계, 이미지 3/3
    • Place the computer on its right side and unclamp the left panel by turning the screws.

    • Remove the side panel.

  3. Gigabyte A320M-S2H Processor Replacement: 3 단계, 이미지 1/3 Gigabyte A320M-S2H Processor Replacement: 3 단계, 이미지 2/3 Gigabyte A320M-S2H Processor Replacement: 3 단계, 이미지 3/3
    • In order to access the CPU, the CPU cooler fan must be removed.

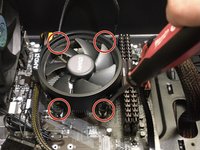
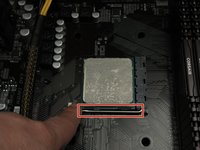
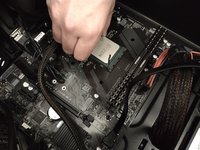
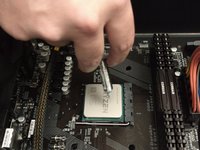
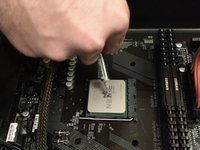
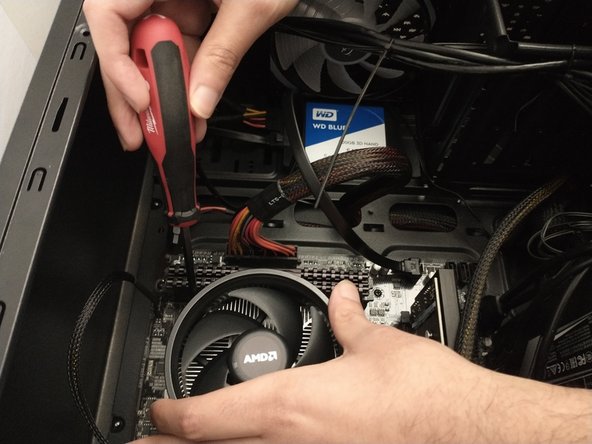
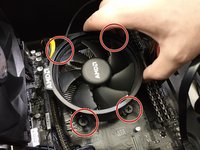
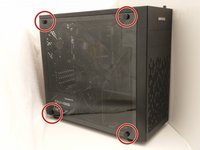
    • Using a Phillips #0 screwdriver, carefully remove the four screws located in each of the CPU cooler's four corners.

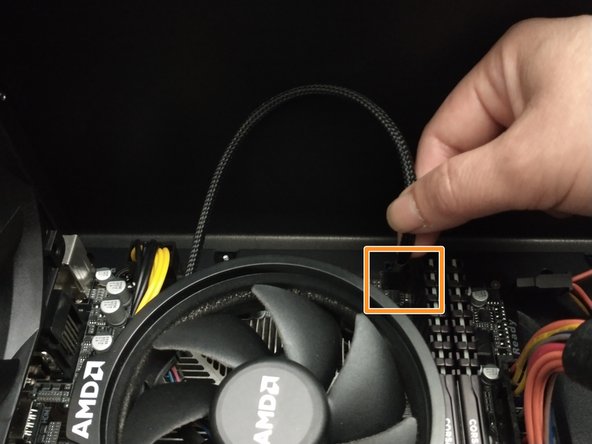
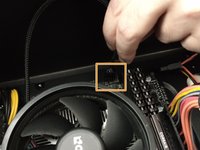
    • Disconnect the fan's power cable from the motherboard.

    • If you are having difficulty please refer to your motherboard's user manual for assistance.

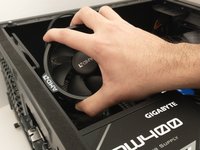
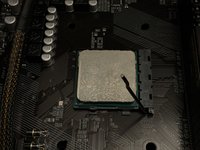
    • Gently lift and removed the CPU fan from the motherboard.

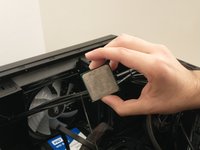
    • Be sure to clean off the portion of the underside of the fan that was in contact with the CPU off using isopropyl alcohol. This will remove any old thermal paste to ensure a clean connection during reinstallation.

    • You should now be able to fully see and access the CPU. If not, you may have done a step wrong and should revisit a previous step.

  4. Gigabyte A320M-S2H Processor Replacement: 4 단계, 이미지 1/3 Gigabyte A320M-S2H Processor Replacement: 4 단계, 이미지 2/3 Gigabyte A320M-S2H Processor Replacement: 4 단계, 이미지 3/3
    • Lift the retention arm to unsecure the CPU.

    • Carefully remove the CPU from the socket.

  5. Gigabyte A320M-S2H Processor Replacement: 5 단계, 이미지 1/3 Gigabyte A320M-S2H Processor Replacement: 5 단계, 이미지 2/3 Gigabyte A320M-S2H Processor Replacement: 5 단계, 이미지 3/3
    • Find the right way to plug in the processor and gently place it in the slot.

    • Check to see if the processor fits tightly and is not tilted.

    • Lock the retention arm to secure the CPU.

    • Apply a small amount of thermal paste onto the new processor.

  6. Gigabyte A320M-S2H Processor Replacement: 6 단계, 이미지 1/3 Gigabyte A320M-S2H Processor Replacement: 6 단계, 이미지 2/3 Gigabyte A320M-S2H Processor Replacement: 6 단계, 이미지 3/3
    • Place the CPU cooler on top of the CPU and using a Phillips #0 screwdriver to tighten the four 10 mm screws in place.

    • Reconnect the fan connector to the motherboard.

  7. Gigabyte A320M-S2H Processor Replacement: 7 단계, 이미지 1/3 Gigabyte A320M-S2H Processor Replacement: 7 단계, 이미지 2/3 Gigabyte A320M-S2H Processor Replacement: 7 단계, 이미지 3/3
    • Place back the side panel and attach the screws in their proper spaces.

    • Place the computer upright.

  8. Gigabyte A320M-S2H Processor Replacement: 8 단계, 이미지 1/3 Gigabyte A320M-S2H Processor Replacement: 8 단계, 이미지 2/3 Gigabyte A320M-S2H Processor Replacement: 8 단계, 이미지 3/3
    • Attach the power cord and plug it in.

    • Change the power switch to “on” position.

결론

When complete, the computer should boot and display the appropriate operating system.

다른 3명이 해당 안내서를 완성하였습니다.

Eshan Chuhan

회원 가입일: 01/27/21

285 평판

안내서 1개 작성함

York University, Team S16-G2, Turner Winter 2021 York University, Team S16-G2, Turner Winter 2021 회원

YORK-TURNER-W21S16G2

3 회원들

안내서 2개 작성하였습니다

댓글 0개

댓글 쓰기

조회 통계:

24 시간 전: 1

7일 전: 29

30일 전: 88

전체 시간: 2,170