소개
Use this guide to replace a faulty battery in your Google Pixelbook Go.
The battery is what stores power in order for the laptop to run. Check out this Troubleshooting page if the device is not charging in case something besides the battery is at fault. If the battery itself is not charging, it will need to be replaced with a new one.
It is recommended to purchase a new battery that comes with a new back cover attached, as it is very easy to damage the battery by peeling it off the cover.
Make sure the Pixelbook is completely powered down before beginning these steps.
필요한 것
-
-
Flip the device so that the back is facing up.
-
Peel the rubber stoppers off the top and bottom of the device.
-
-
-
-
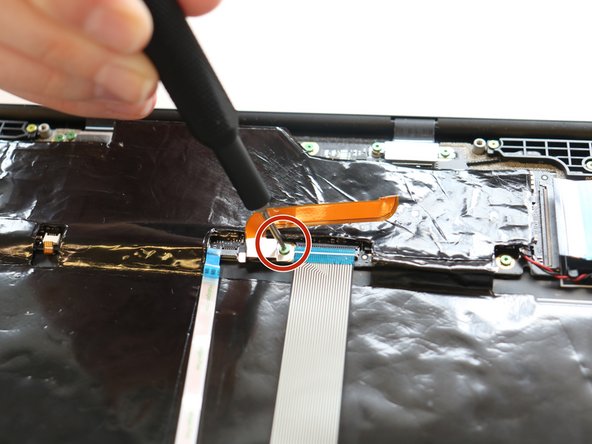
Use an iFixit opening tool to peel back the adhesive on the entire battery system.
-
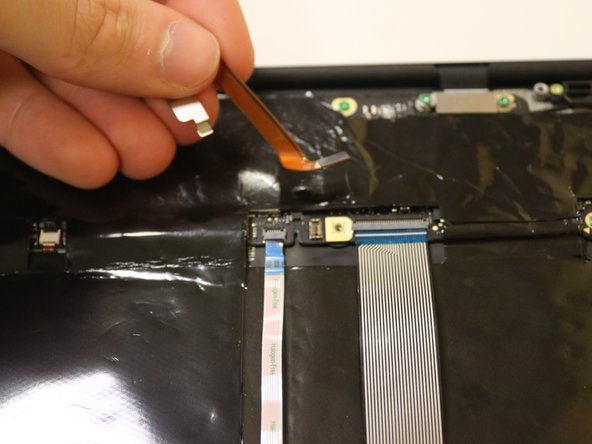
Carefully remove battery from the base.
-


To reassemble your device, follow these instructions in reverse order.
To reassemble your device, follow these instructions in reverse order.
팀

University of Delaware, Team 11-1, McGuire Spring 2023 University of Delaware, Team 11-1, McGuire Spring 2023 회원
UD-MCGUIRE-S23S11G1
5 회원들
안내서 4개 작성하였습니다