소개
If you are considering replacing your RAM on your HP 14-cf2112wm due to booting issues, try troubleshooting it with this guide first.
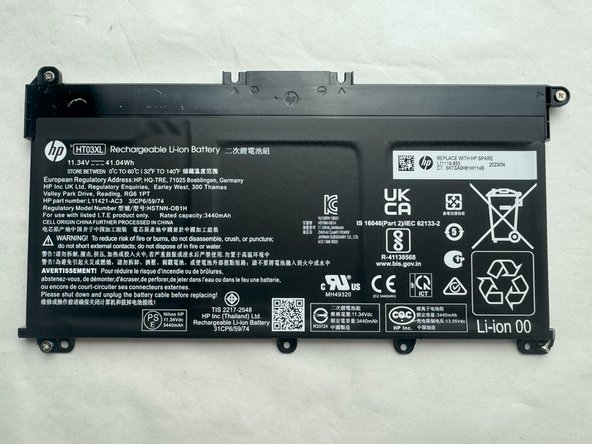
When buying new RAM, you have to consider the frequency, voltage, latency, capacity, and warranty of the RAM.
For this HP 14. you can technically buy a a 16 GB RAM to replace it, but the hard drive might not be able to hold it.
Before you begin this repair, be sure to power off your laptop and unplug it from the charger.
필요한 것
-
-
-
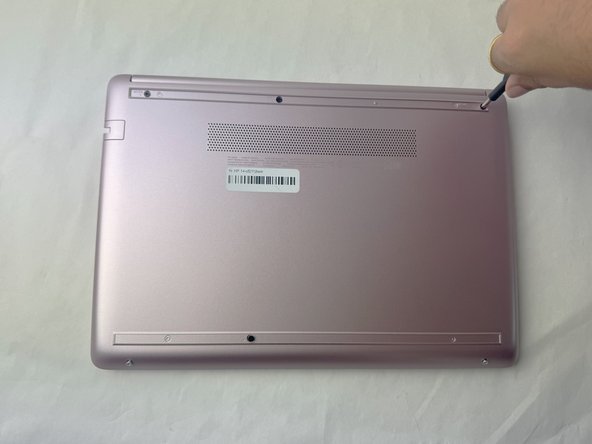
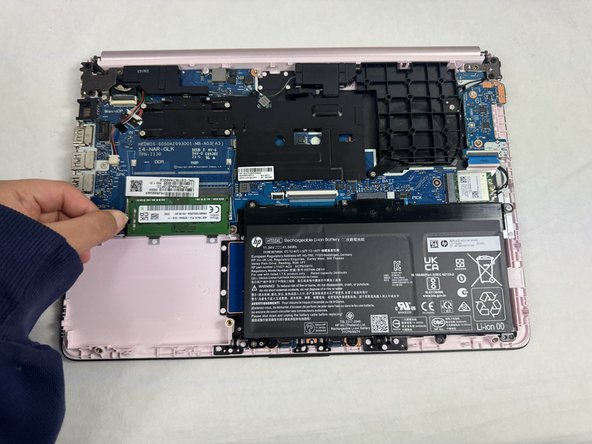
Place your opened laptop on a flat surface.
-
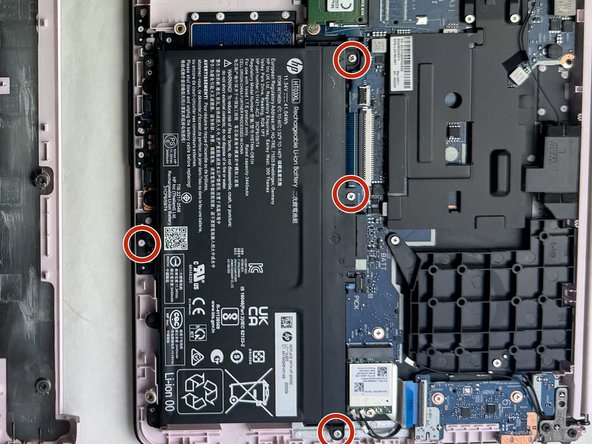
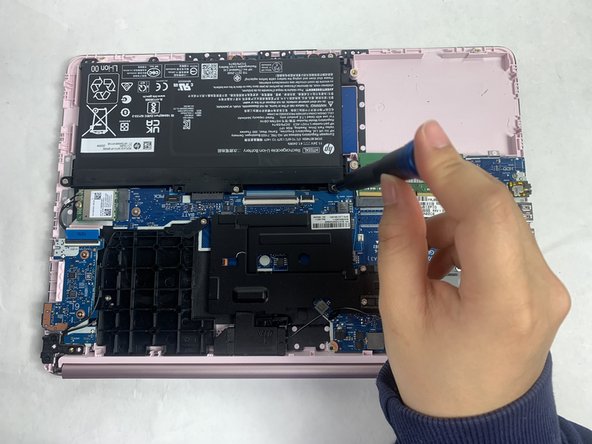
Use a Phillips #1 screwdriver to remove the four Phillips 3.0 mm screws securing the battery.
-


To reassemble your device, follow these instructions in reverse order. Take your e-waste to an R2 or e-Stewards certified recycler.
To reassemble your device, follow these instructions in reverse order. Take your e-waste to an R2 or e-Stewards certified recycler.
다른 한 분이 해당 안내서를 완성하였습니다.

팀

UMass Dartmouth, Team 1-2, Konn Spring 2024 UMass Dartmouth, Team 1-2, Konn Spring 2024 회원
UMASSD-KONN-S24S1G2
4 회원들
안내서 5개 작성하였습니다