주요 콘텐츠로 건너뛰기

HP Envy X2-15-C001Dx Battery Replacement

필요한 것

  1. HP Envy X2-15-C001Dx Battery Replacement, Back Panel: 1 단계, 이미지 1/1
    • Place the laptop face down on a table.

  2. HP Envy X2-15-C001Dx Battery Replacement: 2 단계, 이미지 1/2 HP Envy X2-15-C001Dx Battery Replacement: 2 단계, 이미지 2/2
    • Lift up the back stand.

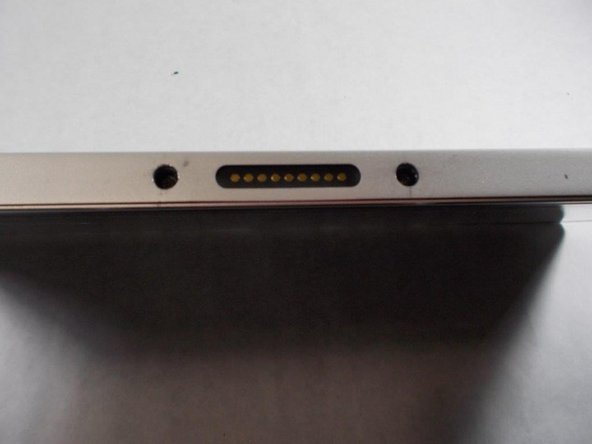
  3. HP Envy X2-15-C001Dx Battery Replacement: 3 단계, 이미지 1/2 HP Envy X2-15-C001Dx Battery Replacement: 3 단계, 이미지 2/2
    • Remove the five screws from the bottom of the back plate using a Phillips #1 screwdriver.

  4. HP Envy X2-15-C001Dx Battery Replacement: 4 단계, 이미지 1/1
    • Remove four screws from the back stand hinges using a Phillips #1 screwdriver.

  5. HP Envy X2-15-C001Dx Battery Replacement: 5 단계, 이미지 1/2 HP Envy X2-15-C001Dx Battery Replacement: 5 단계, 이미지 2/2
    • Remove the hinges and the back stand from the laptop.

  6. HP Envy X2-15-C001Dx Battery Replacement: 6 단계, 이미지 1/1
    • Use a spudger to remove the thin panel where the back stand was.

  7. HP Envy X2-15-C001Dx Battery Replacement: 7 단계, 이미지 1/1
    • Remove the screws from the back panel using a Phillips #1 screwdriver.

  8. HP Envy X2-15-C001Dx Battery Replacement: 8 단계, 이미지 1/2 HP Envy X2-15-C001Dx Battery Replacement: 8 단계, 이미지 2/2
    • Remove two side screws using a Phillips #1 screwdriver.

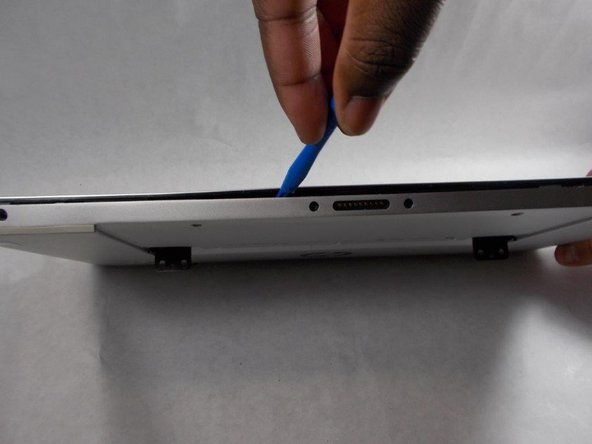
  9. HP Envy X2-15-C001Dx Battery Replacement: 9 단계, 이미지 1/2 HP Envy X2-15-C001Dx Battery Replacement: 9 단계, 이미지 2/2
    • Pry apart the base from the screen by going around the entire perimeter with an opening tool.

  10. HP Envy X2-15-C001Dx Battery Replacement: 10 단계, 이미지 1/2 HP Envy X2-15-C001Dx Battery Replacement: 10 단계, 이미지 2/2
    • Remove the back panel from the laptop.

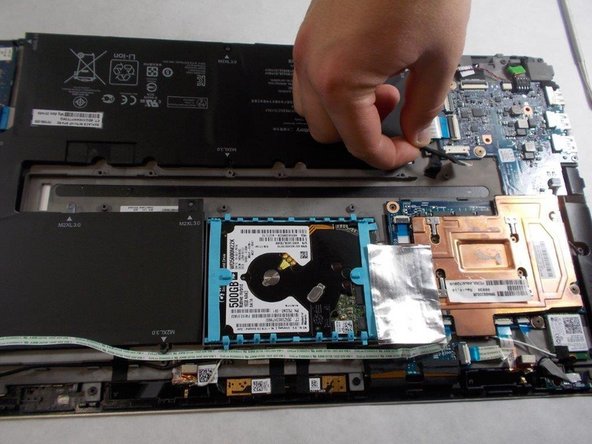
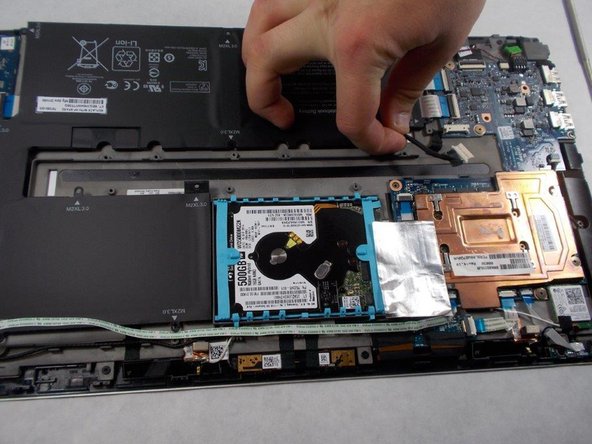
  11. HP Envy X2-15-C001Dx Battery Replacement, Battery: 11 단계, 이미지 1/3 HP Envy X2-15-C001Dx Battery Replacement, Battery: 11 단계, 이미지 2/3 HP Envy X2-15-C001Dx Battery Replacement, Battery: 11 단계, 이미지 3/3
    • Unplug the battery connector from the motherboard.

  12. HP Envy X2-15-C001Dx Battery Replacement: 12 단계, 이미지 1/2 HP Envy X2-15-C001Dx Battery Replacement: 12 단계, 이미지 2/2
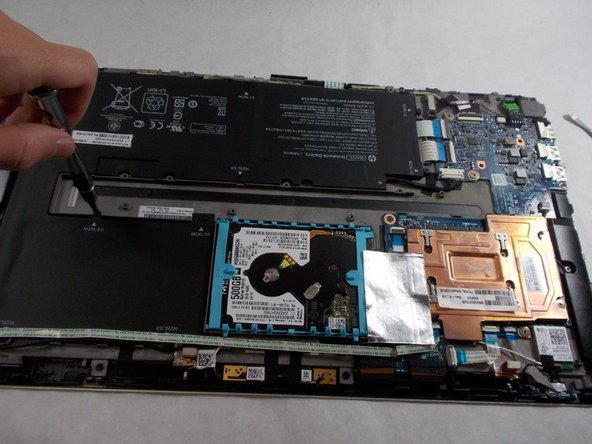
    • Remove the eight screws holding the battery in place using a Phillips #1 screwdriver.

  13. HP Envy X2-15-C001Dx Battery Replacement: 13 단계, 이미지 1/2 HP Envy X2-15-C001Dx Battery Replacement: 13 단계, 이미지 2/2
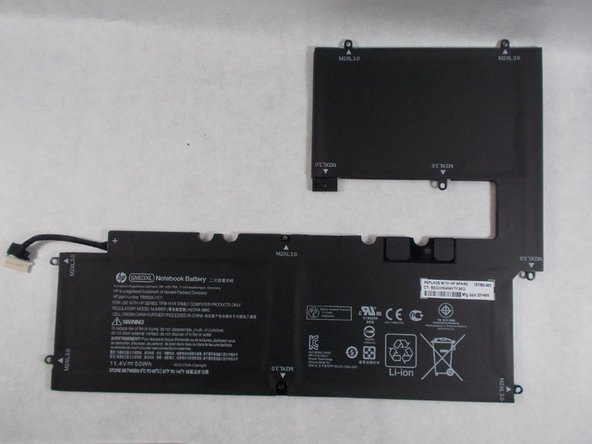
    • Remove the battery by simply lifting it out of the device.

결론

To reassemble your device, follow these instructions in reverse order.

For optimal performance, after completing this guide, calibrate your newly installed battery.
Take your e-waste to an R2 or e-Stewards certified recycler.

다른 3명이 해당 안내서를 완성하였습니다.

Cole Escobar

회원 가입일: 10/25/21

166 평판

안내서 1개 작성함

UMass Dartmouth, Team 2-6, Sinclaire Fall 2021 UMass Dartmouth, Team 2-6, Sinclaire Fall 2021 회원

UMASSD-SINCLAIRE-F21S2G6

3 회원들

안내서 6개 작성하였습니다

댓글 0개

댓글 쓰기

조회 통계:

24 시간 전: 0

7일 전: 1

30일 전: 6

전체 시간: 333