소개
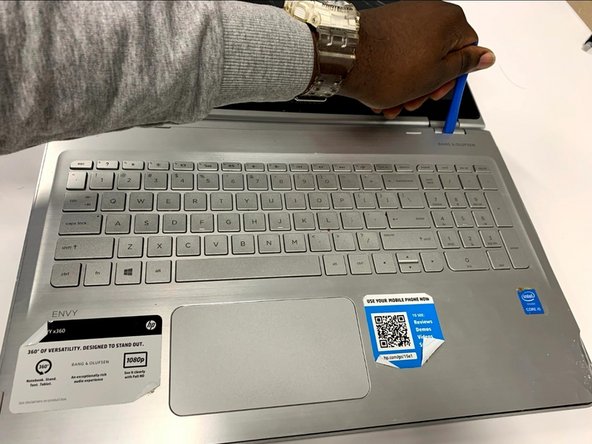
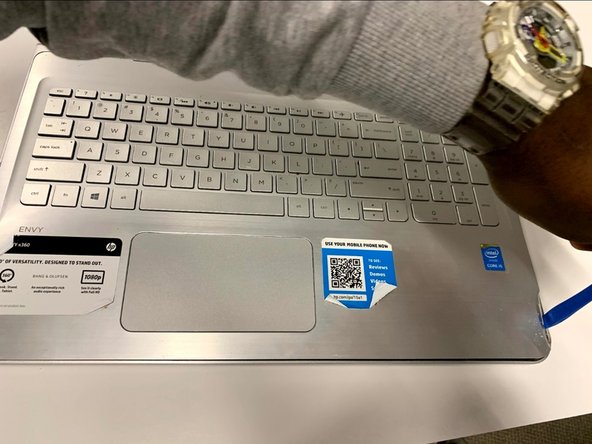
This is a guide that will help you replace the broken fan in your HP Envy x360 m6-w101dx laptop.
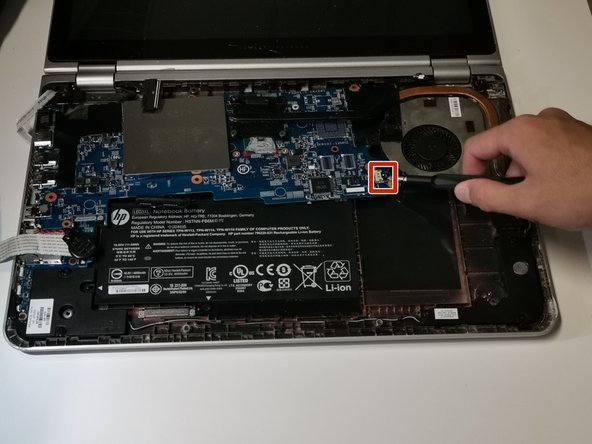
The fan is a part of the hardware that supports the CPU by cooling it rapidly. A failing fan will result in the back of your laptop overheating and/or generating a sound like that of a collision of objects. In some conditions, your laptop might stop working because of the high temperature of your CPU.
Please review the troubleshooting page before you use this guide to replace your device since in some cases you will repair your fan without having to replace it. The link to the troubleshooting page is: HP ENVY x360 m6-w101dx Troubleshooting
Please make sure that your CPU fan is properly connected to your computer. A failed connection will result in the computer system not being able to properly identify the fan, resulting in an error report.
필요한 것


To reassemble your device, follow these instructions in reverse order.
To reassemble your device, follow these instructions in reverse order.
다른 한 분이 해당 안내서를 완성하였습니다.

팀

York University, Team S8-G5, Turner Winter 2020 York University, Team S8-G5, Turner Winter 2020 회원
YORK-TURNER-W20S8G5
5 회원들
안내서 2개 작성하였습니다