소개
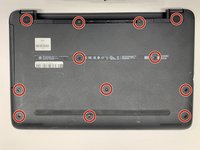
If your HP Pavillion 15 laptop (ba003ds) is suddenly shutting off and the bottom of the laptop is warm, you can use this guide to replace your thermal paste.
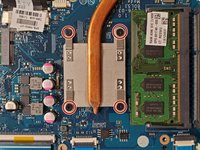
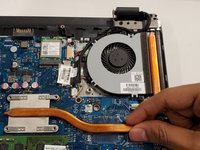
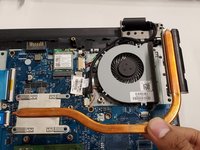
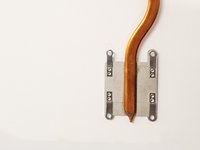
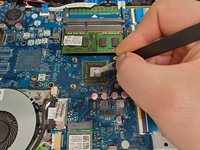
Thermal paste is designed to assist the transfer of heat from your processor to the heatsink, to keep your processor nice and cool. A faulty or old application of thermal paste will have a reduced ability to transfer heat away from your processor, which may cause shutoffs.
Before using this guide, make sure your AC adapter is disconnected and that your battery is removed.
필요한 것
-
-
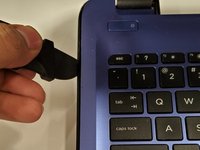
Unplug the AC adapter from the corresponding socket in the laptop.
-
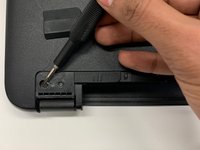
Use your fingers to push the slider located just under the battery on either side to unlock the battery from the laptop.
-
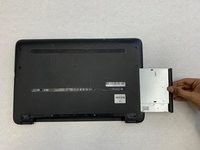
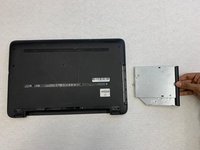
Carefully slide the battery out of the laptop frame and place it somewhere safe.
-
-


To reassemble your device, follow these instructions in reverse order.
To reassemble your device, follow these instructions in reverse order.
다른 2명이 해당 안내서를 완성하였습니다.
팀

York University, Team S1-G9, Woodhouse Winter 2020 York University, Team S1-G9, Woodhouse Winter 2020 회원
YORK-WOODHOUSE-W20S1G9
3 회원들
안내서 8개를 작성함